How to Prepare Stainless Steel for Industrial Coating
Stainless steel coating preparation starts with a clean, sound surface and a preparation method suited to the selected coating. The work generally moves through degreasing, contaminant removal, surface profiling, and inspection before application.
For facility owners, the preparation details matter as much as the finish coat. A clear scope gives you a way to compare contractors and understand what must happen before coating begins.
Start With the Coating System and Service Conditions
The coating system determines what the preparation work needs to achieve. Before work begins, the project scope should identify the substrate, exposure, products, and inspection requirements.
Identify the surface and its exposure
A stainless steel tank exterior, for example, faces different conditions than a tank lining in continuous immersion. Washdown, chemical contact, heat, salt spray, and sunlight can also affect the coating choice.
The scope should identify the areas to be coated and any surfaces excluded from the work. It should also describe operating conditions that could affect access or interrupt preparation, such as production schedules and nearby equipment.
Define the preparation requirements
The coating product data sheet and project specification establish the preparation requirements for the selected system. They also describe application conditions, coat sequence, film thickness, and curing requirements.
General steel preparation standards aren't automatic requirements for every stainless steel project. The appropriate method depends on the coating system, surface condition, and site restrictions. Our guide to surface preparation for steel coatings discusses how those choices fit into an industrial coating scope.
Inspect the Surface and Plan Safe Access
Before cleaning begins, inspect the surface for damage and identify conditions that could affect the work. This initial assessment helps separate coating preparation from repairs that need another trade or professional review.
Locate damage and difficult areas
Look closely at welds, seams, fasteners, supports, and areas that stay wet. Record rust staining, pitting, peeling coating, and visible residue. Mark the locations on an asset list or drawing so the preparation crew can find them.
Deep pitting, suspected wall thinning, leakage, or damaged supports need a qualified assessment. A coating can protect a prepared surface, but it can't restore lost metal thickness or repair a leak.
Address access and operating hazards
The plan should account for elevated work, active machinery, electrical equipment, and any restricted areas. Tank interiors and other confined spaces require separate entry procedures, which can include permits, atmospheric testing, and an attendant.
Existing coatings may also require evaluation for hazardous materials before workers disturb them. Access equipment, containment, ventilation, and facility shutdowns can affect both the schedule and the price.
Degrease Before Mechanical Preparation
Oil and grease can prevent a coating from bonding. They can also spread across the surface during mechanical preparation, so cleaning comes first.
Remove oils and process residue
The cleaning approach should suit the contamination and the selected coating system. Depending on the project, it may involve a compatible detergent, degreaser, or other approved cleaning method. Pay attention to areas around pumps, fittings, and equipment where lubricants or process residue can collect.
Cleaning materials and waste need proper handling under the facility's safety and environmental procedures. The work scope should also identify who protects nearby equipment and manages runoff.
Rinse and allow the surface to dry
Where the cleaning method requires rinsing, remove the cleaner and loosened residue rather than leaving them on the surface. Give seams, recesses, and other areas that can hold water enough time to dry.
A surface that looks clean may still contain residue. If contamination remains after the first cleaning, repeat the appropriate treatment before moving to abrasion or coating. Mechanical preparation shouldn't be used as a substitute for degreasing.
Remove Contaminants and Unsound Coating
Once the surface is free of oil and grease, the next step is to deal with remaining contamination, corrosion, and any existing finish. The extent of removal depends on the condition of the surface and the new coating system.
Test for contamination that isn't visible
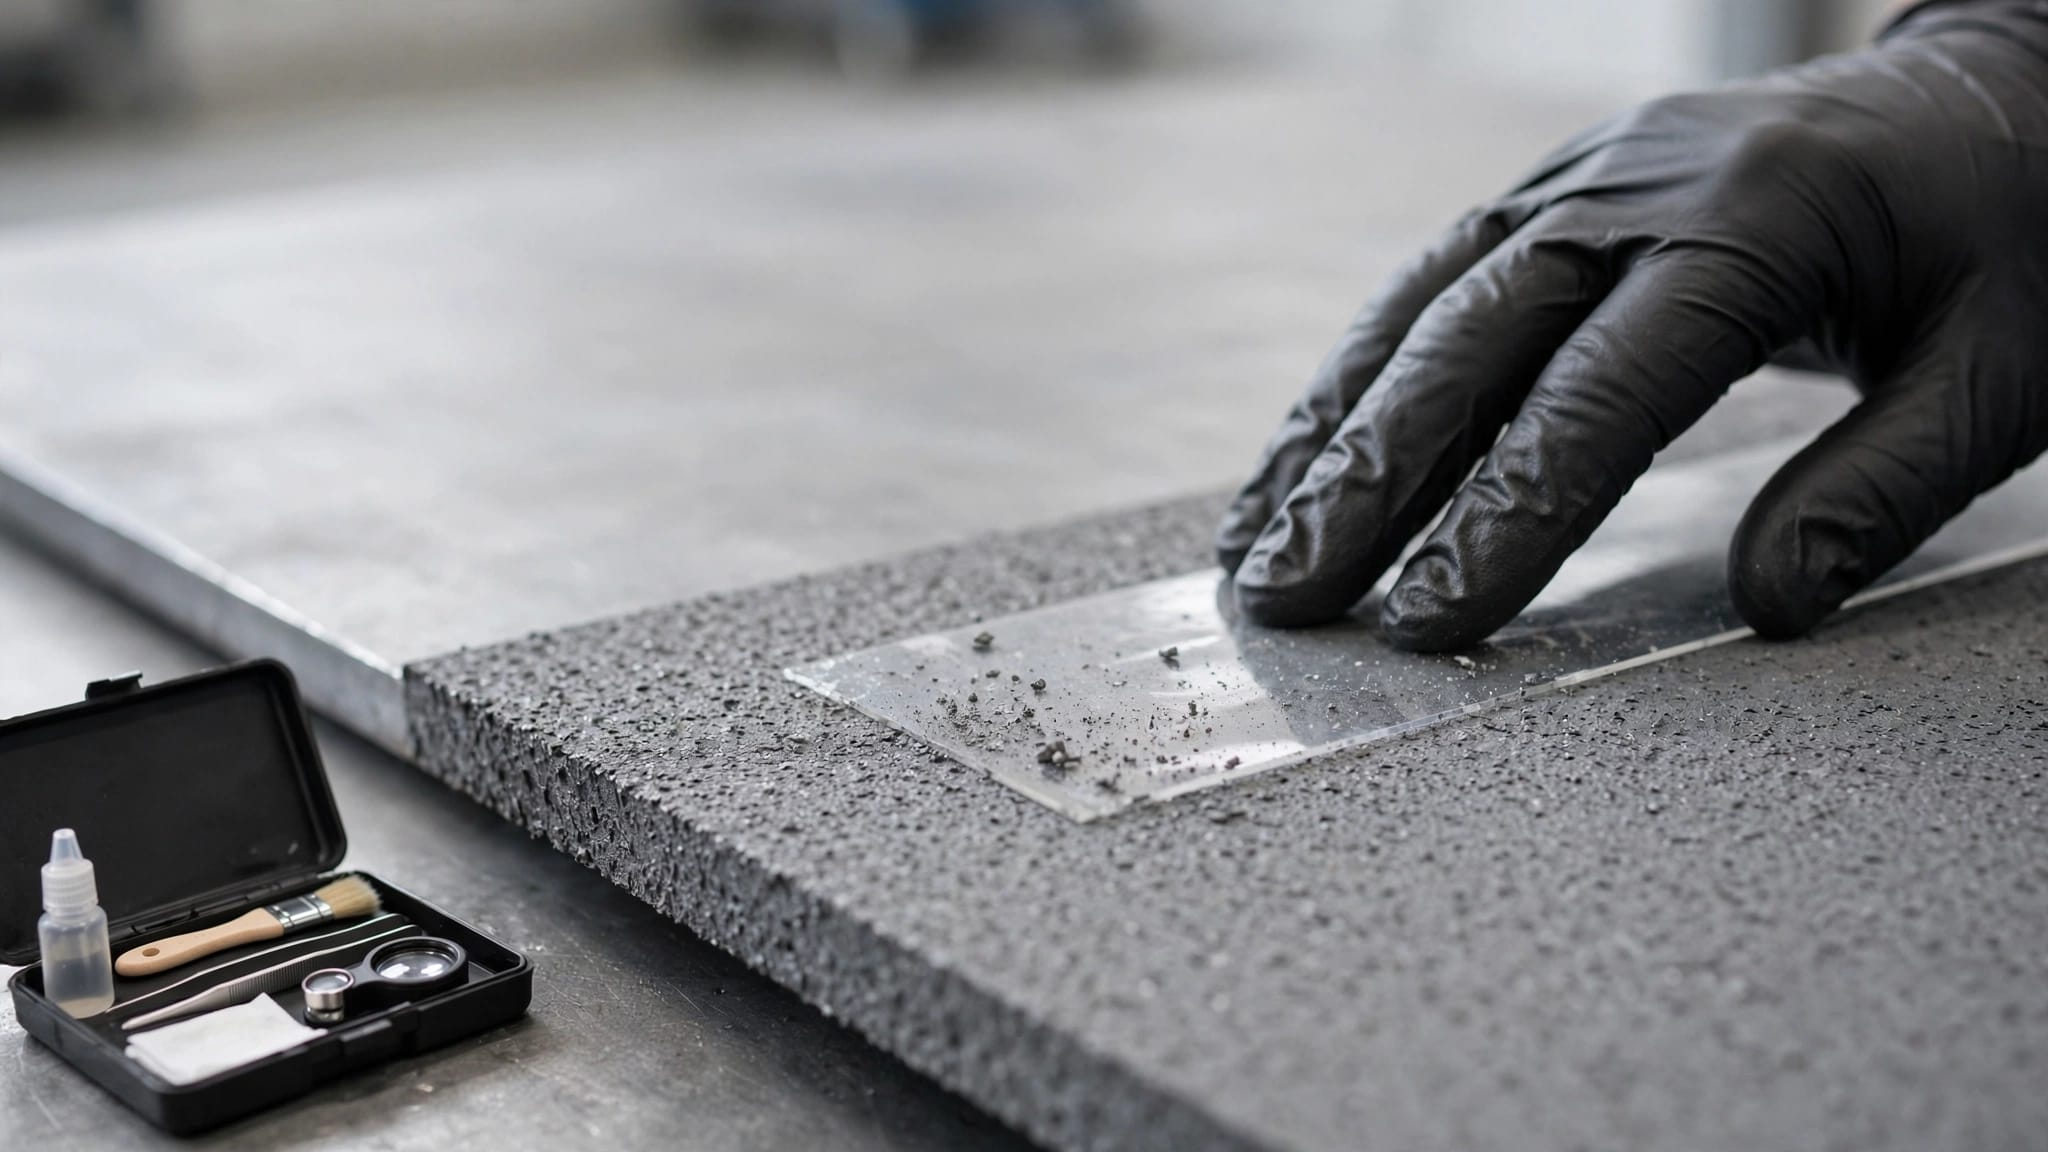
Salt deposits can remain on a surface even when it looks clean. If the project requires soluble salt testing, one field method uses a Bresle patch to extract residue with water. The solution's conductivity provides information about the extracted contamination.
The project specification should establish the test method and acceptance criteria. If results exceed the project's limit, additional cleaning and retesting may be needed before coating.
Remove failed material and assess retained coating
Loose or poorly bonded coating needs removal. Where an existing coating will remain, its condition and compatibility with the new system should be part of the scope. Retained edges may need feathering to avoid an abrupt transition.
Localized work can suit isolated damage, while broader removal may be needed when failure extends across a larger area. Our above-ground tank recoating guide explains how coating condition and corrosion affect that decision.
Create the Required Surface Profile
Surface profile is the texture left by mechanical preparation. The coating system may need that texture to bond as intended, but the required profile is a project-specific choice.
Choose a preparation method
Abrasive blasting and mechanical abrasion are common ways to prepare metal for industrial coatings. The method selected depends on the required surface condition, access, containment, and the coating manufacturer's instructions.
A large, open tank exterior may allow different equipment than a crowded production area. Likewise, work around operating machinery may require tighter controls on dust and debris. The proposal should name the preparation method rather than promise only to "clean and coat."
Measure the prepared surface
A surface can appear rough without meeting the specified profile. Depending on the inspection plan, a contractor may use replica tape, a depth micrometer, or a profile comparator to assess the prepared area.
Measurements should represent the surfaces being coated, including locations where access or geometry makes preparation difficult. Record the results against the project's requirements before primer goes on. Profile measurements and visual cleanliness checks answer different questions, so one doesn't replace the other.
Clean the Surface Again and Control Conditions
Mechanical preparation can leave dust and debris on the substrate. Before coating, the crew needs to remove that material and protect the prepared surface from new contamination.
Remove preparation debris
Use a cleanup method suited to the site and coating specification. Inspect welds, edges, recesses, and fittings where dust can collect. Prepared surfaces should stay protected from overspray, handling, leaks, and nearby work that could deposit fresh residue.
If the surface becomes contaminated after inspection, it may need additional cleaning or preparation. The project schedule should allow enough time to complete the required work and apply the first coat under suitable conditions.
Watch for condensation
A dry-looking surface can develop moisture when its temperature approaches the dew point. For that reason, the crew needs environmental readings that reflect conditions where coating will occur.
Surface temperature, air temperature, relative humidity, and dew point all provide useful information. Conditions can change during a shift, especially around rain, cloud cover, or equipment operation. Our guide to dew point checks before industrial coating explains how those readings support application decisions.
Inspect Before Applying the Coating
The pre-coating inspection is the point where the prepared surface is compared with the project requirements. It should happen after cleanup and before the first coat covers the evidence.
Review cleanliness, profile, and repairs
The inspection should address visible contamination, remaining debris, surface profile, and the condition of repairs. It should also identify missed areas around welds, edges, seams, and fittings.
Where the specification calls for salt testing or other measurements, those results belong in the inspection record. If a result doesn't meet the requirement, the affected area needs correction and another inspection before coating. Our industrial coating inspection checklist provides a framework for recording findings.
Document the conditions at application
Record environmental readings at the intervals required by the project. The inspection plan should also identify who accepts the prepared surface and what happens if conditions change before application.
A useful record ties each result to a location and date. Photographs can supplement measurements, particularly at repaired areas or locations that will be difficult to access after the work is complete.
Compare Contractor Scopes Beyond the Finish Coat
Two proposals can name the same coating and still cover different work. A useful comparison looks at preparation, access, inspection, and the conditions required before the facility returns equipment to service.
Look for a defined preparation scope
The proposal should identify the surfaces, cleaning method, removal limits, profiling method, and required inspection. It should also address protection for nearby equipment, containment, cleanup, and any exclusions.
Ask for repair allowances to be clear. A bid that excludes extensive coating removal, access equipment, or inspection records may not cover the same work as a higher-priced proposal. Defining those items early helps prevent disagreements after preparation starts.
Include application and closeout requirements
The coating scope should state the products, coat sequence, specified dry film thickness, recoat windows, and cure criteria. After application, inspection may include thickness measurements and, where required, testing for discontinuities.
A closeout file can contain product and batch details, application dates, environmental readings, thickness results, repair locations, and final findings. Our guide to potable water tank lining inspection describes how inspection stages and records fit into a tank project.
Build the Project Around a Prepared Surface
A durable industrial coating starts before the first coat. Cleaning, contaminant removal, surface profiling, and inspection each address a different condition that can affect adhesion.
For your project, a defined scope makes those steps visible in the schedule and proposal. We provide industrial coating services and onsite consultations for facilities in Southwest Florida.
More featured articles...