Knockdown Texture Repair Guide for Southwest Florida Walls
A small dent can become a major eyesore when your wall has a sprayed or hand-troweled finish. With the right knockdown texture repair , you can restore the surface without repainting the entire room, but Southwest Florida's humidity makes preparation especially important.
Moisture, air conditioning, salt air, and previous water leaks can affect how drywall compound dries and how paint bonds. Before repairing the texture, identify the cause of the damage and confirm the wall is sound and fully dry. Start with the surface condition, then choose the repair method that matches the existing pattern.
Key Takeaways
- Find and correct moisture before applying compound, primer, or paint.
- Small cosmetic damage can often receive a local texture patch.
- Texture matching requires the same tool, spray pattern, pressure, and material thickness.
- Mold, soft drywall, recurring cracks, and leak damage need professional assessment.
- A full-wall repaint often creates a better color and sheen match than a small touch-up.
Why Southwest Florida Walls Need Extra Preparation
Fort Myers, Naples, Cape Coral, Bonita Springs, and nearby communities deal with long periods of heat and high humidity. Indoor air conditioning helps, but closed rooms can still hold moisture after storms, plumbing problems, or extended periods without ventilation.
That moisture can weaken drywall paper, soften joint compound, and cause paint to blister or peel. It can also create conditions for mold growth behind or around a damaged area. Applying fresh texture over a damp surface only hides the problem for a short time.
Check the wall for warning signs before touching the damaged spot:
- Yellow, brown, or gray stains
- Bubbling paint or loose texture
- A soft, swollen, or crumbly surface
- Musty odors
- Cracks that return after previous repairs
- Dark spotting around trim, outlets, ceilings, or plumbing fixtures
A moisture meter can help identify damp drywall, but readings require context. Compare the suspect area with a dry section of the same wall, and inspect nearby plumbing, windows, doors, attic spaces, and exterior penetrations.
Fresh texture should never be the first response to an active leak. Stop the water source, dry the assembly, and assess the drywall before cosmetic work begins.
A wall may feel dry on the surface while moisture remains inside the drywall or framing. Fans and dehumidifiers can improve air movement, but they don't replace leak repairs or professional water mitigation when materials are saturated.
How to Tell Cosmetic Damage From a Larger Problem
Knockdown texture repair is suitable when the drywall remains firm and the damage affects only the finish or a shallow surface area. Typical cosmetic repairs include nail holes, small dents, light scrapes, and isolated areas where furniture or a doorknob damaged the texture.
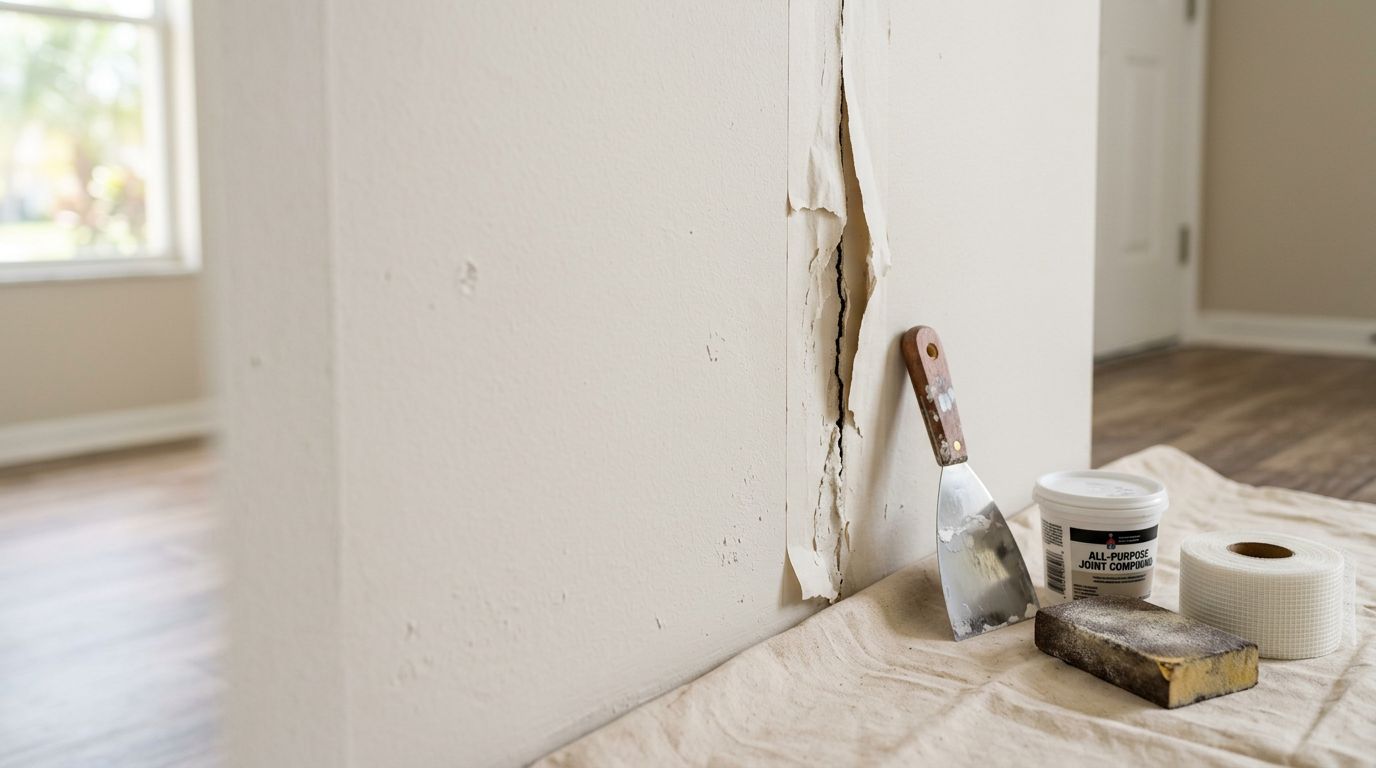
Larger damage needs a closer inspection. If the drywall paper has torn, the compound has separated from the board, or the area feels soft, the repair may require cutting out damaged material. Water-stained drywall may also need replacement, depending on the extent and condition of the board.
Professional help is the safer choice when:
- The wall has active or recurring moisture.
- The damaged area smells musty or shows possible mold.
- Drywall feels soft, swollen, or unstable.
- Cracks run across several walls or follow doors and windows.
- Damage follows a roof leak, plumbing failure, storm intrusion, or contaminated water.
- Electrical components sit inside or near the affected area.
For leak-related damage, use this guide to repair water-damaged drywall before planning texture and paint work.
Cosmetic texture work cannot correct structural movement, hidden moisture, mold contamination, or damaged framing. Those conditions require a different repair plan.
Materials and Tools for a Small Texture Patch
For a minor, dry repair, gather the tools before you begin. The exact products may vary, but the basic setup usually includes:
- Premixed joint compound or lightweight setting compound
- Fine-grit sanding sponge
- Putty knife or drywall knife
- Primer rated for drywall repairs
- Matching wall paint
- A spray texture can or texture hopper, if the pattern requires spraying
- A wide drywall knife for flattening the texture
- Drop cloths, painter's tape, gloves, and eye protection
Premixed compound gives you more working time and is easier for small patches. Setting-type compound hardens faster, which can help in humid conditions, but it requires faster application and cleanup.
Choose the material based on the existing wall. A heavy knockdown pattern may need a thicker texture mix, while a light finish needs less material and a softer spray. Test the product on a piece of scrap drywall or cardboard first.
Ventilation matters in Southwest Florida. Run the air conditioner or a dehumidifier during the repair, and keep the room at a stable temperature. Avoid sealing the wall while the compound still feels cool, damp, or soft.
Step-by-Step Knockdown Texture Repair
1. Protect the room and remove loose material
Cover the floor and nearby furniture. Use painter's tape around trim, switches, outlets, and surfaces that should remain clean.
Scrape away loose texture with a putty knife. Don't force material that remains firmly attached. Feather the edges so the repair can blend into the surrounding wall instead of ending at a sharp rectangle.
2. Fill and level the damaged area
Apply a thin coat of joint compound over dents, holes, or torn drywall paper. Press the compound into the repair, then smooth it slightly below the surrounding surface if the texture will add thickness.
Deep holes may need more than one coat. Let each coat dry before adding another. In humid weather, drying can take longer than the label suggests, especially on walls with limited air movement.
Sand only enough to remove ridges and high spots. Excessive sanding can expose drywall paper or create a smooth depression that will show through the final texture.
3. Seal exposed paper and repaired compound
Apply drywall primer to the patch before texturing. Primer controls absorption and helps prevent a dull or uneven paint spot.
If torn drywall paper has fuzzy edges, seal it first with a suitable problem-surface primer. Skipping this step can cause the paper to wrinkle when it contacts water-based compound or paint.
4. Recreate the texture pattern
Knockdown texture usually begins with small raised deposits of compound. Depending on the existing finish, you may apply the material with a texture sprayer, hopper, brush, or sponge.
Spray or place the texture beyond the patch edges. Matching only the damaged spot often creates a visible outline. Keep the application light at first. You can add material, but removing too much texture is harder.
Wait until the raised spots lose their wet shine but remain soft enough to flatten. Then hold a clean, wide drywall knife nearly flat against the wall and skim across the peaks with light pressure.
Don't press hard or make repeated passes. A heavy hand can flatten the repair completely, while inconsistent pressure creates lines that catch light.
5. Allow the area to dry fully
Drying time depends on compound depth, humidity, temperature, ventilation, and the material used. The patch should feel firm and have a uniform color before priming or painting.
In a humid room, rushing this stage can trap moisture under primer and paint. The surface may appear finished at first, then develop flashing, bubbling, or a visible texture edge later.
6. Prime and repaint the wall
Prime the repaired area after the texture dries. Use a roller nap that resembles the surrounding wall's paint application, and feather the primer slightly beyond the patch.
Paint color changes with age, sunlight, cleaning, and sheen. For the least noticeable result, paint the entire wall from corner to corner instead of stopping around the repair. A small touch-up may work when the wall is new or the color match is exact.
Matching Knockdown Texture Without Making the Patch Obvious
Texture matching is more than selecting a product labeled "knockdown." Walls vary in texture size, spacing, height, and flattening pressure. Even two rooms in the same building may have different finishes.
Before applying the patch, inspect the wall in both natural light and room lighting. Light from a window or recessed fixture can make raised edges stand out. Photographing the texture at close range can also help you compare the repaired area with the original pattern.
A contractor may adjust:
- Spray distance from the wall
- Nozzle size and air pressure
- Compound consistency
- Droplet size
- Waiting time before knockdown
- Knife angle and pressure
- Paint roller nap and application direction
If the existing wall has orange peel instead of knockdown, use a different method. Orange peel texture stays raised and rounded, while knockdown texture receives a light flattening pass. This guide to fixing orange peel texture covers the differences and the conditions that call for professional repair.
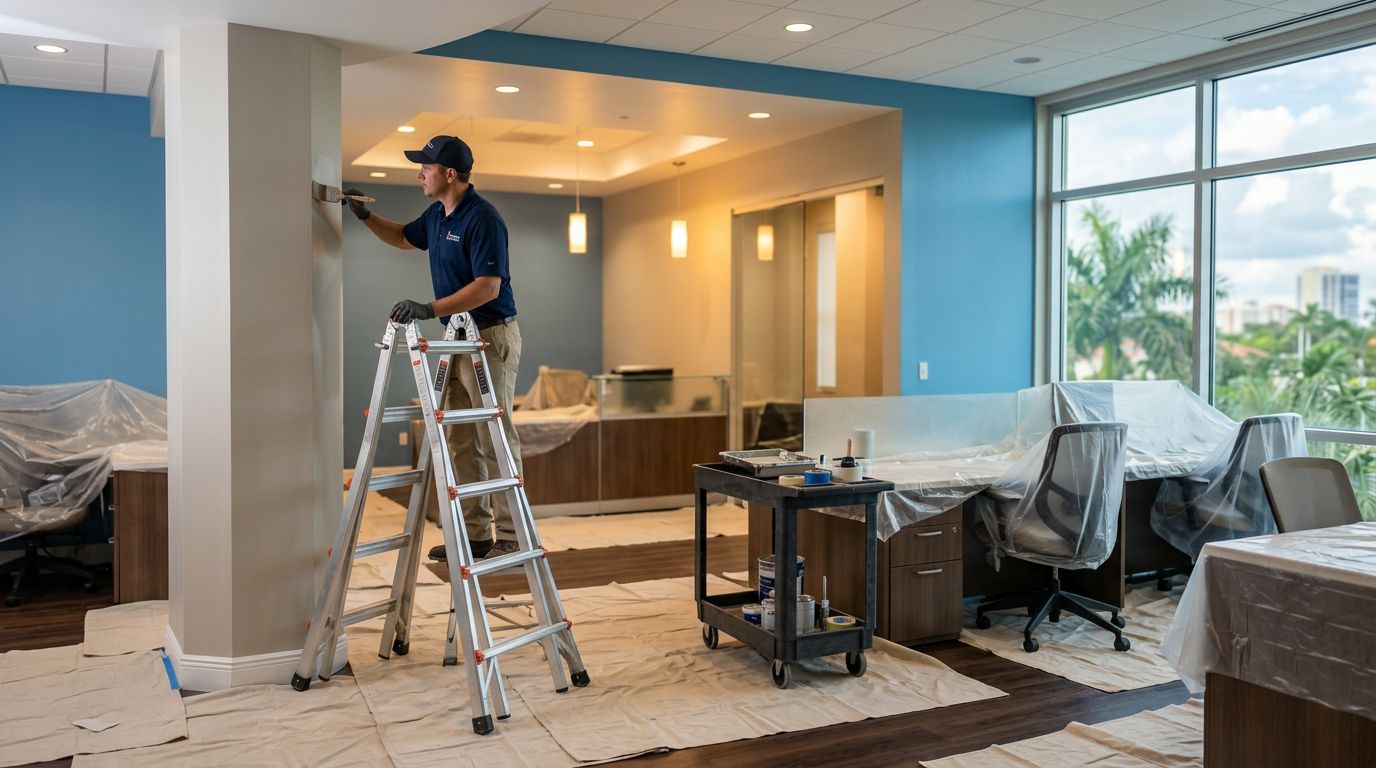
For commercial spaces, texture matching also needs to account for larger sightlines. Bright lobby lighting, long corridors, and open offices can reveal a patch that might disappear in a small bedroom.
When to Hire a Painting Contractor
DIY repair makes sense for a dry, isolated blemish when you have the time to test the texture and accept that the first attempt may need adjustment. Professional service is a better fit when the wall has widespread damage, a difficult pattern, high ceilings, or a large repainting project.
A qualified painting contractor can coordinate moisture inspection, drywall preparation, texture matching, priming, and finish painting. That matters because a textured repair is only one part of the final appearance. Poor surface preparation, mismatched sheen, or incomplete drying can make a sound patch look defective.
Project pricing depends on the repair size, access, number of patches, texture type, primer needs, and whether the contractor paints one wall or the entire room. Review this drywall repair cost guide for factors that affect wall patching and texturing expenses in Fort Myers and Naples.
For businesses, schedule repairs around occupancy and protect equipment, floors, and furnishings. A contractor should explain the preparation steps, expected drying time, paint scope, and cleanup plan before work begins.
Keeping Repaired Walls in Good Condition
Once the repair and paint have cured, control the conditions that caused the damage. Use bathroom exhaust fans during showers, keep air conditioning filters clean, and watch for condensation around vents, windows, and exterior doors.
Inspect ceilings and walls after major storms, especially near windows, lanai doors, roof penetrations, and plumbing fixtures. Small stains are easier to investigate before the drywall becomes soft.
Avoid pushing furniture tightly against damp exterior walls. Leave enough space for air circulation, and respond to peeling paint or musty odors instead of covering them with a new coat.
A stable indoor environment also helps maintain the finish. Sudden temperature changes and recurring humidity can affect both drywall and paint, so ventilation and prompt leak repairs support the texture's appearance over time.
Conclusion
A successful knockdown texture repair starts with moisture diagnosis, not compound. Confirm that the wall is dry and stable, repair the substrate, match the texture, and allow every layer to dry before painting.
Small cosmetic damage may respond well to careful DIY work. Water stains, mold concerns, soft drywall, recurring cracks, and storm or plumbing damage need professional assessment. When the finish must disappear under Southwest Florida lighting, proper preparation and full-wall painting often produce the cleanest result.
More featured articles...