How to Prep Oxidized Pool Cages Before Repainting in Florida
Florida weather is rough on aluminum. Sun, humidity, salt air, rain, and pool chemicals can turn a clean-looking cage chalky faster than many homeowners expect. If you paint over that oxidation without proper prep, the new coating can peel, blister, or fail early.
The good news is that most repainting problems start before the first coat goes on. Clean prep gives the primer a sound surface to grip, which is the difference between a finish that lasts and one that starts flaking after the next wet season.
Key Takeaways
- Oxidation has to come off first or new paint will struggle to bond.
- Florida moisture creates hidden problems , especially in corners, joints, and shaded areas.
- Cleaning, sanding, and spot repairs matter more than the color you choose.
- A good primer for aluminum helps the finish hold up against heat, rain, and salt air.
- Deep pitting or structural damage may mean the cage needs repair before repainting.
Why Florida Pool Cages Oxidize So Fast
Aluminum holds up well, but Florida pushes it hard. UV exposure breaks down old coatings, afternoon storms keep surfaces damp, and coastal salt air speeds up wear on exposed metal. Add chlorine splash, mildew, and trapped moisture around fasteners, and you get that white, powdery film that shows up on older cages.
That powder is a sign the surface is failing. It can look minor at first, but it acts like dust between the metal and the new coating. Paint sticks to the powder instead of the frame, and that weak bond is where peeling starts.
If the cage has deep corrosion, bent sections, or repeated coating failure, repainting may not be the right first move. In that case, deciding whether to paint or replace a rusty pool cage is part of the conversation.
Start With a Close Inspection
Before you wash anything, walk the entire cage and look at it in good light. Pay attention to the lower rails, corners, door frames, screen channels, and the top sections that take the most sun. These areas usually show the earliest signs of oxidation.
A quick inspection helps you separate light surface wear from damage that needs repair.
| What you see | What it usually means | Prep needed before repainting |
|---|---|---|
| White chalk on your hand | Surface oxidation | Wash, then abrade the surface |
| Paint lifting at edges | Failed bond | Remove loose coating and feather edges |
| Dark pits or rough spots | Deeper corrosion | Sand carefully and inspect for damage |
| Loose screws or brackets | Movement and wear | Tighten or replace hardware |
| Mildew in shaded corners | Trapped moisture | Clean thoroughly and dry fully |
Light chalking is usually a prep job. Deep pitting, warped sections, or loose framing can point to a bigger issue. When the structure is questionable, paint or replace a rusty pool cage stops being a side question and becomes the main one.
Clean the Frame Before You Sand
Dirt, sunscreen residue, mildew, pollen, and salt film all interfere with adhesion. Start with a gentle wash using a cleaner made for exterior metal surfaces, then scrub the frame with a soft brush or nonabrasive pad. Rinse well so no cleaner stays behind.
Pressure washing can help, but only when it stays controlled. Too much force can drive water into joints, loosen failing paint, or damage screen material. A rinse should remove grime, not force moisture deeper into the frame.
Let the cage dry all the way through. In Florida, that can take longer than people think, especially on shaded sides and inside screen channels. Morning dew, humid air, and trapped water around fasteners can all spoil the next step.
If the frame still leaves white dust on your hand after washing, it isn't ready for primer.
The goal here is simple. The metal needs to be clean, dry, and free of anything soft or flaky before sanding starts.
Remove Oxidation Without Damaging the Aluminum
Once the cage is clean, remove the loose oxidation and failed coating. Hand sanding works better than aggressive grinding on most pool cages because it gives you more control around joints, corners, and thin aluminum members. Start with a medium abrasive pad or sandpaper, then smooth the rough areas so the surface feels even.
Focus on two things. First, take off anything that can lift later. Second, feather the edges where old paint meets bare metal so the transition does not show through the finish. If the old coating stops in a hard line, the new paint is more likely to telegraph that edge.
Do not grind into the aluminum or leave gouges. Thin frame members can show every mistake. Steel wool is also a poor choice on this type of project because it can leave residue and create cleanup problems around nearby metal parts.
A proper prep surface should look dull, not shiny, and feel solid, not dusty. If you can still rub off chalk after sanding, the surface needs more work before primer goes on.
Fix Small Problems Before Primer
Prep is not only about removing oxidation. It also means fixing the little failures that can ruin a new finish later. Tighten loose screws, replace worn fasteners, and look for hardware that has started to corrode. If a screw head is stripped or a bracket has movement, address it before painting.
Check joints, wall ties, and seams for gaps or cracked sealant. Water gets into small openings during Florida rain, then sits there after the sun comes back out. That trapped moisture can break down fresh coating from behind. Remove loose sealant and re-seal only where needed with an exterior product that fits painted metal.
Small pits and damaged spots may need a repair compound rated for metal. Apply it only after the area is clean and dry, then sand it smooth so it blends with the rest of the frame.
Surface repairs also affect how long the finish lasts. If you want a better picture of the timeline, how long screen enclosure paint lasts in Southwest Florida depends heavily on the prep work done before the first coat.
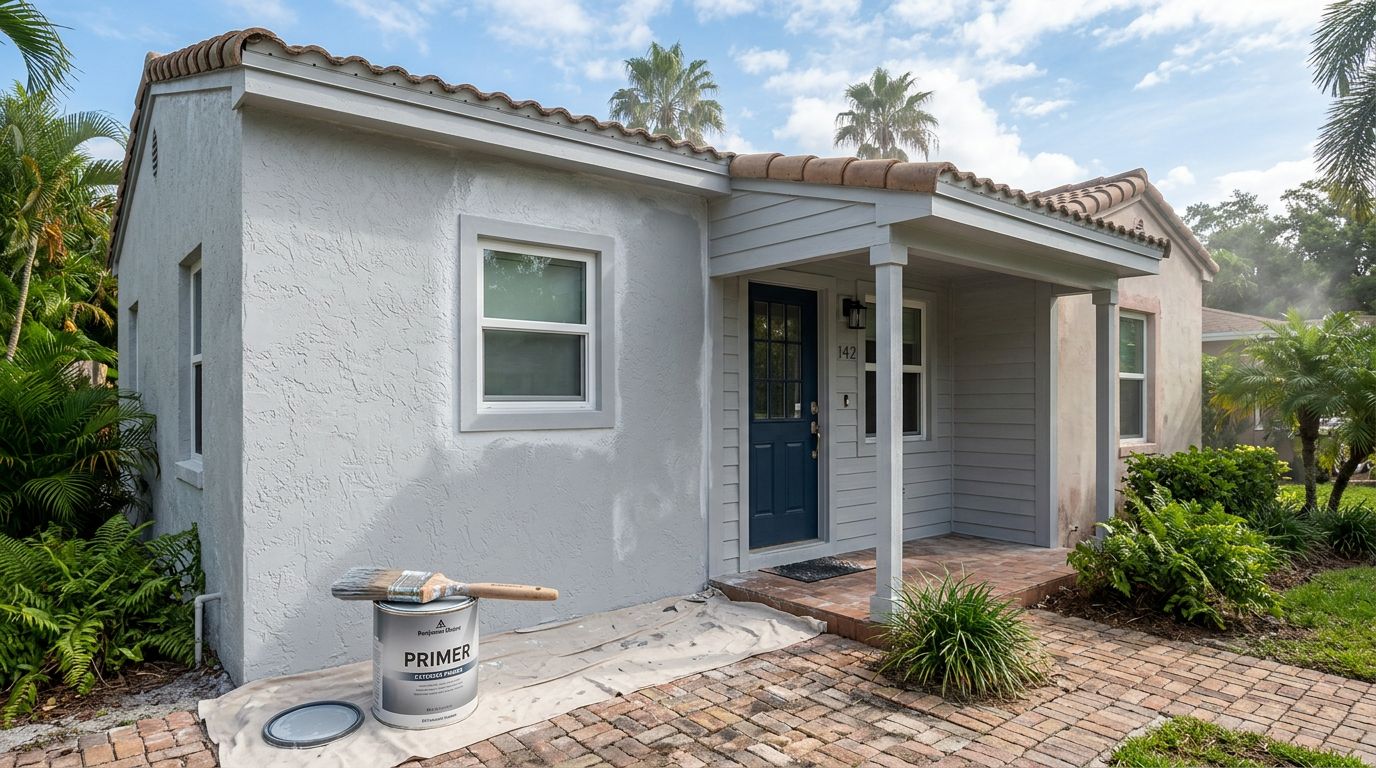
Mask, Protect, and Prime for Florida Conditions
Before primer, protect everything around the cage. Cover pavers, pool water, furniture, and nearby plants. Take a little extra time at doors, track areas, and corners where overspray or sanding dust can collect. Cleanup gets easier when you mask carefully now.
Primer choice matters just as much as surface prep. Use a primer made for aluminum or a bonding primer designed to handle metal in exterior conditions. That matters in Florida because heat, rain, and salt air keep testing the coating long after the job looks finished.
Pick the right weather window, too. Avoid priming when the frame is damp, when rain is close, or when heavy morning moisture is still on the metal. A dry surface with a steady forecast gives the coating a much better start.
A few checks help before you open the primer:
- The frame feels dry in shaded spots and joints.
- No chalk comes off on a clean cloth.
- Sanded areas are smooth and evenly dulled.
- The forecast gives you enough dry time for the coating to set.
Primer only helps when the surface underneath is truly ready.
When Prep Is Beyond a DIY Fix
Some cages need more than sanding and primer. Deep pitting, heavy flaking, loose framing, cracked welds, or repeated coating failure can point to structural wear. If the frame flexes or the corrosion keeps coming back in the same spots, more prep will not solve the problem by itself.
That is also true when the screen channels, fasteners, or anchor points are in poor shape. Repainting over weak metal only hides the problem for a short time. Once the new coating starts to fail, the same damage usually shows through again.
For homeowners in Southwest Florida, this is where a professional inspection can save time and money. A contractor who works with aluminum enclosures can tell you whether the cage needs repair, replacement, or a repainting plan that starts with stronger prep.
Conclusion
Oxidized pool cages need more than a fresh coat of paint. They need clean metal, removed chalk, solid repairs, and primer that can handle Florida heat and moisture.
When you prep the frame the right way, the new finish has a real chance to bond. When you skip steps, peeling and poor adhesion show up fast, especially under sun, salt air, and daily humidity.
A repaint starts with the surface you can see and the problems you fix first. That is what gives the finished cage a fair shot at lasting through another Florida season.
More featured articles...