How to Paint Aluminum Siding in Southwest Florida Without Peeling
Florida sun, salt air, humidity, and sudden rain can turn a neat exterior paint job into peeling, chalking, or mildew within a short time. To paint aluminum siding successfully, you need more than a fresh color. The surface must be clean, dry, properly scuffed, and matched with a compatible primer and topcoat.
The strongest results come from careful preparation and a suitable weather window. This guide explains how Southwest Florida homeowners and property managers in Fort Myers, Naples, Cape Coral, Bonita Springs, and Estero can reduce peeling risks.
Why Aluminum Siding Peels in Southwest Florida
Aluminum siding handles outdoor exposure well, but its coating still faces constant stress. UV rays break down old paint binders and create chalking. Humidity slows drying, while rain can push water into seams, joints, and failed caulk lines.
Coastal properties also collect salt film. When moisture wets that residue, adhesion becomes harder and corrosion can develop around fasteners or damaged areas.
Chalking creates a weak surface
Run your hand over the siding before planning the project. If white or colored powder transfers to your skin, the old coating is chalking. New paint applied over that powder may bond to the residue instead of the aluminum.
Mildew creates another adhesion problem, especially on shaded elevations, under roof overhangs, and near dense landscaping. Clean biological growth before sanding or priming. Never use paint to hide active mildew or moisture.
Heat and moisture work together
Aluminum expands and contracts as its temperature changes. Dark colors can absorb more heat, which may place additional stress on the coating. Moisture behind the paint creates a separate failure cycle. As water enters small cracks or open joints, the coating can blister, loosen, and peel.
A clean-looking wall can still hold moisture around laps, brackets, windows, and shaded seams. That is why a careful inspection matters before any coating goes on.
Inspect and Prepare the Aluminum
Preparation determines whether the new finish bonds to the siding or releases with the old coating. Start with a close inspection in daylight, including areas behind downspouts, beneath eaves, and around windows and doors.
For a broader preparation checklist, review this guide to how to prep your home exterior before painting.
Identify damage before washing
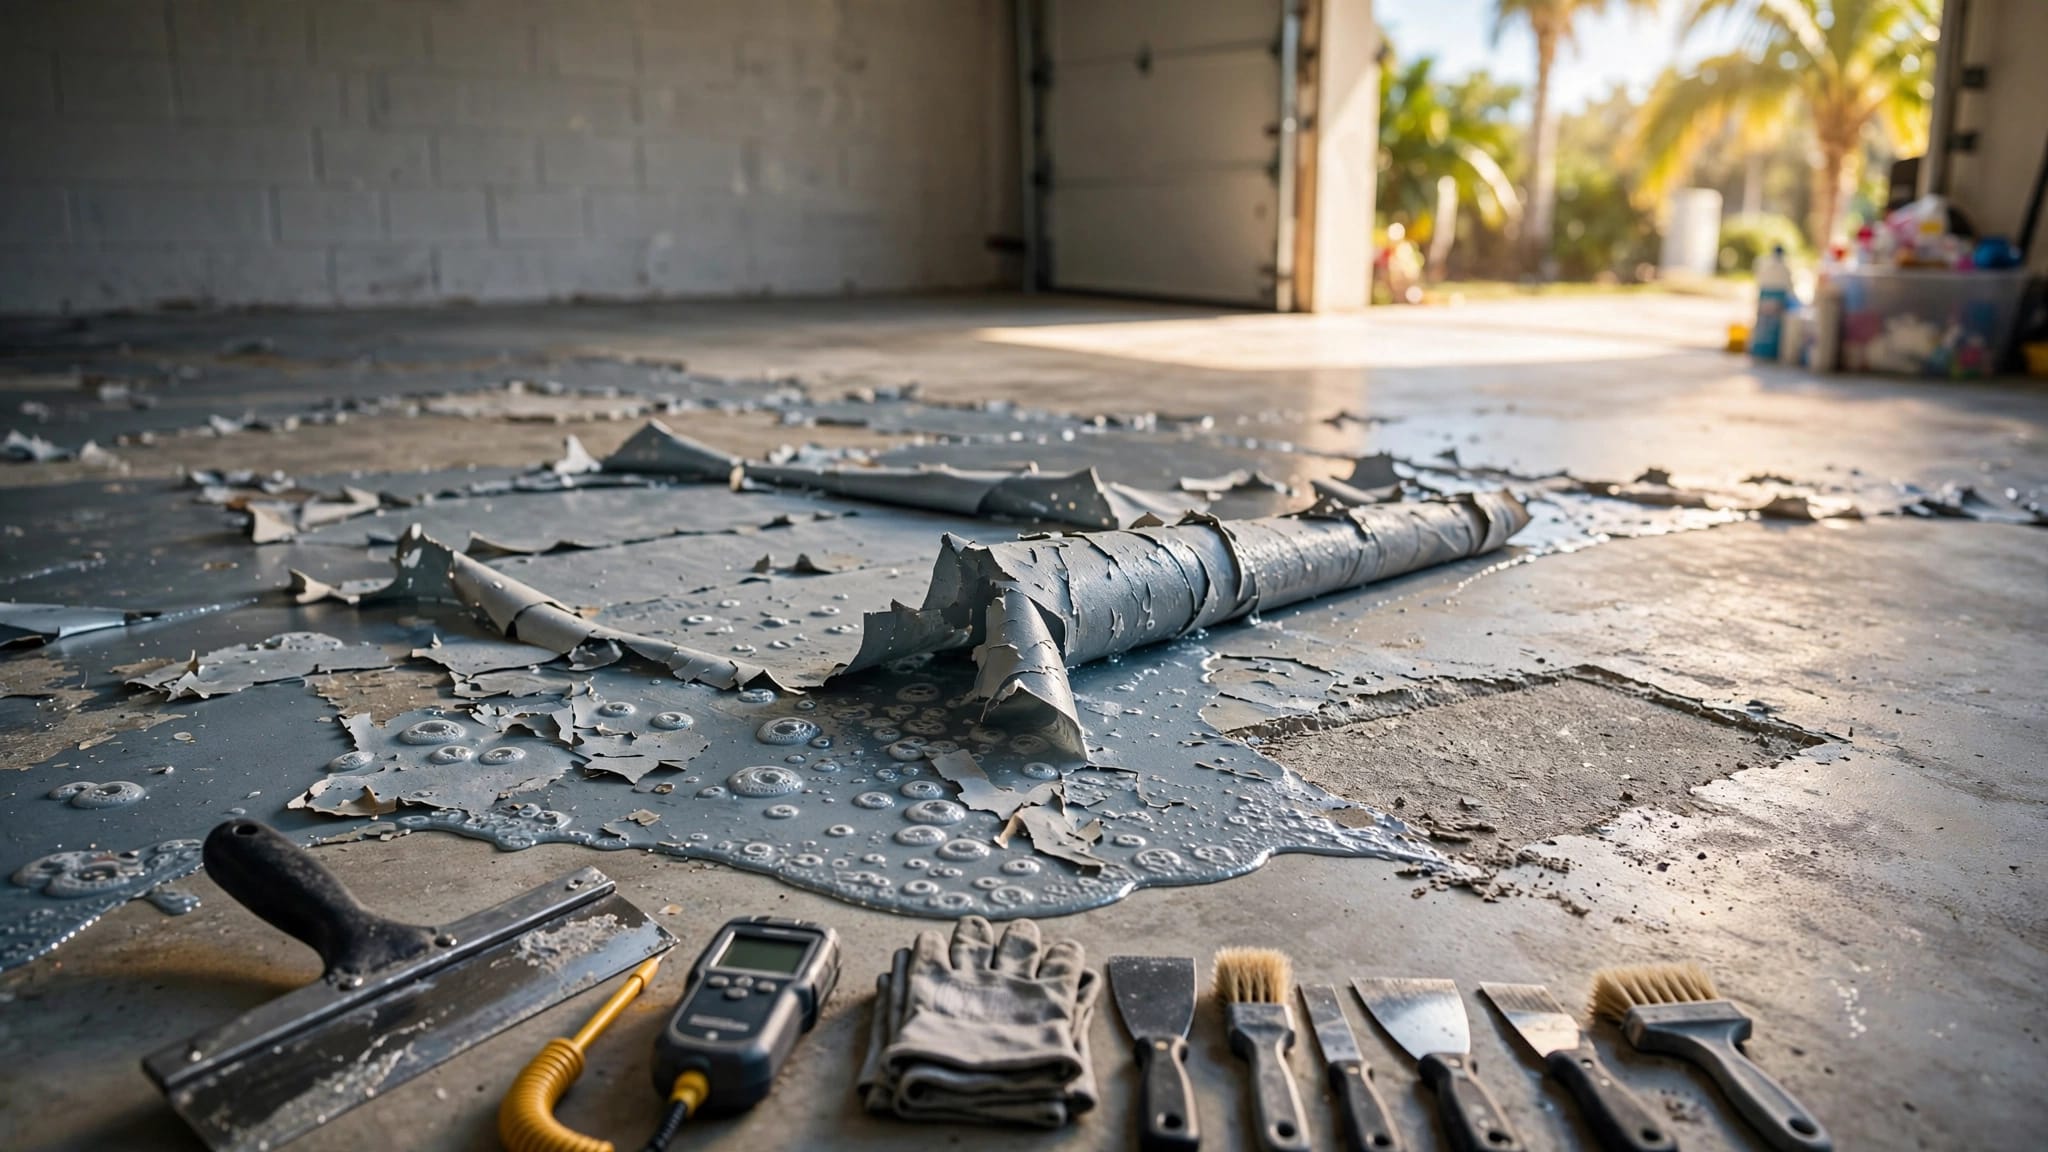
Look for loose paint, flaking edges, white oxidation, dents, pitting, mildew, rusted fasteners, and cracked sealant. Scrape away anything loose, then sand the remaining edges until they feel smooth and firmly attached. Feathering the edges helps prevent visible ridges after painting.
White, crusty oxidation needs removal before primer. If the aluminum has deep pitting or extensive corrosion, painting alone may not solve the problem. A contractor may recommend replacing damaged sections or repairing fasteners first.
Check caulk around windows, doors, trim transitions, and siding joints. Use an exterior-rated sealant where appropriate, but don't block weep paths, drainage channels, or movement gaps. Paint cannot stop water entering through a failed joint.
Wash away salt, dirt, mildew, and chalk
Wash the siding with a cleaner approved for the surface, then rinse thoroughly with fresh water. A soft brush can help remove stubborn chalk and mildew without gouging the metal. Avoid harsh scrubbers that leave deep scratches.
Pressure washing requires care. Excessive pressure can force water behind siding, trim, windows, electrical components, and sealant. A professional crew adjusts the cleaning method to the material and condition of the home.
Allow the siding to dry fully before sanding or priming. Shaded walls, seams, and areas beneath overhangs may stay damp longer than sunny sections. Paint should not go on when the surface feels cool, wet, dusty, or powdery.
If the surface still leaves residue on your hand after washing, it needs more preparation before paint can grip.
Choose the Right Primer and Coating
Primer selection depends on the condition of the aluminum, the existing finish, and the planned topcoat. A product that works on masonry or wood may not adhere well to nonferrous metal.
Read the product label before buying materials. The label should address aluminum, exterior exposure, surface preparation, recoat timing, and compatibility with the finish coat.
Use a primer made for aluminum
Bare aluminum and oxidized areas often need a primer designed for nonferrous metal. A metal-friendly primer or direct-to-metal system may be suitable when the product specifically approves aluminum.
Some previously painted surfaces may accept a 100% acrylic exterior primer after proper washing and scuffing. However, that does not make acrylic primer the automatic choice for every aluminum surface. The substrate and coating system must match.
For a closer look at these decisions, see this guide to choosing the right primer for Florida exteriors.
Match the topcoat to the primer
The finish paint should be approved for exterior metal and compatible with the primer. A 100% acrylic exterior coating is common for many exterior applications, but the label determines whether it fits your aluminum siding and existing finish.
Do not assume a universal primer will work. Factory-finished aluminum, powder-coated surfaces, weathered bare metal, and previously painted siding can require different preparation. Some products may react with an existing coating or fail under long-term exterior exposure.
Choose a color with heat exposure in mind. Lighter and medium shades generally place less heat stress on the siding than very dark colors. A satin or low-luster finish can provide a practical balance between washability and visibility of surface flaws.
Apply the Paint Without Creating New Failure Points
Good materials cannot compensate for rushed application. Plan the project around the weather, not simply the calendar. Afternoon storms, high humidity, and direct sun can interrupt the coating process.
Work on a dry stretch with enough time for each layer to meet the label's drying and recoat requirements. A surface that feels dry to the touch may not be ready for another coat.
Follow the label and control the work area
Mix or stir the coating according to the manufacturer's instructions. Don't add water or thinner unless the label allows it. Apply thin, even coats rather than trying to hide the old color with one heavy application.
Brush edges and detailed areas carefully, then use the approved roller or sprayer for broad siding surfaces. Keep a wet edge and avoid repeatedly brushing paint after it begins to set. That can create uneven texture and weak coverage.
Protect windows, doors, pavers, plants, screens, and outdoor equipment. If spraying, control overspray and avoid painting in strong wind. Keep ladders stable, and never work near electrical components without proper precautions.
Check adhesion and coverage as you go
Before coating the entire house, test the planned system in a small, inconspicuous area. The test surface must already be clean, dry, and prepared. Testing over chalk, mildew, or loose paint produces misleading results.
Inspect the primed area after it dries. Look for lifting, wrinkling, poor coverage, or a reaction with the old finish. If any problem appears, stop and confirm the product system before proceeding.
Use the number of finish coats specified by the product manufacturer. Make sure the coating reaches seams, edges, and repaired areas without creating heavy buildup. Vented aluminum soffits require extra care because excessive paint can bridge openings and restrict airflow. Guidance on painting aluminum fascia and soffits covers this concern in more detail.
Maintain Painted Aluminum Siding
Maintenance helps you catch small problems before water and corrosion spread behind the finish. Rinse the siding during regular exterior cleaning, especially after pollen season, coastal winds, or stormy weather.
Mild soap and a soft rinse are usually better than aggressive scrubbing. Clean mildew early, and keep vegetation trimmed away from the walls so shaded areas can dry after rain.
Watch the joints and fasteners
Inspect caulk lines, laps, brackets, screws, and areas beneath windows. Cracked sealant can let water behind the paint and restart the peeling cycle. Rust around fasteners may also push paint away from the metal.
Touch up small damaged spots after cleaning and drying them. Paint hides color differences, but it cannot repair loose siding, active leaks, severe corrosion, or structural damage.
Use service life as a planning guide
Aluminum or metal trim in Southwest Florida commonly has a general repainting range of about six to ten years. Salt exposure, thin primer, rust at fasteners, intense sun, and poor preparation can shorten that range.
That timeframe is a planning reference, not a guarantee for every siding installation. Annual inspections are more useful than waiting for a fixed repaint date. This Southwest Florida exterior trim repainting schedule explains the conditions that affect maintenance timing.
Key Takeaways
- Remove chalk, mildew, salt film, loose paint, and oxidation before coating.
- Repair failed caulk, rusty fasteners, pitting, and water-entry points first.
- Choose a primer approved for aluminum or the specific existing finish.
- Match the topcoat to the primer and follow every label instruction.
- Paint during a dry, moderate weather window, away from rain and intense direct sun.
- Use light coats and avoid heavy buildup on vented soffits or drainage areas.
- Inspect the finish regularly, especially after storms and coastal winds.
FAQ
Can you paint aluminum siding that is already peeling?
Yes, but scrape and sand the failing coating back to a sound edge first. Remove chalk and oxidation, clean the surface, and spot-prime exposed aluminum with a compatible product. Painting over loose edges only hides the problem temporarily.
Is pressure washing safe for aluminum siding?
It can be, but careless pressure washing may force water behind siding, windows, trim, and electrical components. Use a surface-appropriate cleaning method, protect vulnerable areas, and rinse away all cleaner and salt residue.
Do you always need primer before painting aluminum siding?
Bare, oxidized, heavily weathered, or sanded-through aluminum usually needs a primer approved for aluminum or nonferrous metal. Some stable previously painted surfaces may follow a different system. The product label and surface condition determine the correct choice.
What happens if it rains after painting?
Rain can damage uncured paint, create streaks, and weaken the bond. Check the product's rain and cure requirements before starting. Southwest Florida's afternoon storms make scheduling important, especially on shaded elevations that dry slowly.
Should homeowners hire a contractor for aluminum siding?
Professional help makes sense when the home has multiple stories, extensive oxidation, difficult access, widespread peeling, or uncertain existing coatings. A contractor can evaluate the substrate, select a compatible system, manage weather conditions, and protect nearby property during application. For general project planning, review what to expect during an exterior paint project.
Conclusion
To paint aluminum siding without early peeling, treat preparation as the main project rather than a quick step before color. Remove chalk, salt, mildew, oxidation, and loose paint. Then use a primer and topcoat approved for the actual aluminum surface.
A dry weather window, careful application, and regular inspection will give the finish a better chance against Southwest Florida's heat, rain, humidity, UV exposure, and salt air. The cleaner and more stable the surface is before painting, the more reliable the finished siding will be.
More featured articles...