What To Expect During A Southwest Florida Exterior Paint Project
A fresh coat of paint should make your home look sharper and stay protected longer. In Southwest Florida, that protection matters because sun, salt air, humidity, and surprise storms work on your exterior every day.
If you're planning a southwest florida exterior painting project, the process shouldn't feel mysterious. You deserve clear timing, daily expectations, and a plan for weather delays.
Below is what most homeowners can expect, from the first estimate to the final walkthrough, with practical prep tips that keep the job moving.
From estimate to schedule: how the project gets defined
The first visit usually sets the tone for everything that follows. A good estimator doesn't just measure walls and quote a price. They also look for the reasons paint fails in SWFL, then build the scope around those risks.
Expect the onsite consultation to cover:
- Surface type and condition : Stucco, fiber cement, wood trim, soffits, fascia, doors, and garage doors all need different prep and coatings.
- Existing paint problems : Chalking, peeling, hairline cracks, rusty nail pops, soft wood, or recurring mildew.
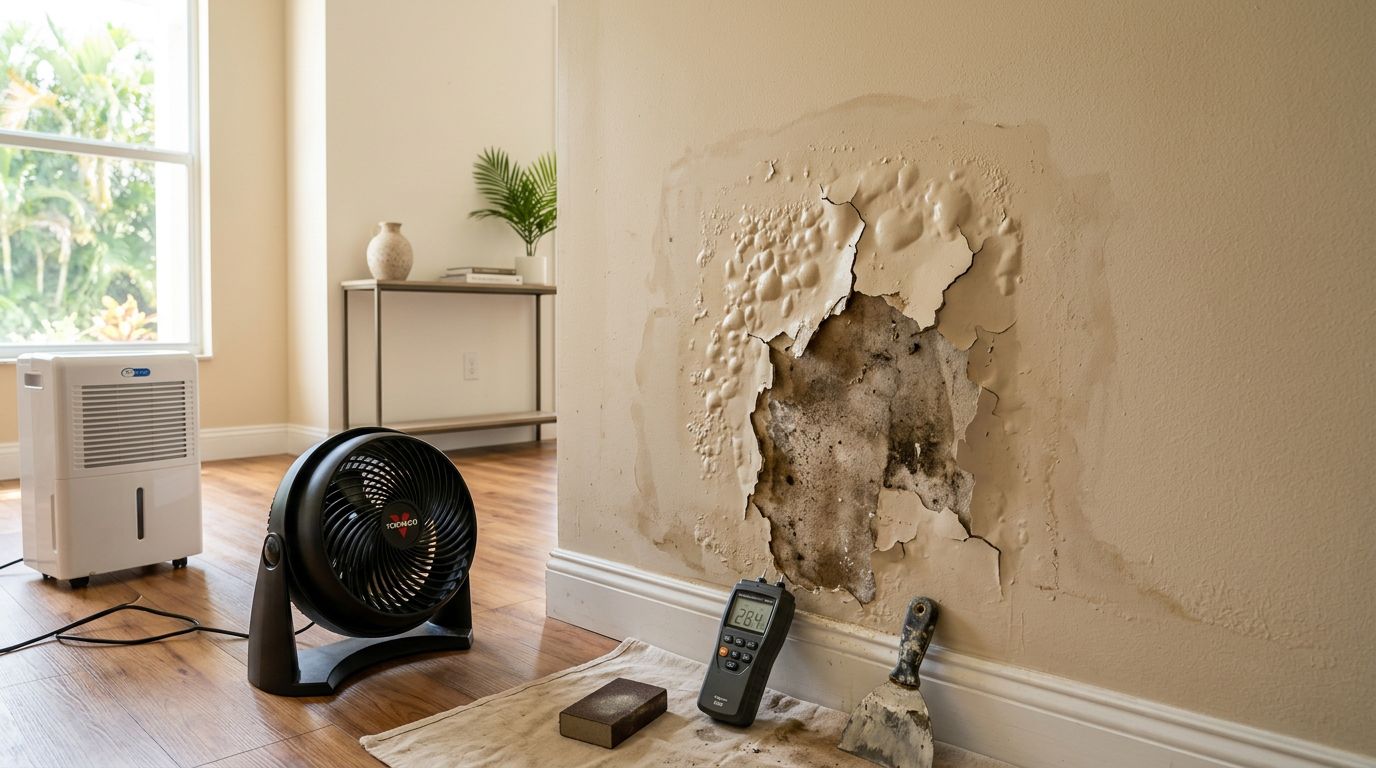
- Moisture sources : Sprinkler overspray, clogged gutters, grade that holds water, or shaded elevations that dry slowly.
- Access and protection needs : Landscaping, screened lanais, pool decks, pavers, and tight side yards.
- Color and sheen planning : Bright sun changes how colors read. Many homeowners test samples on more than one wall.
Soon after, you'll get a written proposal that lists prep steps, repair allowances (if any), paint system notes (primer and finish coats), and what's excluded. Read the exclusions carefully. If rotten trim replacement, large stucco patching, or specialty coatings aren't included, it's better to know before the crew arrives.
If you want a feel for the types of exterior services typically offered for homes in the area, see residential house painters Fort Myers.
Weather is part of the schedule in SWFL. A responsible contractor builds in flexibility, then updates you quickly when rain shifts the plan.
Quick disclaimer on approvals and local rules
Requirements can vary by municipality, community rules, and HOA. Color approval, work hours, parking rules, and notice postings may apply. Confirm your local requirements before work starts, and share any written rules with your contractor.
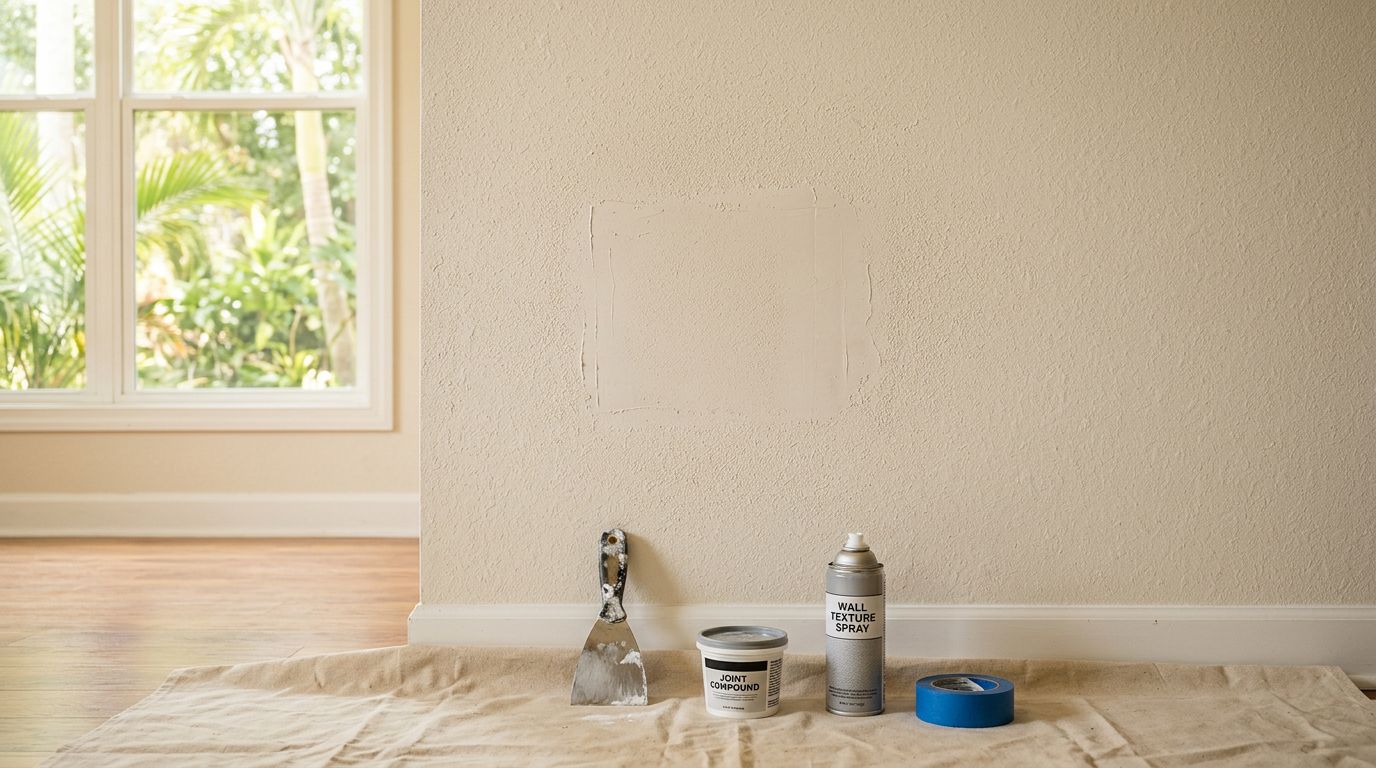
Prep work in Southwest Florida: where the project is won or lost
In this climate, prep isn't "extra." Prep is the job. Paint needs a clean, sound surface, and SWFL homes often have salt residue, mildew pressure, and sun-baked chalking that can block adhesion.
Here's what you'll usually see before the first finish coat goes on:
1) Washing and mildew treatment
Most exteriors need a thorough wash to remove dirt, chalk, and salty film. If mildew is present, the crew should treat it so it doesn't grow back through the new coating. Washing also reveals issues that were hidden by grime.
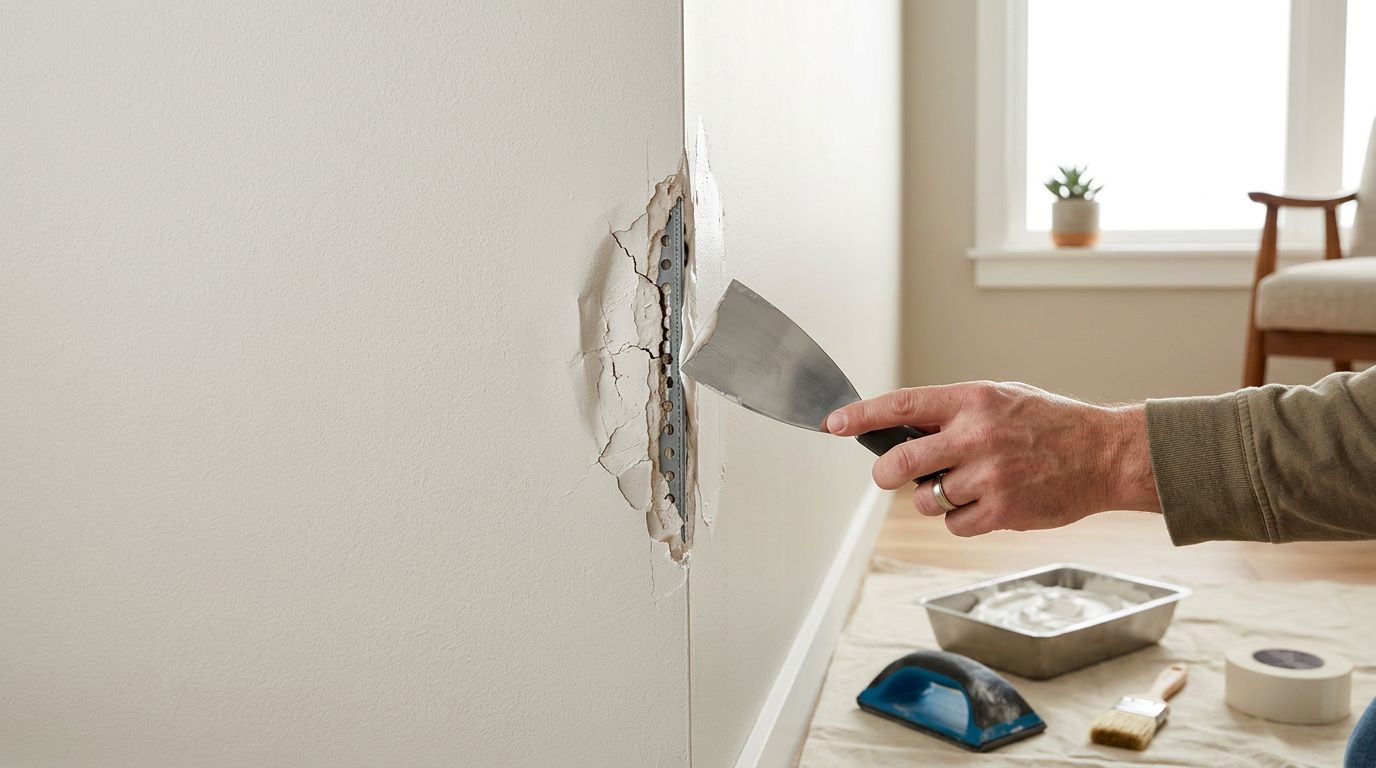
2) Scraping, sanding, and feathering edges
Any loose paint gets removed. Edges get sanded so repaired areas don't "telegraph" through the finish. On trim, sanding also helps the new coat bond evenly.
3) Repairs that stop future failures
Small stucco cracks may get patched, then sealed. Failed caulk around windows and doors gets replaced. If wood has rot, it should be repaired or replaced before paint, otherwise the new finish won't last.
4) Priming that matches the problem
Primer choice depends on the surface and the issue, not just the color. Bare spots, repaired areas, stained locations, and patched stucco often need primer so the finish coat cures evenly and looks uniform.
If your home is stucco, repaint cycles can be shorter near the coast. For timing and warning signs, bookmark how often to repaint stucco in Southwest Florida.
Homeowner prep checklist (so the crew can start on time)
A little prep on your side prevents day-one delays. Use this short list as a baseline:
- Move vehicles away from the work zone, including the driveway if ladders will be set there.
- Trim plants back 12 to 24 inches from walls, and remove fragile pots or décor.
- Turn off irrigation (or re-aim heads) to keep walls dry during prep and paint days.
- Take down wall items like hose holders, flags, and light décor, if requested.
- Secure pets and plan for door access if painters need to open gates.
- Close windows and doors during sanding, spraying, and pressure washing.
Day-by-day expectations, timelines, and the final walkthrough
Most exterior projects follow a rhythm. Some days look "messier" than others because prep creates dust, noise, and movement around the home. That's normal, as long as the crew protects property and cleans up daily.
What the crew typically does each day
Every contractor has their own flow, but many projects follow this order:
- Site protection and setup : Cover plants, mask windows, protect walkways, stage ladders safely.
- Surface prep : Wash, scrape, sand, caulk, and patch, then allow dry time.
- Prime repairs and bare areas : Spot prime first, then prime larger sections if needed.
- Apply finish coats : Usually top to bottom, often in sections to keep wet edges consistent.
- Daily cleanup and a quick status update : Debris removed, tools stored, plan for tomorrow shared.
A realistic SWFL timeline (with weather built in)
Before the work begins, ask for a schedule that includes drying time. Humidity and afternoon storms can extend cure times, even when rain doesn't hit your walls.
Here's a practical range for many single-family homes:
| Project phase | Typical time | What can change it |
|---|---|---|
| Final color confirmation and scheduling | 1 to 7 days | HOA approvals, paint availability, workload |
| Washing and dry-out time | 1 to 2 days | Rain, heavy mildew, shaded elevations |
| Prep and repairs | 1 to 3 days | Peeling paint, caulk failures, wood repair needs |
| Priming and finish coats | 2 to 4 days | Humidity, wind, complex trim, multiple colors |
| Touchups and final walkthrough | 0.5 to 1 day | Weather gaps, late change requests |
The takeaway: a straightforward exterior can wrap in about a week of working time, while more repairs or rainy weather can push it longer.
The final walkthrough: what to check before the crew leaves
The last step should feel like closing on a house. Walk the property with the crew lead in good daylight, and look from several angles.
Focus on:
- Clean cut lines at trim, soffits, and ceilings in covered entries
- Consistent sheen (no dull "flashed" patches)
- Neat caulk lines at joints and penetrations
- Coverage on edges, corners, and under eaves
- Overspray checks on windows, pavers, pool screens, and fixtures
Don't skip the "touch the wall" test. Lightly run your hand along trim and door edges to catch drips before they dry hard.
If your property is a multi-tenant building, retail space, or association-managed site, coordination matters even more because access and downtime are different. For those scenarios, this page is a helpful starting point: commercial exterior painters Fort Myers.
Conclusion
A well-run southwest florida exterior painting project is predictable, even when the weather isn't. You should know what happens at the estimate, why prep takes time, and how the crew plans around humidity and storms. Most importantly, the final walkthrough should confirm clean lines, solid coverage, and a tidy site. If you're getting ready to paint, gather HOA rules early and ask for a schedule that includes drying time, your exterior will thank you later.
More featured articles...