Why Exterior Paint Fails Over Silicone Caulk in Florida
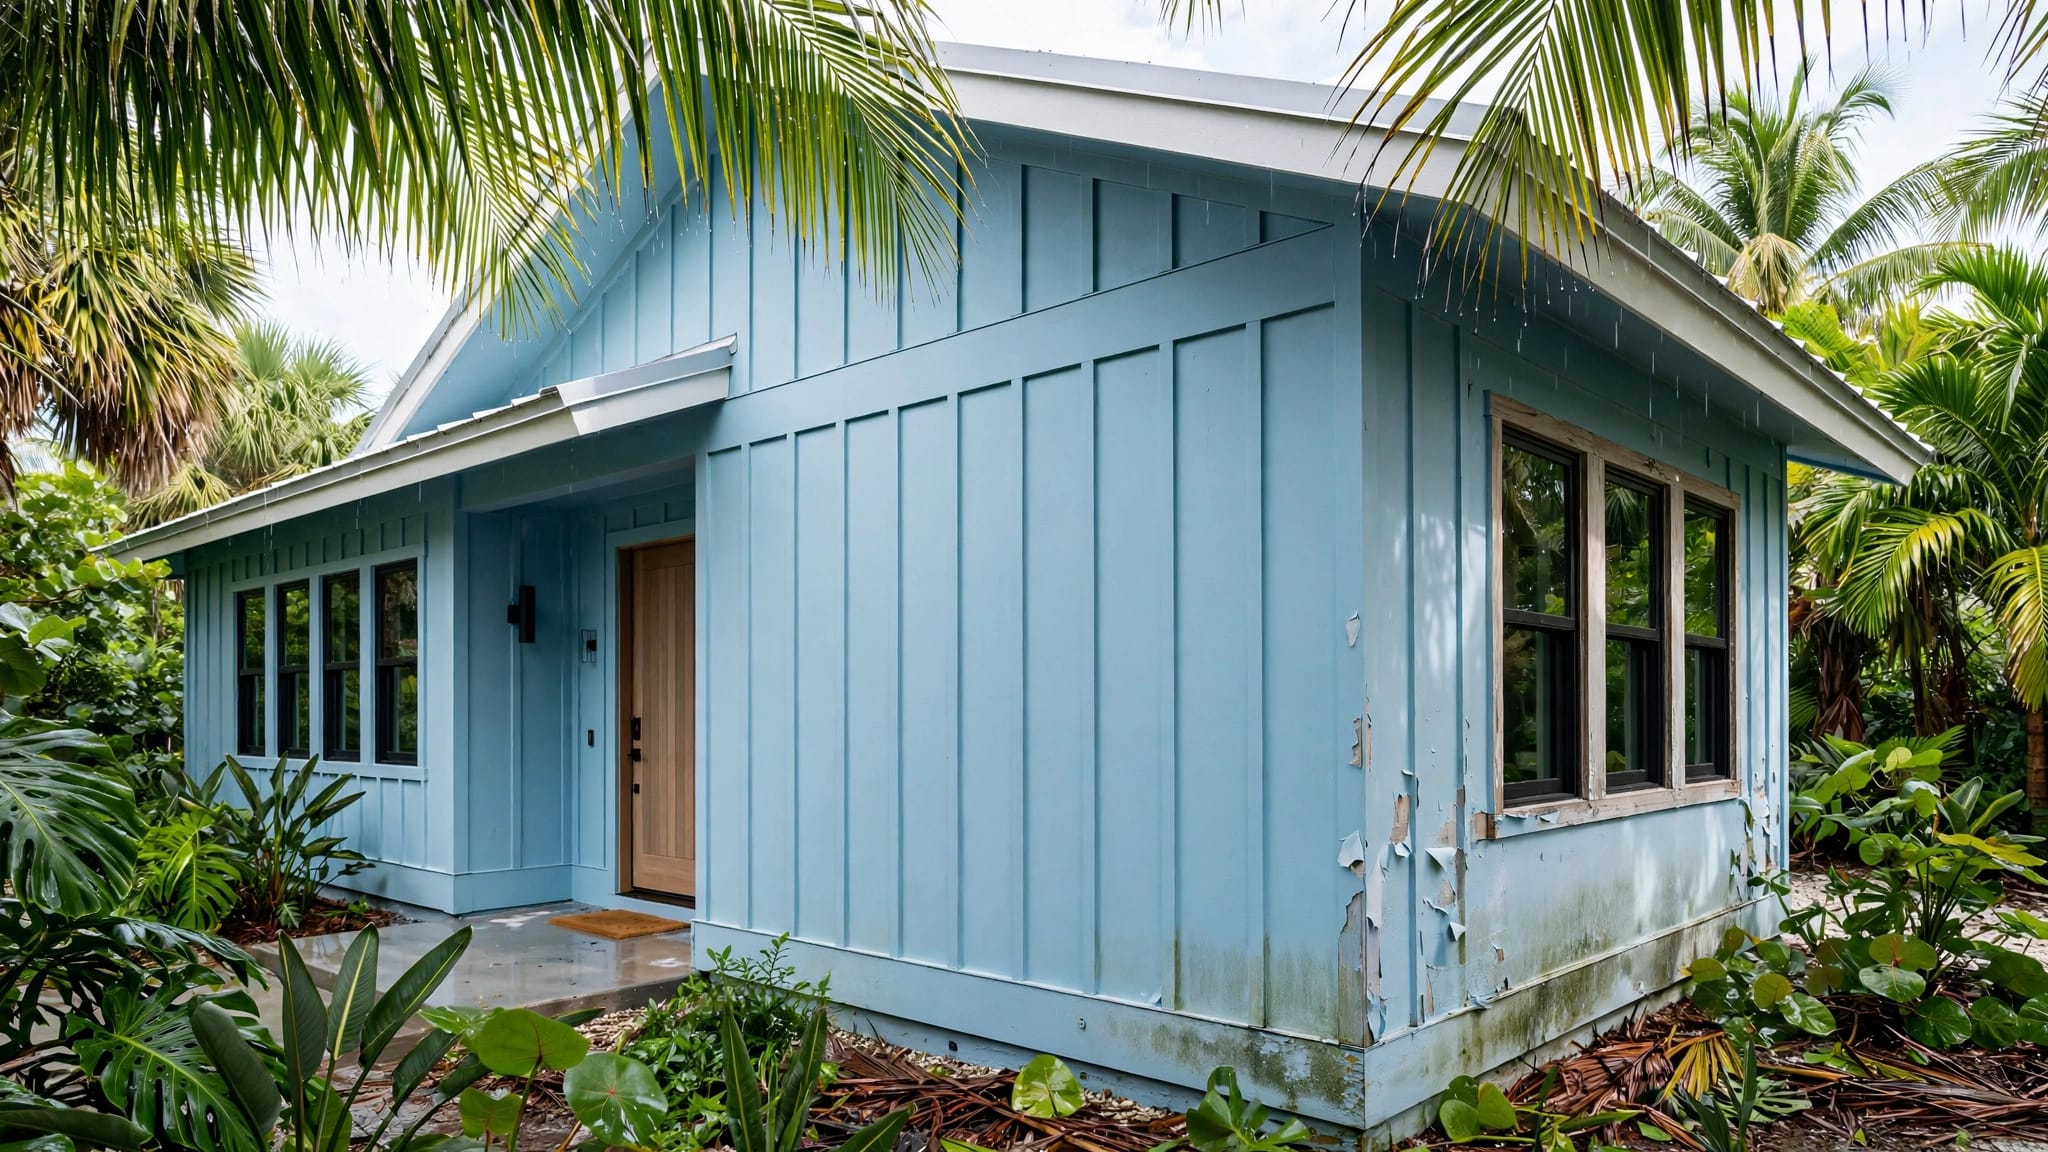
Florida paint jobs get tested hard, but silicone caulk is often the part that breaks first. When paint peels in clean strips around windows, trim, or stucco joints, the problem usually starts at the caulk line.
In Southwest Florida, heat, humidity, heavy rain, UV exposure, and salt air all push exterior materials in different directions. If the wrong caulk was used, the paint may never bond well, and the failure can show up sooner than most people expect.
Key Takeaways
- Pure silicone usually does not hold exterior paint well, so peeling often starts right at the joint.
- Florida weather speeds up failure because heat, UV, moisture, rain, and salt air stress the bond every day.
- Silicone-related paint failure often looks neat and sharp, with peeling that follows the caulk line.
- For most paint-ready exterior joints, paintable acrylic latex or siliconized acrylic caulk is the better choice.
- The fix usually starts with removing the bad caulk, cleaning the surface, and re-caulking before repainting.
Why Exterior Paint Fails on Silicone Caulk
Pure silicone has a slick surface. Paint needs a surface it can grip, and silicone gives it very little to hold onto. That is the main reason paint over silicone caulk fails so often.
Even when fresh paint seems to dry on top, the bond is weak. As the caulk moves, the paint film stretches, cracks, or peels away. Exterior joints move all the time, especially around windows, doors, trim boards, and stucco cracks. Silicone handles movement well, but paint does not bond to it in the same way.
A lot of people assume all caulks are the same. They are not. A bead labeled "100% silicone" is usually not paintable. A product labeled "siliconized acrylic" is different, because it mixes acrylic base material with silicone for flexibility and water resistance. The label matters more than the color or the tube shape.
If the tube says 100% silicone, treat it as a non-paintable product unless the manufacturer clearly says otherwise.
Another problem is contamination. Silicone can leave behind residue on the surrounding surface. Even after you scrape off the visible bead, a thin trace can still cause fisheyes, peeling, or thin spots in the next coat. That is why a quick touch-up often fails again in the same place.
Florida Weather Makes the Bond Break Faster
Florida gives exterior coatings very little room to relax. Heat softens materials during the day, then cooler nights let them contract. That daily cycle keeps joints moving, and moving joints are hard on a weak paint bond.
Heat and UV exposure
Strong sun bakes caulk and paint all summer long. UV light breaks down the top layer of many coatings, especially on west- and south-facing walls. Once the paint film loses strength, it starts lifting at the edges first.
Humidity, rain, and drying delays
High humidity slows curing. Heavy afternoon rain can hit before a fresh bead or topcoat has fully set. If moisture gets trapped under paint, the failure often starts as bubbling, soft edges, or peeling near the caulked joint. In Florida, that happens fast.
Salt air and coastal wear
Homes near the Gulf deal with salt carried by wind and rain. Salt does not just sit on the surface. It works its way into tiny gaps, dries, and leaves crystals behind. Those crystals stress the joint and weaken the finish over time. Coastal homes in Fort Myers, Naples, and nearby areas feel this more than many inland properties.
The result is a simple one. A caulk that might survive in a milder climate can fail much sooner here. Florida does not forgive the wrong product.
How to Spot Silicone-Related Paint Failure
Silicone-caused failure usually leaves a pattern. It does not look random the way age-related chalking or sun fade does.
Common signs include:
- Paint peels in a clean line along the caulk joint.
- The finish pulls away in little curled edges or strips.
- Fresh paint shows tiny fisheyes or round spots where it would not level out.
- The caulk bead looks glossy, rubbery, and untouched while the paint fails around it.
- The same spot keeps failing after touch-ups.
- Trim, siding, or stucco looks fine everywhere else, but the joint keeps opening up.
If you see paint failure in one narrow line, the bead itself is worth checking first. That is especially true around windows, fascia, soffits, corner boards, and expansion joints. A drywall-like crack in the wall is a different issue. A neat peeling path along the joint usually points to the caulk.
A quick test helps. Look at the tube or leftover product if it is still available. If it says 100% silicone , that is the likely reason the repaint is failing. If the label says paintable, check whether the product was used correctly and whether the surface was dry and clean before application.
Better Caulk Choices for Paintable Exterior Joints
Most paint-ready exterior work calls for a different product. The right choice depends on the joint, the material, and how much movement the area gets.
| Caulk type | Paintable? | Best use | Notes |
|---|---|---|---|
| 100% silicone | Usually no | Wet areas, some joints where paint is not needed | Strong water resistance, poor paint adhesion |
| Siliconized acrylic caulk | Yes | Exterior trim, siding seams, many paintable joints | Good balance of flexibility and paintability |
| Acrylic latex caulk | Yes | Smaller gaps and general paint-ready repairs | Easy to apply and clean up, best on stable joints |
For most homes, paintable acrylic latex or siliconized acrylic caulk is the better fit where a painted finish matters. Those products are made for joints that will be covered with primer and paint. They are easier to tool, easier to clean up, and much less likely to cause peeling later.
The key is not just choosing a paintable tube. The product also has to match the job. A small trim seam does not need the same sealant as a large moving joint. Likewise, a high-expansion exterior joint may need a contractor to choose a different sealant system entirely. The label, cure time, and intended use all matter.
Repair and Prevention That Hold Up in Florida
Fixing silicone-related failure takes more than painting over the bad spot again. That usually wastes time and materials, because the new finish hits the same problem surface.
Start by removing as much failed paint and caulk as possible. Silicone residue is the part most people miss. If the old bead stays behind, the next coat may fail in the same exact line. Careful scraping, cleaning, and full removal give the new material a real chance to bond.
After that, let the surface dry completely. Florida humidity can make this step take longer than expected. Wet wood, damp stucco, or a joint that still holds moisture will give you another failure later.
Then use a paintable exterior caulk that fits the job. Apply it smoothly, tool it well, and let it cure for the full time the label recommends. Rushing the paint stage is a common mistake, especially when a homeowner wants the trim finished before the next rain.
A good exterior repaint also needs the rest of the prep to be right. Scrape loose paint, sand rough edges, prime bare spots, and use a coating that matches Florida conditions. When the damage is broader than one joint, professional painting services can replace the bad caulk, prep the surface correctly, and repaint the area so the finish lasts longer.
Common mistakes to avoid include these:
- Using bathroom or kitchen silicone outside because it was already on hand.
- Painting before the caulk has cured.
- Leaving silicone residue on the siding, trim, or stucco.
- Caulking over dirt, chalk, or moisture.
- Skipping primer on bare or repaired areas.
Each one creates a weak point. In Florida, weak points do not stay hidden for long.
Conclusion
Florida weather puts every exterior coating under pressure, but silicone caulk makes the job harder because paint cannot bond to it well. Heat, UV, rain, humidity, salt air, and constant movement all speed up the failure.
If paint keeps peeling in a neat line around a joint, the caulk is often the cause. The safest fix is to remove the bad material, use a paintable exterior caulk , and repaint only after the surface is clean and dry.
A solid finish starts with the right bead under the paint, especially on Florida homes that face sun and salt every day.
More featured articles...