How to Remove Mildew From Walls Before Painting
A fresh coat of paint can brighten a Florida home, but it won't fix dark specks, peeling areas, or a musty smell caused by moisture. If you paint over active mildew, the growth can return beneath the new finish and damage the surface again.
Learning how to remove mildew from walls starts with finding the water source. In Southwest Florida, that source may be a plumbing leak, window condensation, poor bathroom ventilation, an overworked air conditioner, or high indoor humidity. Once the wall is clean, dry, and sound, you can prepare it for a lasting repaint.
Why Florida Interior Walls Develop Mildew
Florida's warm air can hold a large amount of moisture. When that damp air meets a cold wall, window, or air-conditioning vent, condensation can form. Even a thin layer of moisture can support mildew when it remains on the surface.
Mildew often appears in bathrooms, laundry rooms, kitchens, closets, and rooms that stay closed for long periods. Exterior-facing walls and corners behind furniture are also common problem areas because air moves poorly there.
Common places to inspect
Look closely around window frames, beneath plumbing fixtures, near bathroom ceilings, and inside AC closets. Check the wall behind large furniture, especially when it sits tightly against an exterior wall.
A musty odor may point to moisture that you can't see. Bubbling paint, swollen drywall, peeling caulk, and recurring stains also deserve attention before cleaning begins.
Florida homes may develop mildew after roof or plumbing leaks, but condensation is just as common. A cold supply vent can collect moisture when indoor humidity stays high. Poor exhaust ventilation allows shower steam and cooking vapor to settle on nearby walls.
Signs the wall needs more than cleaning
A hard, painted surface with a small amount of surface mildew may be cleanable. However, drywall that feels soft, crumbles, swells, or has torn paper may have absorbed moisture.
Recurring growth can also indicate mold behind the wall, inside insulation, or around an HVAC system. In those cases, wiping the visible area won't address the full problem. Stop and arrange a proper inspection before disturbing the surface.
Safety Before You Remove Mildew From Walls
Before you remove mildew from walls, decide whether the area is small enough and safe enough for household cleaning. EPA guidance commonly uses 10 square feet of total growth as the approximate limit for small cleanup jobs. Larger areas, heavy growth, or cleanup that will create substantial dust call for professional remediation.
People with asthma, severe allergies, respiratory conditions, or weakened immune systems shouldn't perform mold cleanup. Keep children, pets, and other occupants away from the room during the work.
Use the right protective equipment
For a small area, wear an N-95 respirator, gloves, and eye protection. Choose gloves that extend toward the middle of your forearm. If you use a strong cleaner or disinfectant, select chemical-resistant gloves made from materials such as nitrile, neoprene, or PVC.
Open a window when possible, and use an exhaust fan that vents outdoors. Keep doors closed so disturbed particles don't move through the home. Avoid running an HVAC fan that could carry airborne material into other rooms.
Wear clothing you can wash promptly. After cleaning, wash your hands and clean tools according to the product label. Place disposable rags in a sealed bag, then discard them.
Avoid dangerous cleaning combinations
Never mix bleach with ammonia, vinegar, acids, or other cleaners. Combining products can release dangerous gases. Read the label before using any commercial mildew cleaner, and follow its instructions for ventilation, contact time, rinsing, and disposal.
Bleach isn't a routine solution for indoor mold cleanup. It may discolor a surface and can damage some materials, but it doesn't correct the moisture source or restore damaged drywall. Physical removal with an appropriate cleaner is usually the better approach for a small, hard surface.
Leave the area and call a qualified mold-remediation professional when growth covers more than a small patch, returns after cleaning, involves an HVAC system, or appears in hidden spaces. Heavy contamination, extensive water damage, and strong odors also require more than ordinary painting preparation.
Correct the Moisture Source Before Cleaning
Painting should wait until the moisture problem is fixed. Otherwise, the new coating may blister, peel, stain, or develop mildew again within a short time.
Check for leaks and condensation
Inspect plumbing connections, supply lines, window perimeters, ceilings below bathrooms, and walls near exterior doors. If a ceiling or wall stain follows rain, call a qualified roofing or building professional. A plumber should address plumbing leaks, while an HVAC technician should inspect air-conditioning drainage or performance issues.
Condensation needs a different fix. Look for fogging or dripping windows, cold corners, damp areas around supply vents, and moisture behind furniture. Move furniture a few inches away from exterior walls to improve airflow.
A wall that stays cold and damp may need better air circulation, insulation work, or HVAC adjustments. Don't cover it with primer until the surface remains dry under normal conditions.
Control indoor humidity
The Florida Department of Health recommends keeping indoor relative humidity below 60% , with levels below 50% preferred for mold and dust-mite control. A small hygrometer can help you monitor the room instead of guessing.
Run the air conditioner and use a dehumidifier when needed. If a central AC system can't keep humidity below 60%, have the system examined for drainage, sizing, or operating problems. Use bathroom and kitchen exhaust fans during moisture-producing activities, and vent that air outdoors.
A wall can look dry while the room still has a moisture problem. Check humidity for several days before repainting a recurring mildew area.
How to Remove Mildew From Walls Safely
Once the source is corrected and the wall is dry enough to clean, work in a controlled area. Don't sand, scrape, or dry-brush visible mildew before cleaning. Those actions can send particles into the air.
- Clear and protect the room. Move furniture away from the wall. Cover nearby items with plastic, and keep children and pets out of the space.
- Put on PPE. Wear an N-95 respirator, gloves, and eye protection. Add protective clothing if the area is messy or contaminated.
- Apply a suitable cleaner. For a small area, Florida health guidance allows detergent or soapy water, or a commercial mildew cleaner used exactly as directed. Apply enough to dampen the affected surface without saturating the wall.
- Clean the surface gently. Use a disposable rag or soft brush on painted, non-porous areas. Work from the cleaner portion toward the affected area so you don't spread residue across the wall.
- Rinse when the product requires it. Some cleaners need rinsing, while others require a specific dwell time. Follow the label rather than combining products.
- Dry the wall completely. Use towels, air conditioning, a dehumidifier, and outdoor-vented airflow. Don't apply primer or paint while the wall feels damp or the room remains humid.
- Discard contaminated materials. Throw away sponges and rags used on the mildew. Wash reusable tools before storing them.
The goal is to remove the growth and leave a clean, dry surface. Killing surface organisms without removing residue or correcting moisture won't make the wall ready for paint.
Know When Drywall Needs Replacement
Drywall, ceiling tile, insulation, carpet, and other porous materials can absorb moisture below the visible surface. If a porous material is moldy and you can't clean and dry it fully, replacement is safer than coating it.
Look for damaged drywall
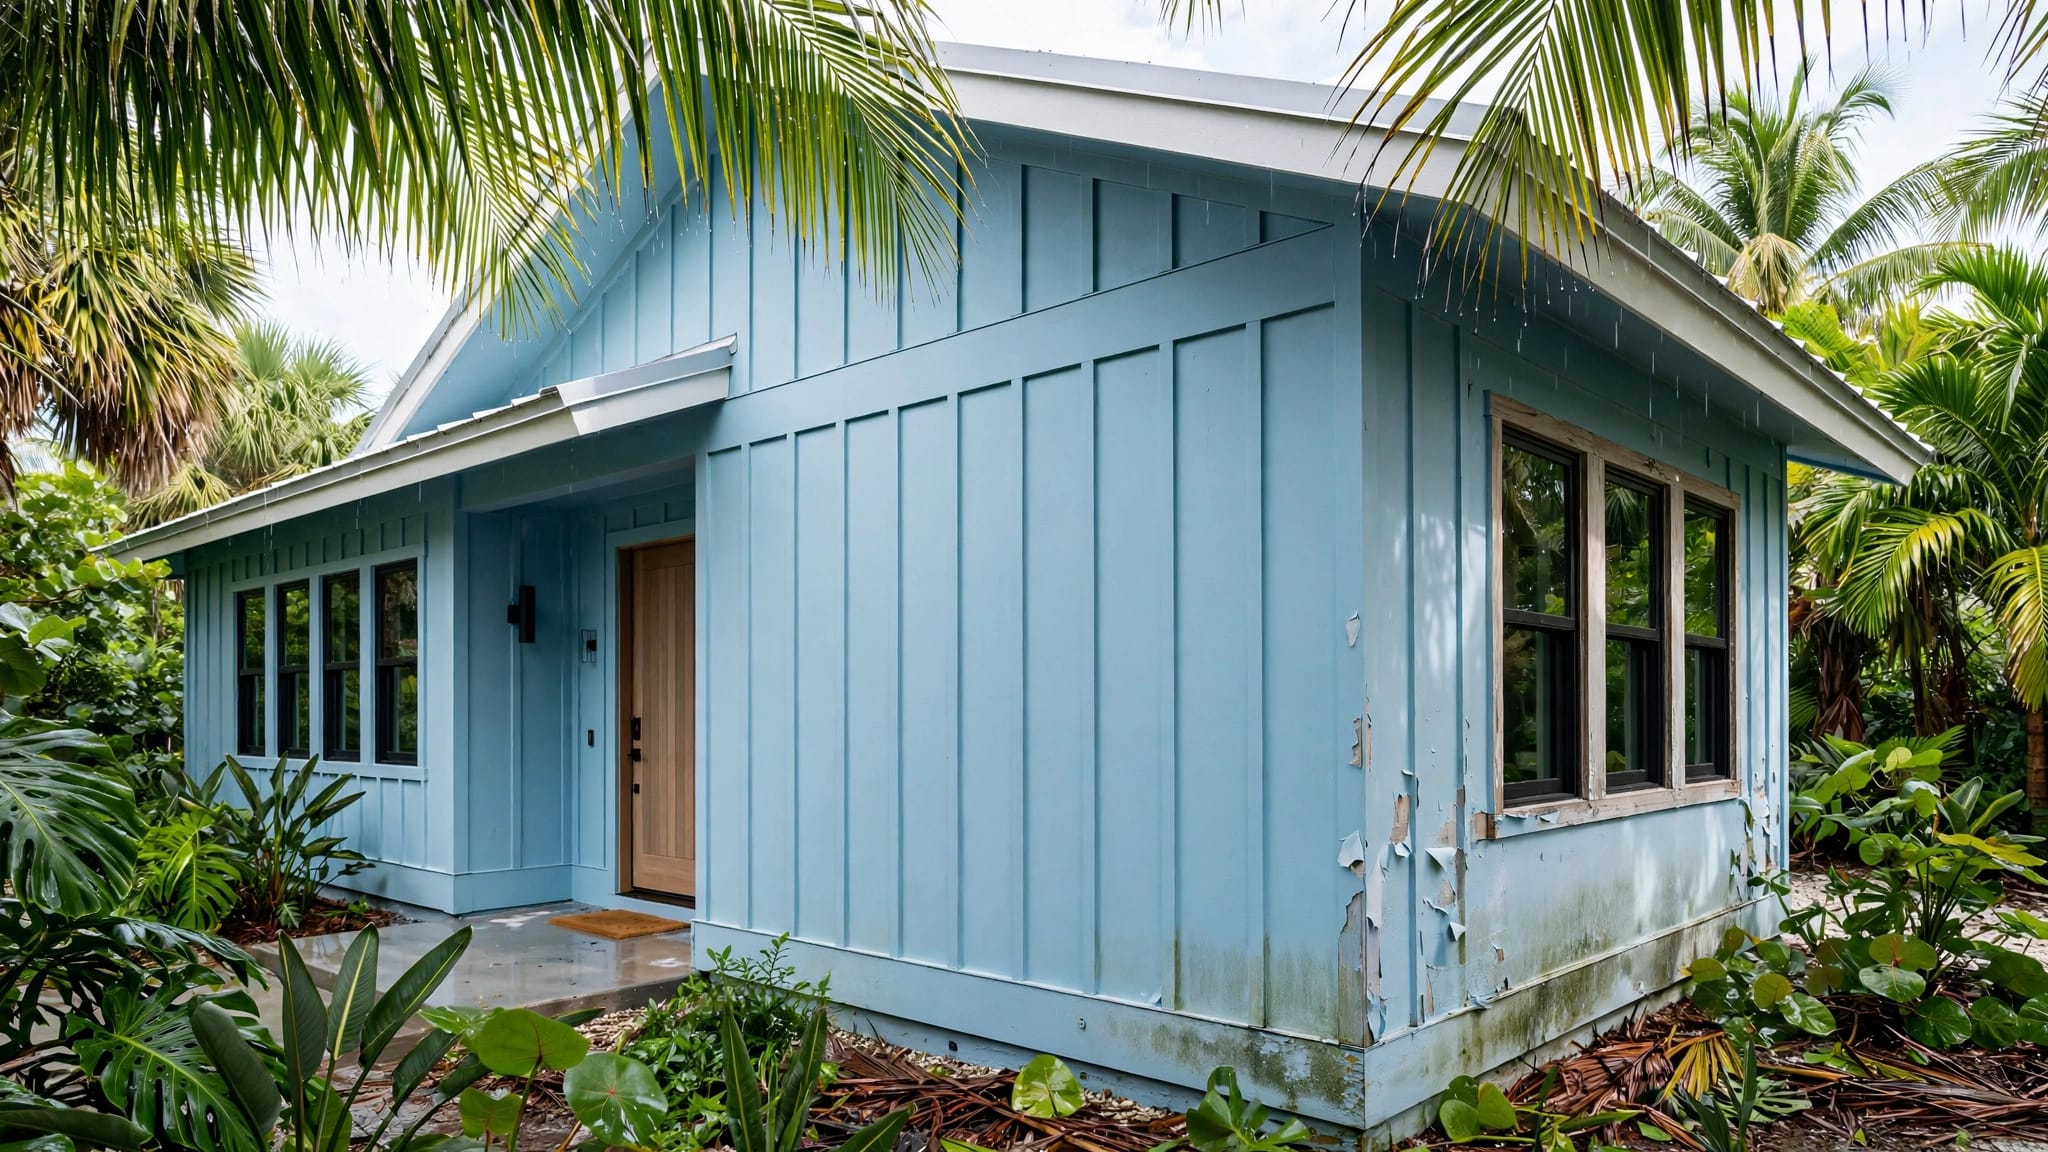
Press lightly near the affected area after cleaning and drying. Softness, swelling, crumbling edges, delaminated paper, and deep staining indicate damage. Loose paint should be removed, but don't sand moldy material to make it look smooth.
Small drywall repairs may involve cutting out damaged material, replacing the section, sealing the joint compound, and priming. If the affected area is broad or the wall contains hidden moisture, a remediation professional should handle removal.
For recurring bubbling or peeling, review this guide on how to fix bubbling paint on Florida drywall before scheduling a repaint.
Treat recurring growth as a warning
Mildew that returns after cleaning usually has an unresolved cause. The problem may be inside a wall cavity, beneath flooring, around a window, or near an air handler.
A professional can help determine whether the issue is limited to surface paint or involves building materials. Painting contractors can prepare and coat a sound surface, but plumbing, roofing, HVAC, and extensive mold-remediation work may require other qualified trades.
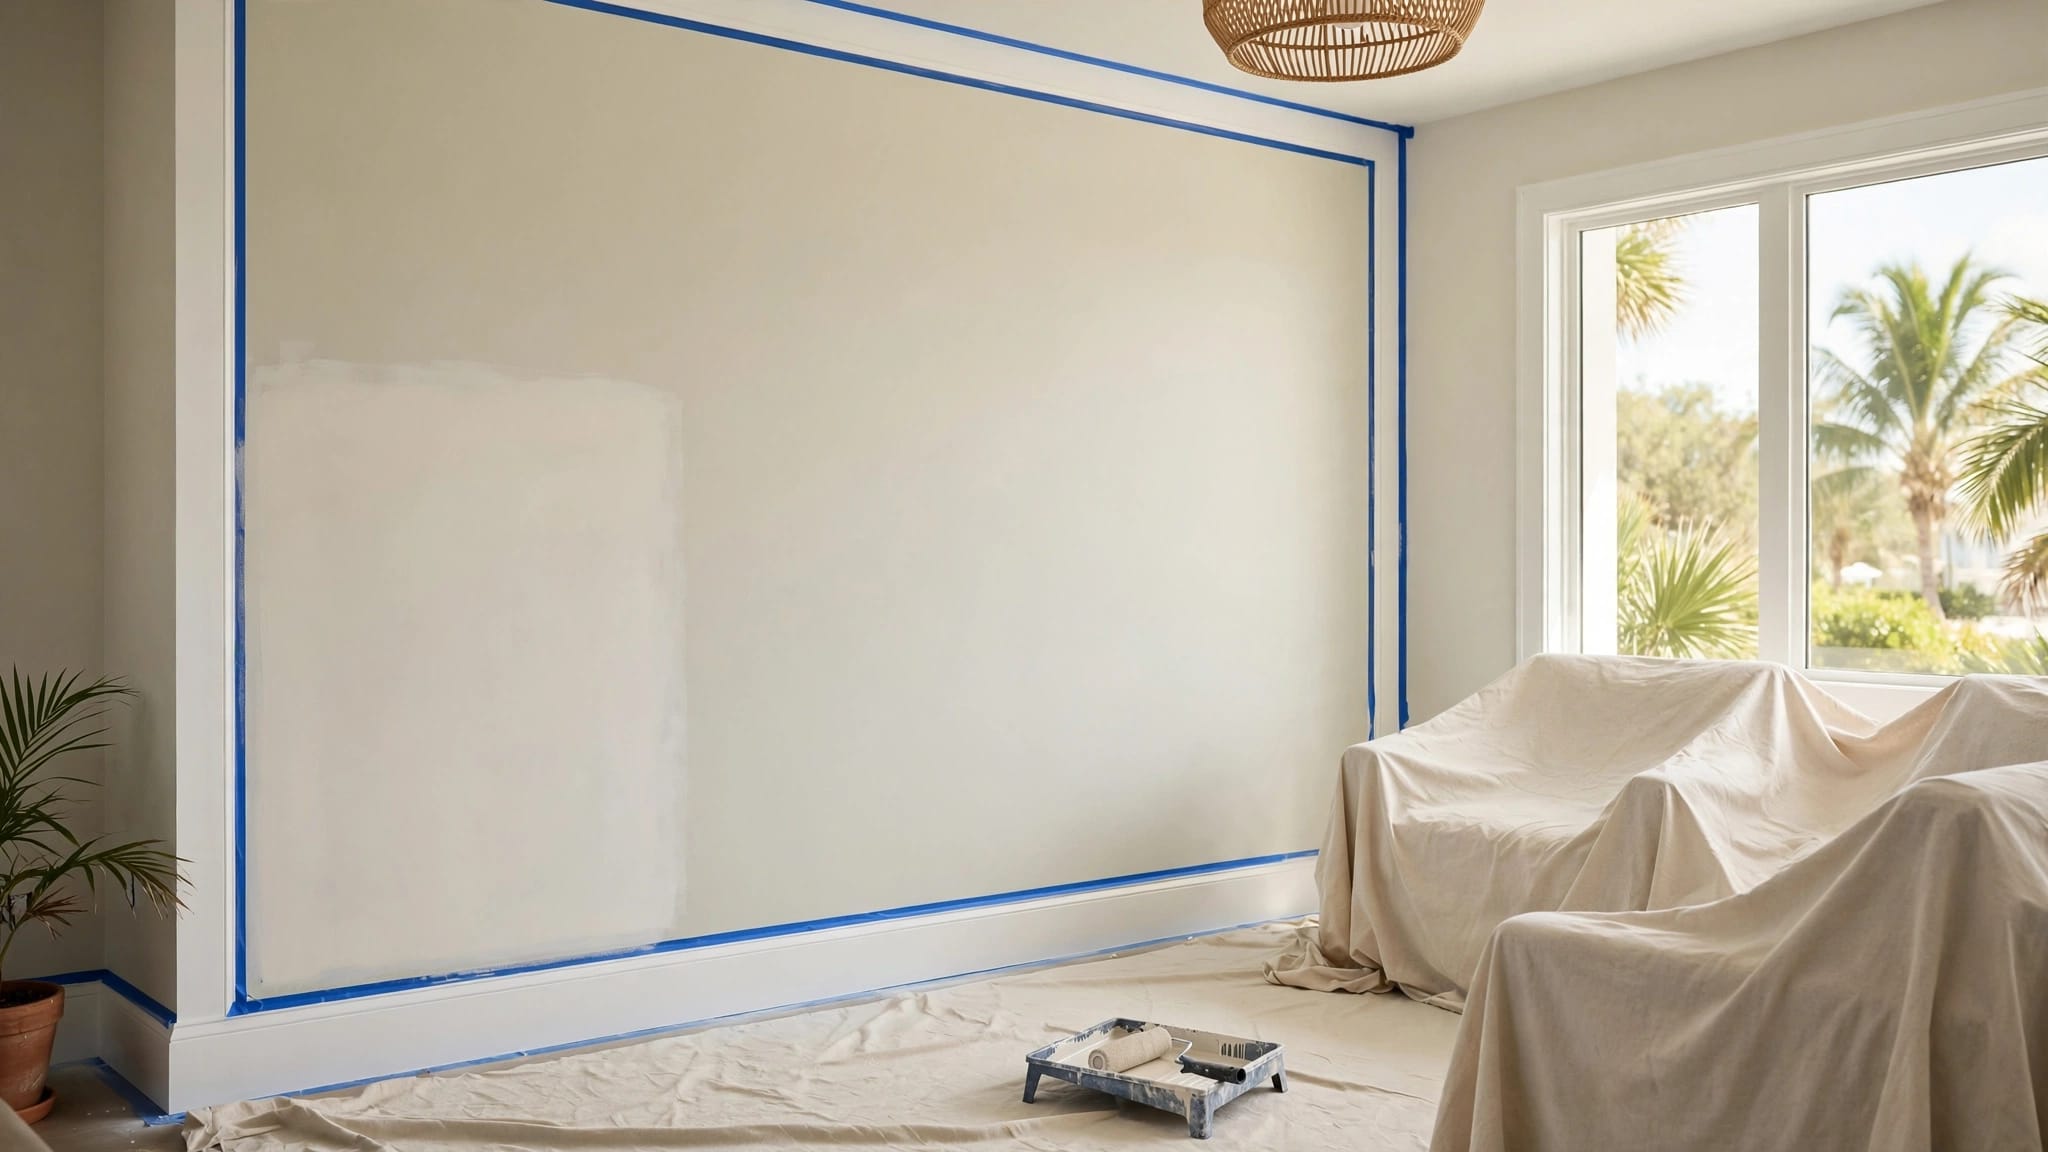
Prepare the Wall for a New Paint Finish
After cleaning, allow the surface to dry fully. Then inspect it in bright light for remaining growth, loose paint, staining, cracks, and damaged drywall paper.
Remove loose coating carefully. Patch sound areas with the right repair compound, allow the patch to dry, and sand the repair only after all mildew has been removed. Vacuum dust with suitable equipment, then wipe the wall according to the product and primer instructions.
A stain-blocking primer can help with discoloration, but primer isn't a substitute for moisture control. Select a quality acrylic latex coating labeled for mildew resistance in moisture-prone rooms. Bathrooms, kitchens, and laundry areas often need a washable satin or semi-gloss finish. See this guide to choosing mold-resistant interior paint for Florida humidity for room-specific considerations.
Paint only under suitable conditions
Check the paint label for temperature and humidity limits. High humidity slows drying and can affect adhesion, sheen, and recoating time. Keep the air conditioner or dehumidifier running, and allow each coat to dry for the full time listed by the manufacturer.
For more detail, review these humidity limits for interior painting in Florida. A room that cannot maintain suitable conditions may need moisture-control work before painting can begin.
Never paint over active mildew, damp drywall, peeling material, or a stain that continues to spread. A new color may hide the evidence temporarily, but it won't stop the damage underneath.
Common Florida Painting Mistakes to Avoid
Several shortcuts lead to recurring mildew and early paint failure:
- Painting before repairing a leak or condensation problem leaves the wall exposed to the same moisture.
- Scrubbing without protective equipment can expose you to airborne particles and cleaning chemicals.
- Using bleach as the only treatment may whiten the surface without removing damaged material.
- Sealing a room without outdoor ventilation can trap moisture and cleaner fumes.
- Applying paint while humidity is high can leave the finish soft, uneven, or poorly bonded.
- Covering moldy drywall, insulation, or ceiling tile can hide contamination instead of removing it.
For rental units, offices, and commercial buildings, document the affected areas and the moisture repairs before repainting. Property managers should also check adjacent rooms, HVAC closets, and plumbing walls because mildew can spread beyond the first visible spot.
A painting contractor can assess the condition of the finished surface, recommend the right primer and coating, and identify repairs that need another trade. That separation helps prevent a cosmetic repaint from covering a building problem.
Conclusion
Florida mildew cleanup starts with moisture control, not paint. Keep indoor humidity below 60%, repair leaks, improve ventilation, clean small areas with proper protection, and replace porous materials that can't be fully restored.
When the wall is clean, dry, and structurally sound, the right primer and mildew-resistant finish can complete the repair. If growth is widespread, recurring, hidden, or connected to an HVAC system, leave the area and bring in a qualified remediation professional before painting begins.
More featured articles...