Exterior Caulk Guide For Southwest Florida Windows Doors And Trim
A clean caulk line looks simple, but in Southwest Florida it does a hard job. It has to flex with heat, stick through humidity, and keep wind-driven rain out of the wall. When that seal fails, water can sneak behind trim, stain paint, and feed wood rot.
The good news is you don't need fancy tools to get this right. You need the right product, dry surfaces, and one rule you never break: don't trap water . This guide covers what to buy, where to place caulk (and where not to), and how to apply it so it lasts.
Why caulk matters so much in Southwest Florida (and where DIY goes wrong)
Southwest Florida homes take repeated soak and dry cycles. Summer storms hit hard, then the sun bakes everything. That constant movement pulls at joints around windows, doors, and trim. Add salty air near the coast, and sealants can age faster than you'd expect.
Most caulk failures come from a few predictable issues:
- Moisture was already in the joint . Caulk sticks poorly to damp wood, dusty stucco, or chalky paint.
- The wrong caulk was used . Some products shrink, crack, or can't handle movement.
- Water's escape paths got blocked . Many window and door systems are designed to drain.
Here's a quick inspection checklist before you buy anything:
- Cracks at miter joints on trim corners, or gaps where trim meets stucco.
- Peeling paint at edges (often a sign water is getting behind).
- Soft wood when you press with a fingernail (stop and investigate).
- Mildew that keeps returning at the same seam, even after cleaning.
- Staining below windows after rain, especially on stucco.
Gotcha: Don't caulk over window or door weep holes (small drain openings). Those are there to let water out. Blocking them can push moisture into the wall.
If you're planning an exterior repaint, treat caulking as part of the prep, not a last-minute touch-up. A paint film can't compensate for a joint that leaks or stays wet. For a related look at how weather and moisture affect exterior finishes, see this stucco repainting schedule in Southwest Florida.
Choosing exterior caulk for Florida windows, doors, and trim (ASTM C920 made simple)
Walk down the caulk aisle and it feels like picking sunscreen with the labels rubbed off. Start with two questions: will you paint it, and how much movement will that joint see?
For most exterior trim, you'll want a product that stays flexible and bonds well. Many pros also look for sealants that meet ASTM C920 , a common performance standard for elastomeric joint sealants. You don't need to memorize the categories, but you should check the tube or the product data sheet and confirm it's meant for exterior use and the materials you're sealing (wood, PVC trim, aluminum, vinyl, stucco).
A practical rule for SWFL: use paintable sealant where trim will be painted, and use true silicone only where you won't paint and you need maximum water resistance (because most silicones reject paint).
Here's a concise decision guide for typical situations:
| Where you're sealing | Best fit (most common) | Why it works | Watch-outs |
|---|---|---|---|
| Painted exterior trim to siding or stucco | High-quality paintable elastomeric sealant (often polyurethane or advanced acrylic) | Flexes with heat and minor movement | Some need longer cure times before paint |
| Window and door exterior casing (painted) | Paintable window and door sealant | Good adhesion, smoother tooling | Don't block weep holes or drainage gaps |
| Small cosmetic gaps on painted trim (low movement) | Premium acrylic latex (paintable) | Easy to tool and clean up | Can crack if the joint moves a lot |
| Non-painted joints exposed to lots of water | 100% silicone (non-paintable) | Strong water resistance | Paint won't stick, so plan the look |
In other words, "best" depends on location. The right exterior caulk florida homeowners choose is the one that matches the joint's movement and the finish plan, not the one with the biggest number on the label.
How to caulk windows, doors, and trim without trapping water
Good caulking is more like laying a gasket than "filling a crack." You want a continuous seal on the sides and top of exterior casing, while still letting water drain where the assembly was designed to drain.
Before you start, pick a dry window. After heavy rain, trim can hold moisture longer than it looks. If the surface feels cool and damp in shade, wait.
If you can't get the joint clean and dry , don't caulk yet. You'll seal in moisture and the bead may fail early.
Step-by-step exterior caulking (DIY-friendly)
- Remove loose caulk and peeling paint. Use a scraper and a sharp utility knife. Don't smear new caulk over failing material.
- Clean the joint. Brush out dust and debris. If mildew is present, clean it and let the area dry fully.
- Check the gap size. If the gap is deep or wider than about 1/4 inch, use backer rod so the sealant doesn't sink and split.
- Tape for clean lines (optional). Painter's tape helps around textured stucco or glossy trim.
- Cut the tip small. Start smaller than you think. You can always cut more.
- Apply steady pressure. Pull the gun toward you and keep the tip angled so the bead is pushed into the joint.
- Tool the bead right away. A damp finger or a caulk tool works. Press just enough to bond both sides of the joint.
- Respect drainage paths. On many exterior trims, you should avoid sealing the bottom edge tight if it would trap water. When in doubt, follow the window or door manufacturer's drainage details and keep weep holes open.
- Let it cure, then paint. Follow the label. Painting too soon can cause cracking or bubbling.
After it cures, watch it through the next storm. If water stains appear below the joint, the problem may be flashing, not caulk.
When it's time to call a pro (rot, leaks, stucco cracks, install issues)
Some "caulk problems" are really building envelope problems. Bring in a pro if you see any of the following:
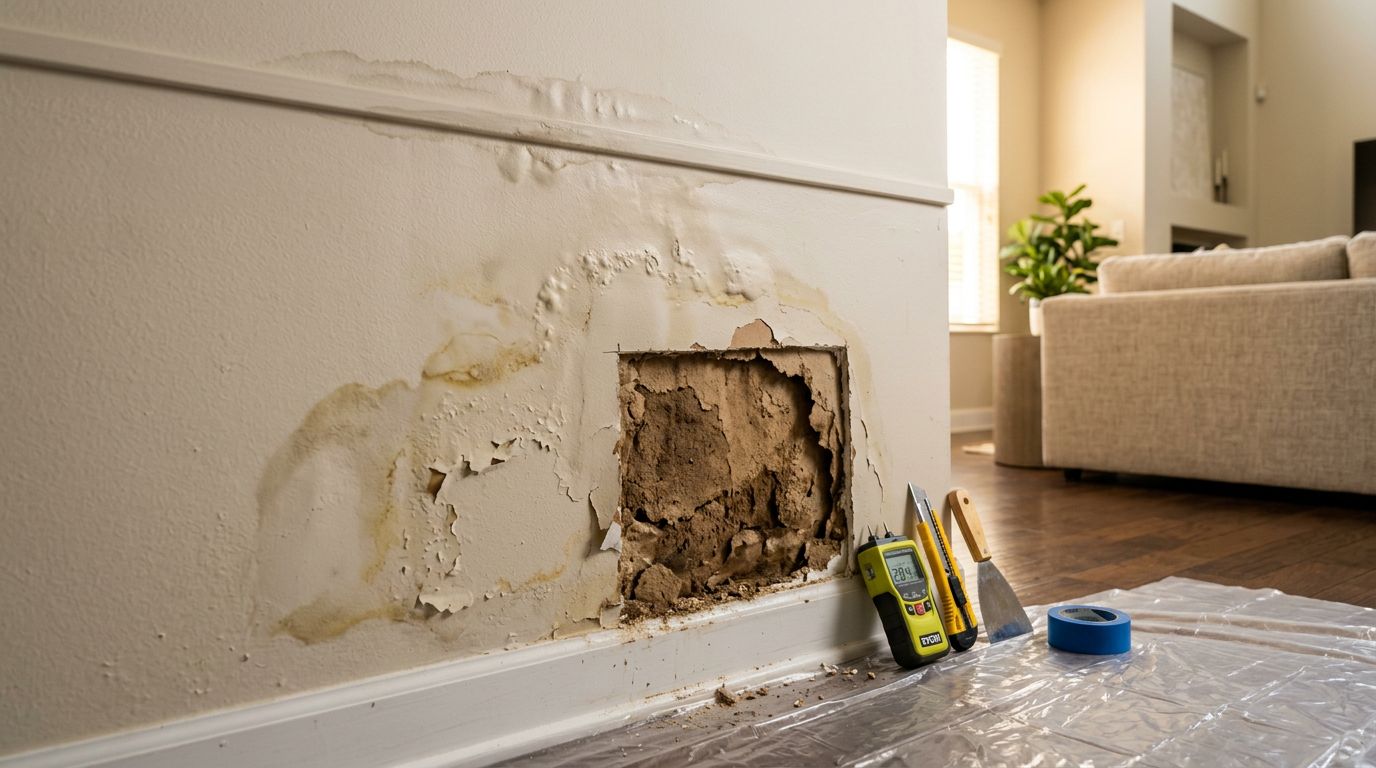
- Soft or crumbling wood around windows, doors, or trim.
- Active leaks (wet drywall, staining that grows after rain, damp smells indoors).
- Cracks in stucco that widen or radiate from window corners.
- Repeated caulk failure in the same spot after redoing it once.
- Suspected install issues , like missing flashing or gaps behind trim.
Also, Southwest Florida is hurricane-prone. If your project involves changing windows or doors, or altering exterior openings, check local building and permit requirements. A contractor who works in Fort Myers, Naples, and nearby areas can help you sort out what's repair, what's maintenance, and what needs a bigger fix.
Conclusion
Exterior caulk is a small detail that controls a lot of risk. Choose a sealant suited for movement, look for products aligned with ASTM C920 when appropriate, and apply it only on clean, dry surfaces. Most importantly, keep drainage paths open so you don't trap water behind trim. If you're seeing rot or active leaks , step back and get a pro involved before you seal the problem in.
More featured articles...