How To Stop Peeling Paint On Florida Fascia And Soffits
If you're seeing flakes along the roofline, you're not alone. In Florida, fascia and soffits take a daily beating from sun, wind-driven rain, and humidity that never really quits. The frustrating part is this: you can repaint, and it still peels again if the real cause stays in place.
The good news is peeling paint fascia problems are usually fixable without guessing. You just need to treat it like a roof-edge moisture issue first, and a paint issue second. Below is a clear way to inspect, correct the moisture source, prep properly, and choose the right primer and paint for your material.
Why Florida fascia and soffit paint peels so fast
Paint doesn't peel because it's "old." It peels because it loses its grip.
Along fascia and soffits, that loss of adhesion usually comes from moisture getting behind the paint film. In Southwest Florida, there are a few common paths for that water:
Wind-driven rain can get behind gutters or drip edge, then soak the fascia edge. AC-driven attic humidity can also condense on cooler surfaces near soffit vents, especially when ventilation is unbalanced. Salt air near the coast speeds up corrosion on metal soffits and makes fasteners and seams more likely to fail.
Sun is the other half of the problem. Fascia boards bake all afternoon, then cool quickly after storms. That constant expansion and contraction turns tiny cracks into open doors for water. Once moisture gets behind paint, heat pushes it outward like steam under wallpaper.
Sometimes the issue is simpler: the last paint job skipped key prep. If someone painted over chalky residue, glossy enamel, mildew, or loose edges, the new coat can't bond long-term.
Material matters too. Bare wood fascia can wick moisture from end grain. Cedar and redwood can bleed tannins and stain through paint. Aluminum soffits can oxidize and reject standard primers unless you use the right product.
If you only repaint what you can see, moisture will keep lifting the finish from underneath.
Inspection checklist: find the moisture source before you repaint
Before you scrape anything, do a short inspection after a heavy rain (or early morning when dew is thick). Bring a flashlight, a small screwdriver, and binoculars if you'd rather stay off a ladder.
Here's a practical checklist that catches most Florida soffit and fascia peel-ups:
- Roof edge and drip edge : Look for missing or loose metal at the shingle edge. Drip edge and proper flashing help kick water away from the fascia instead of letting it cling and run back.
- Gutters and downspouts : Check for overflow lines and staining. Clogged gutters dump water behind the gutter, not just over the front.
- Gutter slope and spikes : Sagging sections hold water, then overflow during storms. Loose hangers can pull the gutter away from fascia and create a constant wet zone.
- Roof leaks above the area : A small leak can wet the fascia tail ends and soffit framing. Peeling often shows up far from the actual entry point.
- Soffit vents : Make sure vents are open and not painted shut. Also check for insulation blocking airflow from the attic side.
- Bathroom and kitchen exhaust fans : Confirm ducts terminate outside with a proper roof cap or wall hood. Avoid dumping moist air into the attic, and avoid terminating under the soffit where it can be pulled right back into vents.
- Attic ventilation balance : Florida code guidance commonly uses net free vent area ratios (often 1/150, or 1/300 with balanced intake and exhaust). If intake or exhaust is weak, humidity lingers and finds the roof edge.
- Sprinklers and landscaping : Overspray on fascia corners and soffit returns adds daily wetting. That can peel paint faster than rain.
If you're in an HOA, check your architectural rules before changing sheen or color. Even "simple fascia repainting" can require approval. Take a few photos and keep paint specs in writing so you can match later.
Prep and repaint steps to stop peeling for years
Once you've fixed the moisture source, the paint work starts. The goal is simple: remove everything that isn't firmly bonded, clean until the surface is paint-ready, then build a coating system that matches the substrate.
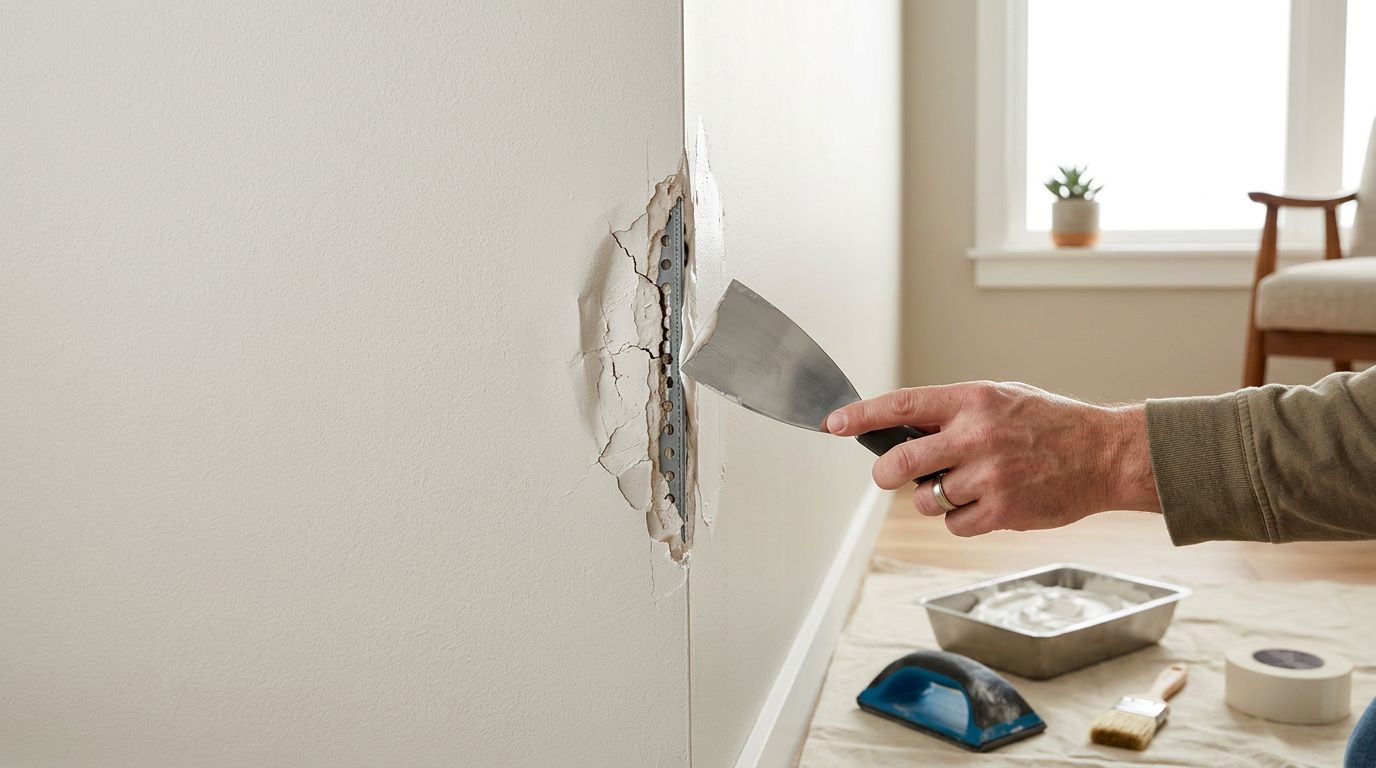
1) Scrape and sand until edges disappear
Scrape all loose paint to a hard edge. Don't stop when it "looks better." Keep going until tapping the surrounding paint doesn't sound hollow.
After scraping, sand to feather the edges so you can't feel a ridge. This step is where many repaints fail. A sharp ridge is a future peel line.
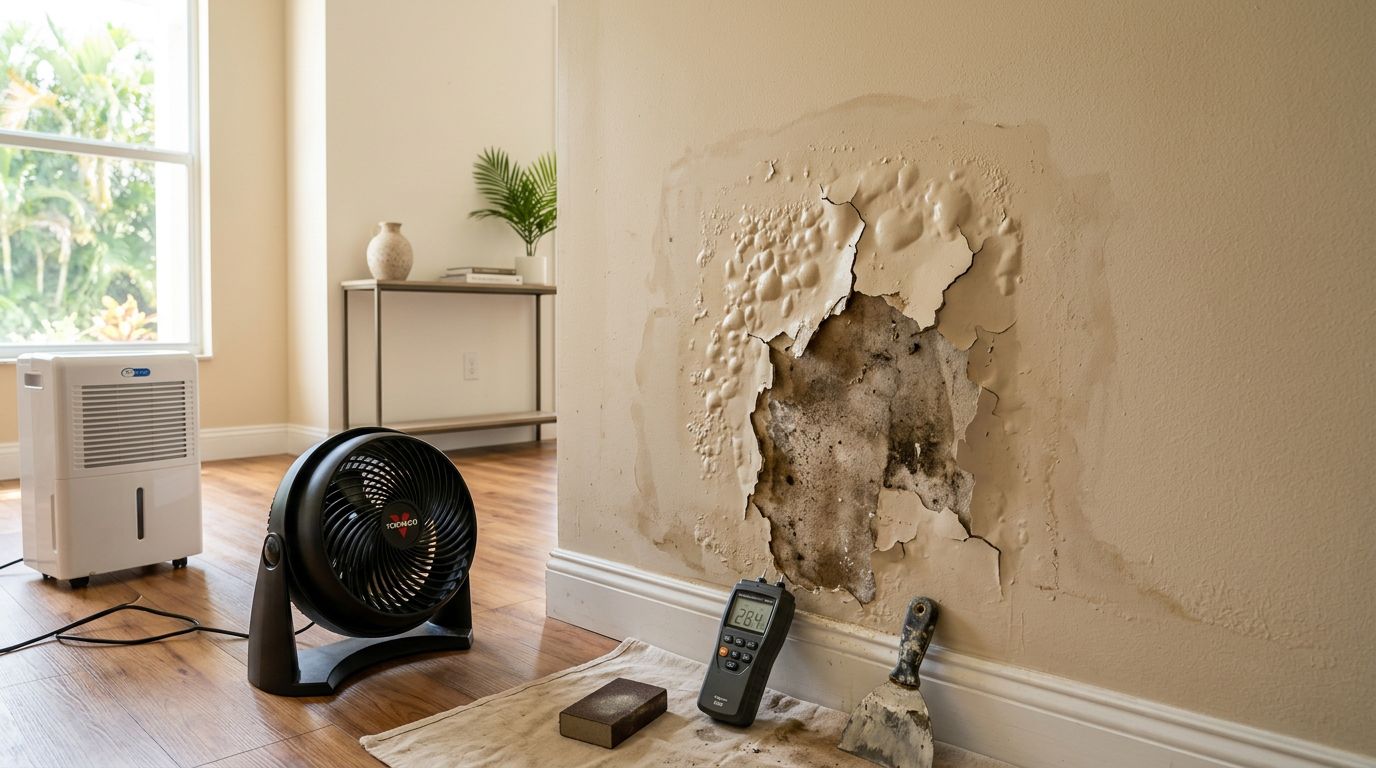
2) Clean like adhesion depends on it (because it does)
Wash dirt, salt, and chalk off the surface. Use a mild detergent and a soft brush, then rinse well. Pressure washing can help, but it can also drive water behind boards or into vented soffits, so keep pressure low and aim carefully.
For mildew, use a mildew cleaner labeled for exterior surfaces and follow the label. Paint marketed as "mildew-resistant" doesn't kill existing growth, so you must remove it first.
Let everything dry fully. In Florida, "dry to the touch" is not the same as "ready to paint." If wood feels cool or damp in shade, wait.
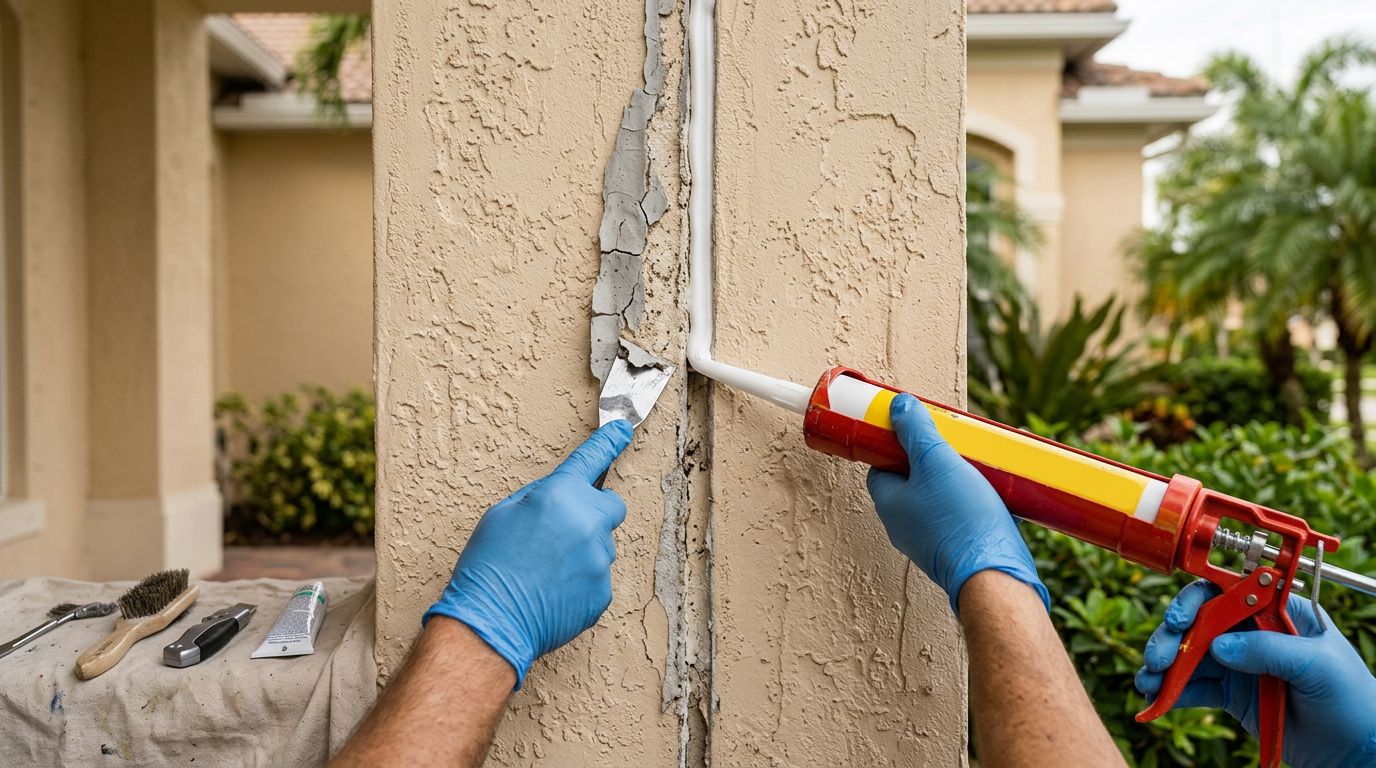
3) Repair gaps and joints with the right caulk
Use a paintable exterior caulk that stays flexible, such as acrylic urethane or high-quality siliconized acrylic. Avoid pure silicone where paint must stick.
Caulk small joints and seams (especially fascia-to-soffit transitions), but don't caulk designed drainage gaps. Trapping water is the fastest way to restart peeling.
4) Prime based on what you're painting
Use primer as a bonding layer, not a "because we always do" step. This quick table helps match the primer type to the common Florida fascia and soffit materials:
| Surface condition or material | Primer type to look for | Why it helps |
|---|---|---|
| Previously painted wood with peeling edges | Bonding exterior primer | Grabs tight to sound paint and sanded edges |
| Bare wood or repaired wood filler | Exterior wood primer | Seals pores and improves uniform topcoat |
| Cedar or redwood | Stain-blocking primer (often oil-based or shellac-based) | Reduces tannin bleed-through |
| Aluminum soffits or metal trim | Direct-to-metal (DTM) primer or DTM paint | Adheres to metal and resists corrosion |
| Chalky, weathered coatings | Chalk-binding primer | Locks down powdery residue for better adhesion |
Then apply two finish coats of a high-quality 100 percent acrylic exterior paint in the sheen your HOA allows. Many homeowners prefer satin or low-luster because it cleans well without highlighting every board seam.
When to replace wood, call a pro, and stay compliant
Paint can't save rotten wood. If a screwdriver sinks in easily, the wood crumbles, or the fascia edge is swollen and soft, replacement is usually the smart move. Also replace sections with chronic wetting at gutter ends or behind missing drip edge. Otherwise, you'll repaint the same spot every season.
Working at the roofline is also a safety issue. Use the right ladder angle, stabilize it, and avoid wet soffit areas after rain. If you're not comfortable with heights, that's a valid reason to hire help.
Call a pro when you see:
- Widespread rot (not just a small corner)
- Structural concerns at rafter tails or roof decking edges
- Moisture that won't quit after gutter, flashing, and vent fixes
- Possible lead paint on homes built before 1978 (lead-safe practices matter)
If you want a contractor who handles exterior prep the right way in Southwest Florida, start with SW Florida residential painters. You can also check real client experiences on Fort Myers Naples painter reviews. For scheduling and local help, use the EFC Fort Myers location or the EFC Naples location.
Conclusion
Stopping peeling paint fascia issues in Florida comes down to one rule: fix moisture first, then paint like you mean it. Track where water and humid air are coming from, repair what's failing, and only then scrape, clean, prime, and topcoat with products made for your substrate. Once the roof edge stays dry and the coating system matches the material, your fascia and soffits can stay sharp for years, not months.
More featured articles...