Repair Garage Floor Pinholes in Florida Without Trapping Moisture
Tiny holes can make an otherwise attractive garage floor look unfinished. More importantly, they can expose the coating system to dirt, water, and hot-tire wear. Knowing how to repair garage floor pinholes starts with finding out whether the holes are only cosmetic or a warning that the coating has lost its bond.
Florida garages face high humidity, sudden rain, warm slabs, and moisture moving up through concrete. A small surface defect is often repairable, but bubbling, whitening, or peeling calls for a larger fix.
Start with a close inspection before opening a repair kit.
Identify the Cause Before You Patch the Floor
Pinholes are small, round openings in a coating. Some form while the material cures. Others appear later as moisture, air, or contamination works beneath the finish.
A good repair begins with the floor's condition around each hole. Press lightly around the area and inspect it under a bright work light. A coating that feels firm and stays attached usually supports a spot repair.
Cosmetic pinholes usually stay small and stable
A cosmetic pinhole repair may be appropriate when the holes are isolated and the surrounding coating remains hard and well-bonded. The floor should not show blisters, soft spots, cloudy patches, or lifting edges.
Common cosmetic causes include:
- Air escaping from porous concrete during application.
- A coating applied too thin to fully cover small surface voids.
- Roller texture, dry rolling, or material that began to thicken before application.
- Fine dust, oil residue, or silicone contamination in a small area.
- A missed void in a previously patched concrete surface.
These flaws can look worse after sweeping, because dust settles into every opening. Still, appearance alone does not prove the floor has a moisture problem.
Signs the pinholes point to coating failure
Pause the repair if pinholes appear with larger defects. Moisture vapor pressure can push against the coating from below, while poor surface prep can cause the coating to release from the concrete.
Look for these warning signs:
- Holes cluster near expansion joints, cracks, exterior walls, or the garage door.
- The coating turns milky, bubbles, or forms raised blisters.
- Edges peel when you press or scrape them lightly.
- The floor has damp-looking areas after rain, even with the garage door closed.
- White mineral deposits appear in cracks, joints, or bare concrete.
- Pinholes keep returning after earlier touch-ups.
A sound coating with a few shallow pinholes can accept a localized repair. A coating that is blistering or peeling needs diagnosis before more material goes on top.
If the pattern suggests moisture, review concrete slab moisture testing before coating before scheduling a larger repair.
Gather Safe Materials for a Small Pinhole Repair
The repair material must be compatible with the existing system. Epoxy, polyurea, polyaspartic, and urethane topcoats do not all accept the same fillers, cleaners, or recoat methods.
If you don't know what is on the floor, check old product records or ask the original installer. A patch can fail or discolor when incompatible products react.
Use protective gear and control dust
Even a small floor repair creates dust and exposes you to coatings and cleaning chemicals. Open the garage door when weather permits, but avoid working during blowing rain or strong wind that carries debris onto the floor.
Wear:
- Nitrile gloves and safety glasses.
- A NIOSH-approved respirator suitable for sanding dust and the coating products in use.
- Long sleeves and closed-toe shoes.
- Hearing protection if you use a grinder or power sander.
Keep children, pets, and vehicles out of the work area. Also, turn off ignition sources and avoid smoking near solvents or resin products. Many coating components and cleaners give off flammable vapors.
Choose tools that won't damage the surrounding finish
For isolated pinholes, you usually need a utility knife or pick, fine-grit sandpaper, a small sanding block, a shop vacuum with a fine-dust filter, clean lint-free rags, and a small putty knife or flexible spreader.
Use a manufacturer-approved cleaner where needed. Avoid pouring strong solvents, acid cleaners, or degreasers into the holes. They can soften some finishes, leave residue, or migrate into the concrete.
A small two-part repair compound or the compatible base coating may fill the voids. If the floor has decorative flakes, save a few matching chips before starting. A plain patch on a heavily flaked floor often stands out.
How to Repair Garage Floor Pinholes Step by Step
Small repairs work best when the affected area stays dry, clean, and stable. Pick a day when you can keep the garage free of traffic through the repair and cure period.
Clean, open, and feather each pinhole
First, sweep and vacuum the repair zone. Then use a pick or utility knife to remove loose material inside each hole. Do not dig aggressively into solid coating or widen the defect more than necessary.
Next, sand a small area around the pinholes to dull the gloss. The goal is to create a clean mechanical bond for the patch. Feather the edge gently so the repair does not leave a raised ring.
Vacuum all sanding dust. Wipe only with the cleaner approved for the coating system, then allow the surface to dry fully. In a humid Florida garage, a surface can look dry while moisture remains in the holes or pores.
If the floor has oil staining near the repair, stop and address that first. Proper oil-stain removal before floor coating helps prevent a patch from separating later.
Fill the voids in thin, controlled passes
Mix only the amount of repair material you can apply within its stated working time. Heat shortens that window, especially in a closed garage during a Southwest Florida afternoon.
Press the material into the pinholes with a flexible spreader. Hold the tool at a low angle so it pushes product into the void instead of skimming over the top. A thin pass is usually easier to level than a thick mound.
Let the repair set according to the product instructions. Then inspect it with a work light held low across the floor. Fill any remaining low spots with another thin application rather than overbuilding the first coat.
After the patch cures, sand it lightly until it feels level with the surrounding finish. Vacuum again before applying a compatible touch-up coat or clear topcoat.
Blend flakes and sheen when the floor has texture
A smooth solid-color floor is usually the easiest to blend. Flake systems need more care because both color and texture affect the final look.
While the repair coat remains within its approved broadcast window, press a light amount of matching flakes into the patched area. Do not overload the spot. A dense cluster of flakes can make the repair more noticeable than the original pinholes.
Once the material cures, remove loose flakes and apply a compatible clear finish if the original system includes one. Match the existing sheen as closely as possible. A glossy patch on a satin floor can remain visible even when the color is correct.
Florida Humidity, Temperature, and Cure Time Matter
A repair can look perfect at noon and fail weeks later if conditions were wrong during application. Concrete, air temperature, and humidity all affect how coating materials spread and cure.
Keep moisture and condensation off the repair area
Florida humidity rises quickly after rain and overnight. When the slab is cooler than the air, condensation can form on the floor even if you cannot see obvious water.
Check the garage early in the day. A cool, damp slab, fogged windows, or condensation on metal tools signals poor repair conditions. Wait until the concrete is dry and the product's stated application range is met.
Do not rely on a household fan to solve a wet slab. Fans can improve air exchange, but they cannot stop moisture vapor from moving through concrete. Keep sprinklers away from the garage perimeter, and do not wash the floor shortly before applying repair material.
Avoid extreme heat and rushed curing
Hot concrete can make two-part coatings set faster than expected. It can also encourage air in the slab to expand upward, which creates more tiny bubbles or pinholes.
Work during the cooler part of a dry day when the product label allows it. Keep direct sunlight off open garage slabs when possible, and mix smaller batches. A material that becomes thick or stringy should not be forced across the floor.
Cure time is not the same for every product. Some systems allow light foot traffic sooner than vehicle traffic. Others require longer before placing storage racks, driving in a hot vehicle, or washing the surface. Follow the coating manufacturer's written cure schedule rather than using a one-size rule.
Treat Moisture-Related Failures as a Larger Project
Spot work does not fix a coating that has released from damp concrete. Filling pinholes over a moisture problem traps the defect beneath a fresh layer.
Test the slab and find the source of water
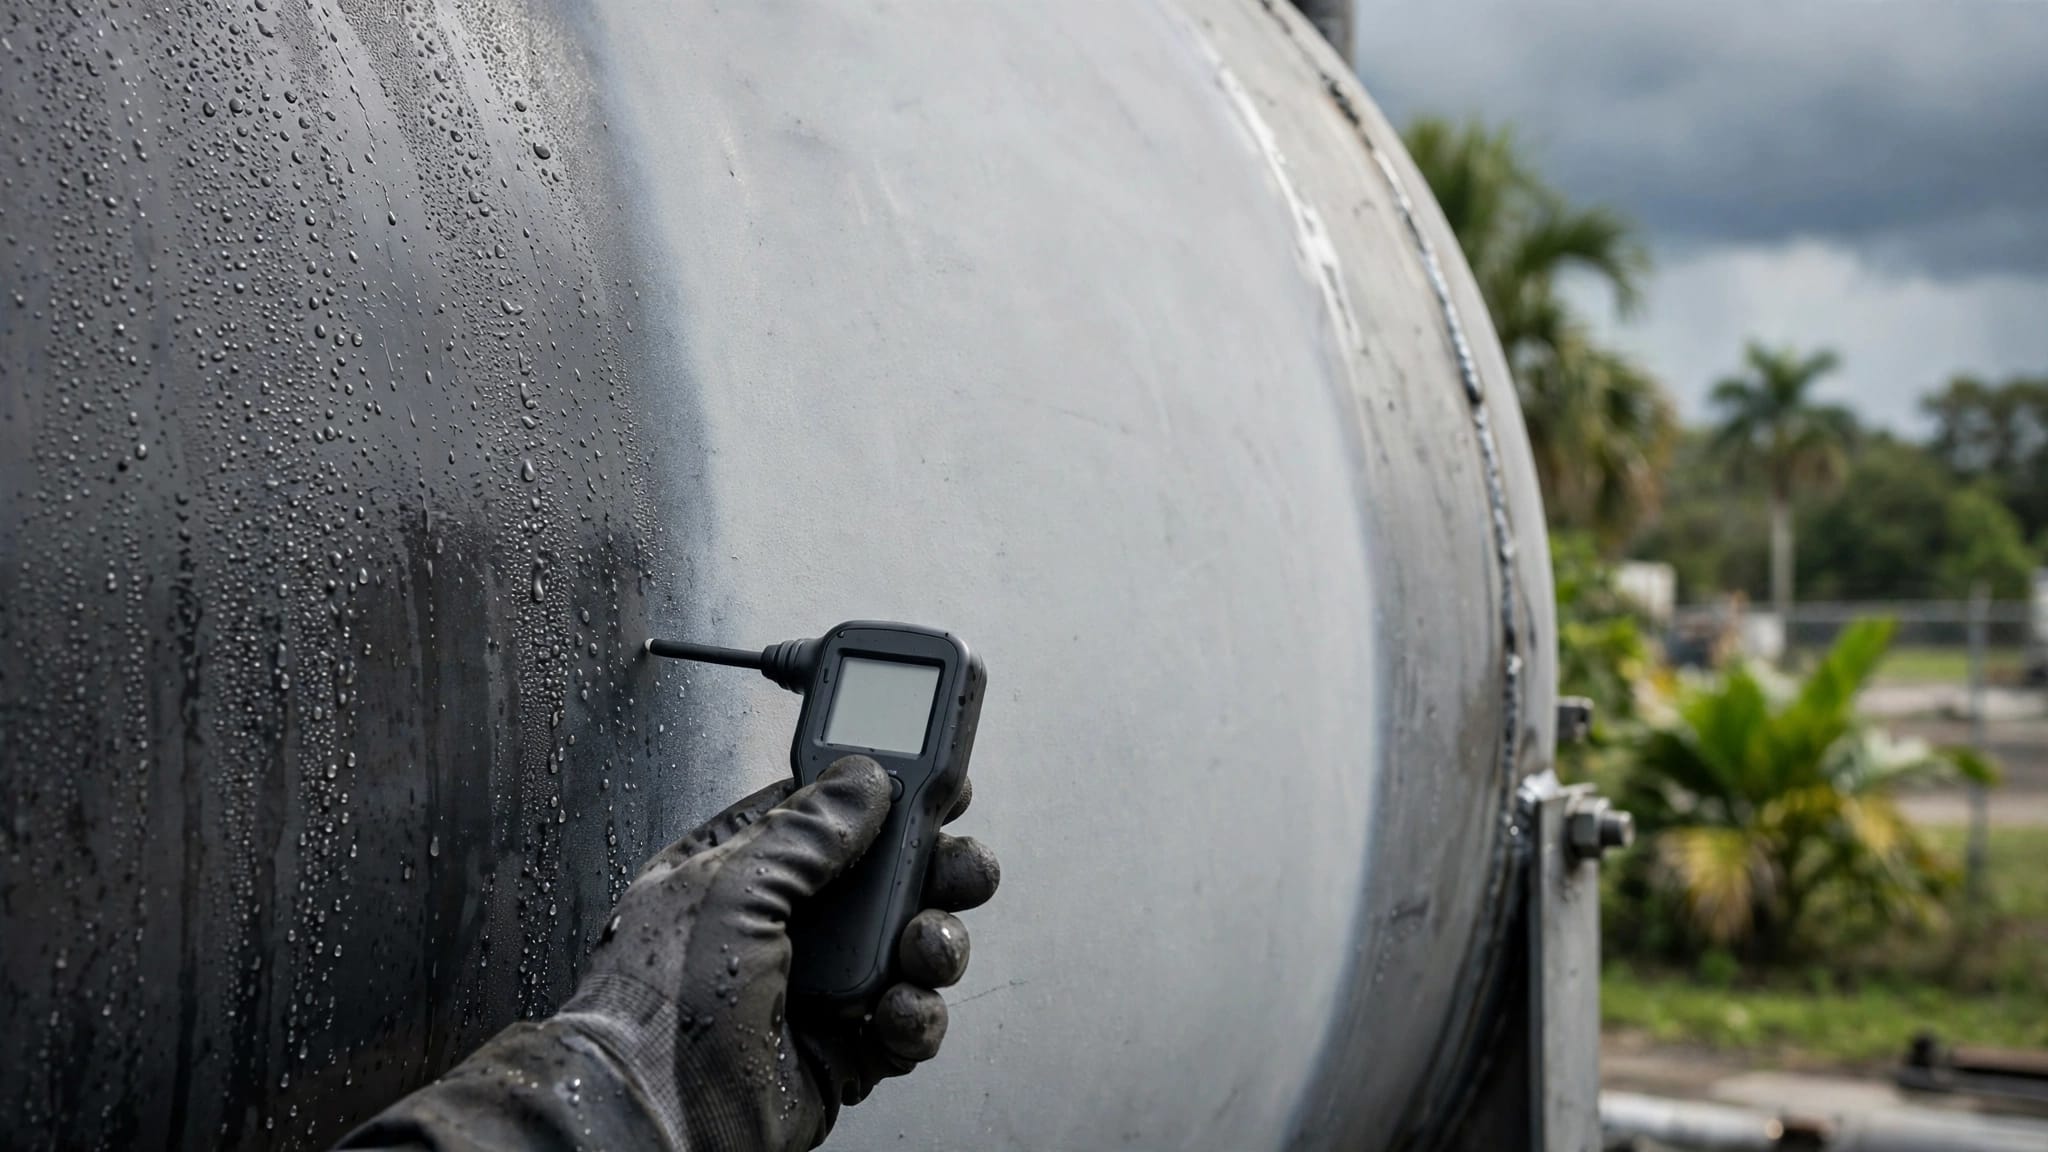
A proper evaluation may include moisture testing, inspection of cracks and joints, and a review of drainage around the garage. In Florida, vapor can rise through an older slab even when the surface stays dry most days.
Check for downspouts that discharge near the garage, irrigation overspray, gaps at the door, plumbing leaks, and rainwater that ponds against the slab. Correcting outside water sources matters, but it may not solve vapor coming from below.
A contractor may recommend a moisture-mitigation primer or a different coating system after test results and substrate conditions are reviewed. Product selection should match the slab, exposure, and intended use.
Remove failed material before recoating
When coating peels, blisters, or sounds hollow over a wide area, remove the failed sections back to firmly bonded material or bare concrete. A professional often uses diamond grinding to create a clean, textured surface for the replacement system.
Grinding also reveals cracks, weak patches, and contaminated concrete that a new coating cannot hide. Repairs should come before the base coat, decorative layer, and topcoat.
For garages with repeated humidity-related issues, compare epoxy versus polyaspartic garage floors based on the actual slab condition, sunlight, schedule, and desired cure time. No coating type can overcome a wet or poorly prepared surface on its own.
Prevent New Garage Floor Pinholes After the Repair
Once you repair garage floor pinholes, protect the repair during its full cure period. Avoid dragging metal shelving, setting down wet boxes, or parking a vehicle before the coating is ready.
Keep the floor clean without aggressive washing
Sweep grit and leaves often, especially near the garage door. Use a soft broom, mild cleaner approved for the finish, and a damp mop when needed. Rinse sparingly and do not leave standing water along walls or joints.
Avoid narrow pressure-washer tips and harsh acids. Aggressive cleaning can scar the finish or force water into weak edges. If tires track in rainwater, allow the floor to dry rather than sealing moisture under rubber mats.
Ask for a repair scope that addresses the cause
A dependable contractor should explain whether the job is a surface touch-up or a coating failure repair. The written scope should identify preparation, crack treatment, moisture testing when needed, repair materials, coating layers, and cure expectations.
For larger failures or a complete replacement, Southwest Florida garage floor coating professionals can evaluate the concrete before recommending a system. That inspection helps separate a simple visual defect from a slab condition that needs more work.
A Durable Repair Starts Below the Surface
A few isolated holes do not always mean the garage floor needs replacement. With solid adhesion, careful sanding, compatible material, and enough cure time, a small repair can blend into the existing finish.
However, Florida's humidity and slab moisture can turn pinholes into a warning sign. Repair garage floor pinholes only after checking that the coating and concrete beneath them remain sound.
More featured articles...