How To Test Concrete Slab Moisture Before Floor Coating In Florida
A concrete slab can look dry and still ruin a new floor coating. That surprise hits hard in Florida, where humidity, rain, and coastal air keep moisture moving long after the surface feels ready.
If you own a building, manage a facility, or schedule coating work, concrete slab moisture testing should happen before epoxy or any other floor coating goes down. The goal is simple: verify the slab meets the coating manufacturer's limits, because those requirements always beat any rule of thumb.
Why Florida slabs create more coating risk
Florida slabs dry differently than slabs in drier states. High ambient humidity slows evaporation. Rain can soak open buildings or unfinished spaces. Near the coast, salt air and damp conditions add more stress to the slab and coating system.
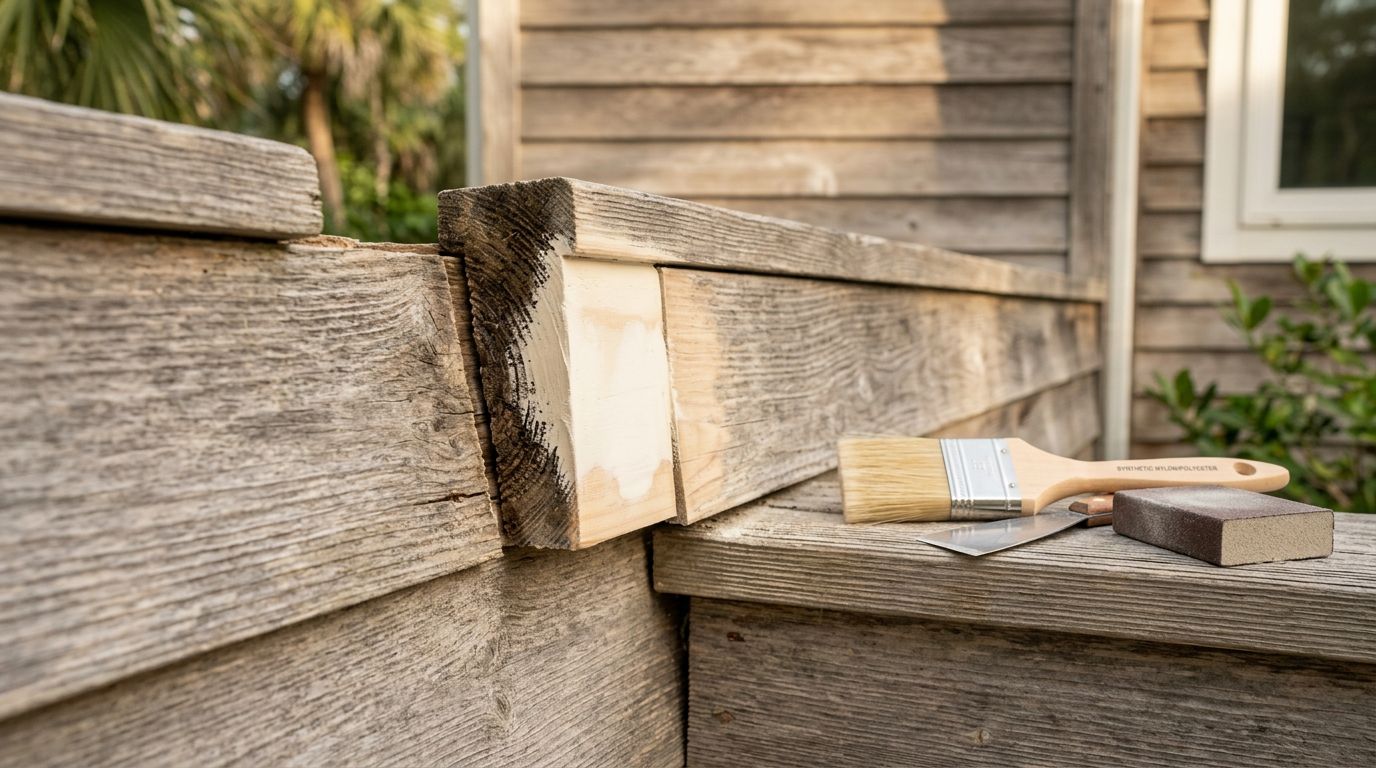
Older Florida buildings add another layer of risk. Many older slabs either lack an under-slab vapor barrier or have one that has failed over time. When ground moisture moves up through the concrete, that vapor can push against a coating from below. The floor may look fine on day one, then blister, peel, or lose bond later.
Surface dryness doesn't tell the full story. A slab can feel dusty and hard on top while still holding too much moisture deeper inside.
If you're making a coating decision by touch, color, or how fast the surface dries after cleaning, you're guessing.
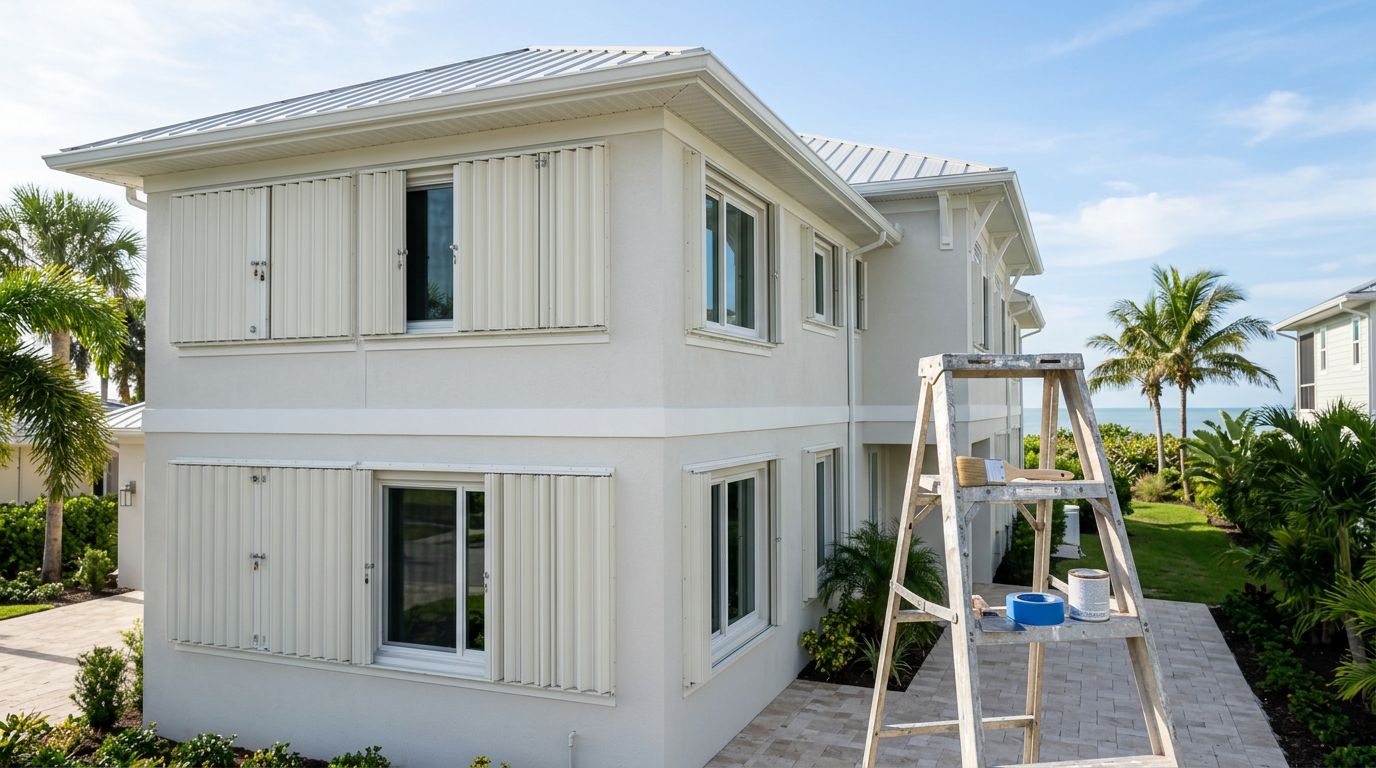
That guess gets expensive fast. Moisture-related failures can show up as bubbling, whitening, pinholes, osmotic blisters, or full delamination. For owners planning high-performance concrete coatings in Southwest Florida, moisture testing is one of the most important pre-install steps.
The three common test methods, in plain English
Not all tests tell you the same thing. Some measure what is happening deep in the slab. Others only tell you what the surface is doing that day.
Here's the quick comparison:
| Method | Standard | What it measures | Best use | Main limitation | | | | | | | | In-situ RH test | ASTM F2170 | Internal relative humidity inside the slab | Best overall method before coatings | Takes planning, drilling, and wait time | | Calcium chloride test | ASTM F1869 | Moisture vapor emission at the surface | Useful when a manufacturer allows it | Surface conditions can skew results | | Handheld moisture meter | No direct ASTM acceptance as a final coating approval test | Relative moisture near the surface | Fast scanning and finding wet areas | Not a final pass/fail test |
The RH test , covered by ASTM F2170, is the method many flooring and coating professionals prefer. It checks moisture inside the slab, where future vapor pressure matters most. Technicians drill test holes, place probes at the right depth, and allow them to stabilize before taking readings. For slabs drying from one side, the standard depth is typically 40 percent of the slab thickness.
That matters in Florida because surface readings can look better than the slab's true condition. Air conditioning, fans, or a stretch of sunny weather can dry the top layer while the body of the slab stays wet.
The calcium chloride test , under ASTM F1869, works differently. It measures how much moisture vapor leaves the surface over a set period. That can still be useful, but it is more sensitive to short-term surface conditions. In humid Florida air, the slab may not emit moisture the same way it would in a dry climate. As a result, this method can miss deeper moisture problems.
A handheld meter is helpful, but it is not enough on its own. It can quickly scan a floor and flag wet zones, rain-exposed areas, or spots near joints and exterior doors. Still, it should be treated as a screening tool unless the coating manufacturer clearly allows it as a decision method.
How to do concrete slab moisture testing before floor coating
Testing needs to match the product you plan to install. Always start with the coating manufacturer's data sheet and installation guide. Some products allow RH testing only. Others accept RH plus calcium chloride. Some also set pH limits, which is where ASTM F710 often enters the conversation.
Use this workflow on Florida projects:
- Stabilize the jobsite first. Run the HVAC or create service conditions that match how the building will operate. ASTM-based testing is more meaningful when the space is stable.
- Wait after rain or wet trades. If the slab got soaked by weather, cleaning, pressure washing, or recent concrete work, give it time before testing. A rain-soaked slab can produce misleading readings if you test too soon.
- Map the slab. Mark exterior walls, door openings, control joints, cracks, plumbing areas, and places with known moisture history. These spots often deserve extra attention.
- Use a meter to scan first. A handheld meter helps find wet pockets and choose smarter probe locations. It saves time and reduces surprises.
- Run RH probes per ASTM F2170. Drill, clean, place sleeves and sensors, then allow the required equilibration time before recording readings. Current field practice still favors RH testing as the best predictor of coating risk.
- Add calcium chloride only if the product requires it. Follow ASTM F1869 exactly. Do not mix methods casually or compare one standard's limits to another's.
- Check pH too. Moisture and alkalinity often travel together. High pH can attack primers, adhesives, and coatings even when moisture seems close to acceptable.
- Document everything. Record slab thickness, test locations, dates, room conditions, calibration status, and results. That record protects everyone if a warranty question comes up later.
A good testing plan also covers quantity. Larger slabs need multiple test locations, not one reading near the door. One dry corner cannot represent a whole warehouse, showroom, or condo garage.
Florida conditions that can change the reading
Florida moisture problems rarely come from one source. More often, they stack up.
A slab in Fort Myers or Naples may deal with humid air, damp soil, afternoon storms, and a missing vapor barrier all at once. Coastal buildings also face salt-laden air and wind-driven rain, which can affect open structures and partially enclosed spaces. Even if the slab is years old, moisture vapor can still move upward.
Season matters too. A slab that passed in a dry spell may read differently during a wet month. Interior conditions also count. When the HVAC is off, the building can swing hard in temperature and humidity, and that affects surface-based tests more than people expect.
Because of that, avoid shortcuts such as the plastic sheet test, visual inspection, or assuming an old slab is safe because "it's had plenty of time to dry." Age alone does not solve vapor drive.
What to do if the slab fails
Failed readings do not always mean the project is dead. They do mean the plan must change.
Sometimes the answer is more drying time under stable conditions. In other cases, the slab needs a moisture mitigation system that the coating manufacturer approves. On older slabs without a reliable vapor barrier, mitigation may be the only safe path.
Do not swap to a different coating based on sales talk alone. Check the written limits, prep rules, and warranty terms for the exact system being installed. If the product says the slab must meet certain RH, MVER, or pH limits, those numbers control the job.
A coating should go onto a slab that is proven ready, not one that merely looks ready. In Florida, that difference is where good floors and failed floors split apart.
Moisture testing is the decision point. When you verify the slab with the right method, under the right conditions, you give the coating a fair chance to last.
More featured articles...