How to Remove Salt Residue Before Repainting Florida Homes
Salt leaves more than a white crust on coastal exteriors. It settles into texture, hangs on trim, and keeps fresh paint from bonding the way it should.
That is why salt residue removal belongs at the top of every repaint checklist for Florida homes. If you paint over salty surfaces, the finish can peel, blister, or look dull far sooner than it should.
The fix starts before the first coat of paint. With the right cleaning method, the surface dries cleaner, primer grips better, and the new finish lasts longer in humid salt air.
Why salt residue causes paint to fail
Salt is sneaky because it does not always look serious. A wall may only show a light film, yet that film can hold moisture and create a weak layer between the coating and the substrate.
Fresh paint needs a stable surface. Salt residue gets in the way by pulling in water from humid air, which is common across coastal Florida. That extra moisture can slow curing and lead to adhesion problems later.
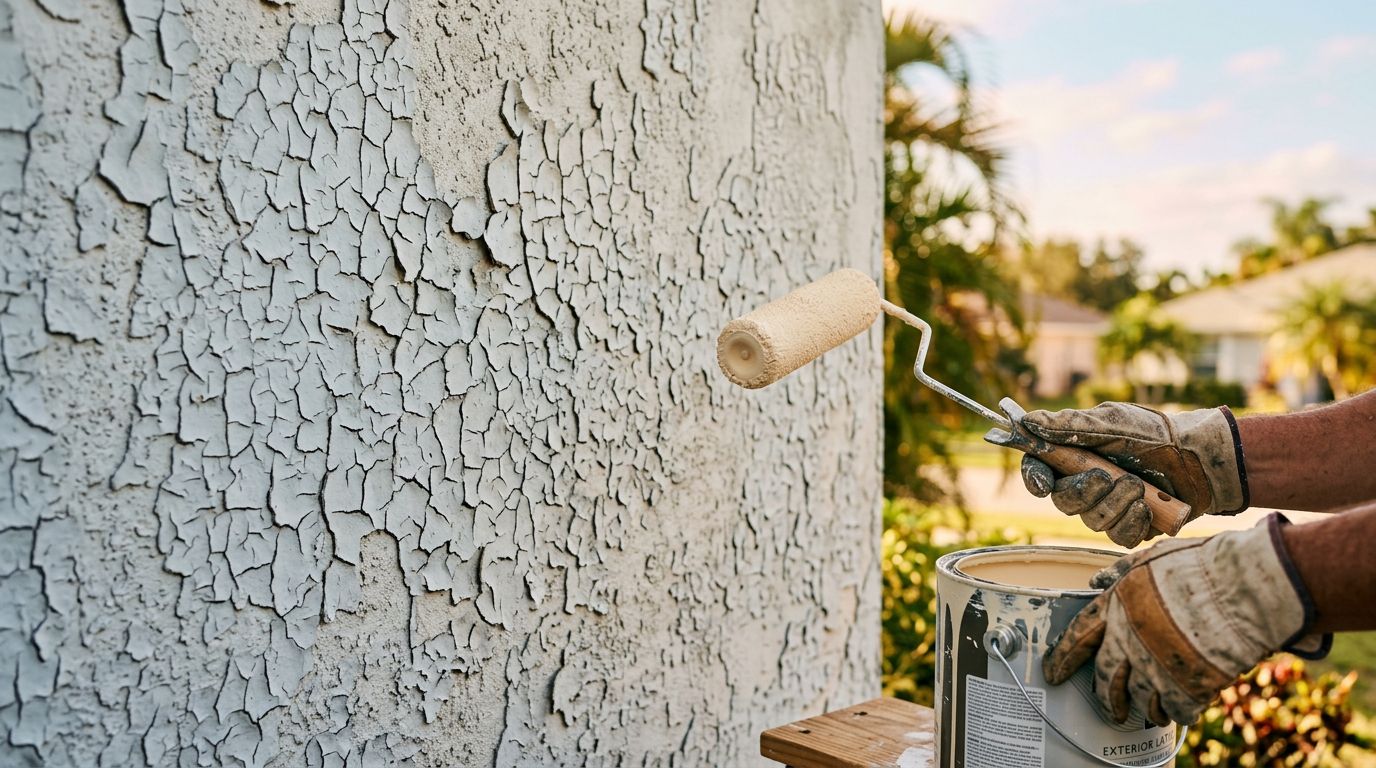
You may also see salt mixed with chalking on older paint. In that case, the old coating has already broken down, and the salt just adds another layer of trouble. Painting over it is like setting a new coat on top of dust.
If the surface still feels gritty or leaves white powder on your hand, it is not ready for paint.
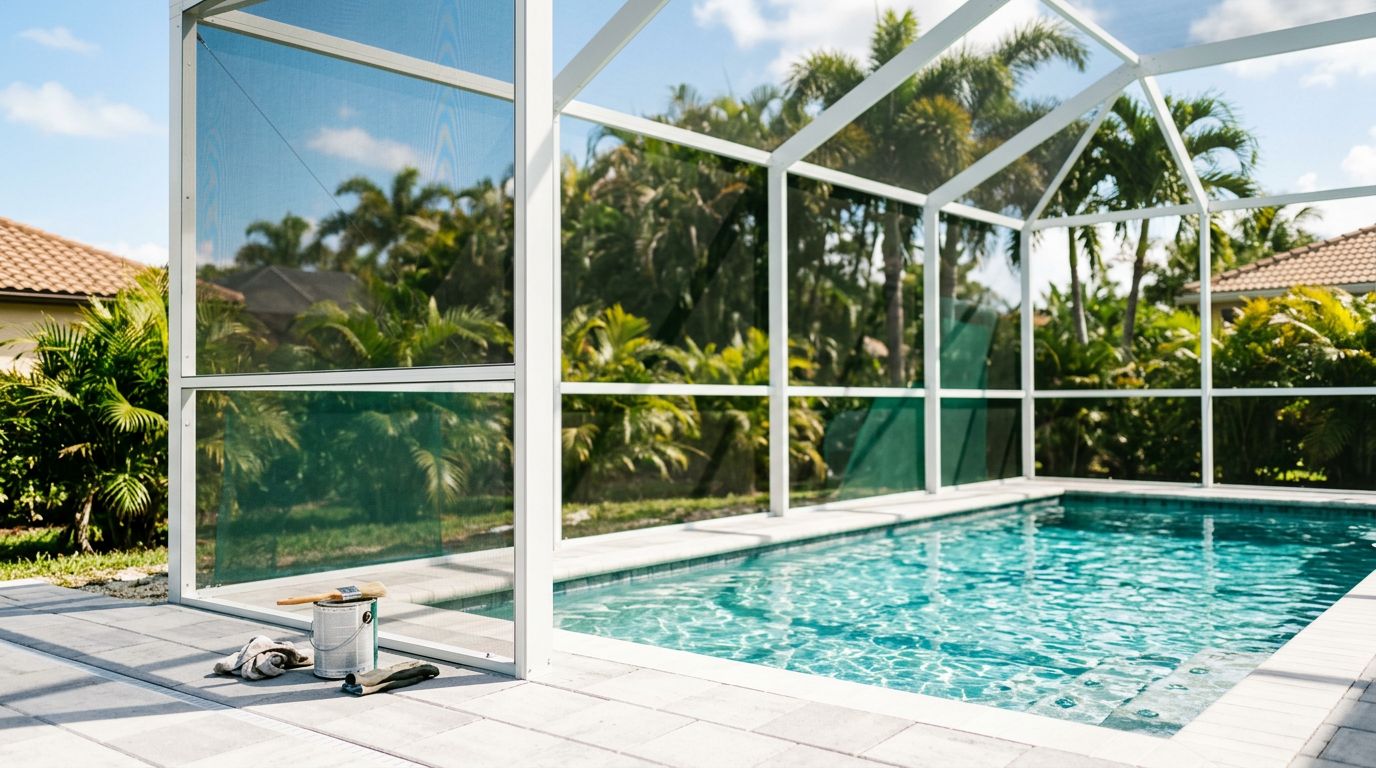
The issue gets worse near windows, soffits, railings, and shaded walls where moisture lingers. On those spots, even a good paint system struggles if the salt film stays in place.
Clean each exterior surface the right way
Not every surface should be cleaned the same way. Stucco, wood, masonry, and previously painted walls all handle water and scrubbing differently.
Here is a quick comparison before you start.
| Surface | How salt shows up | Safe cleaning approach | Main caution |
|---|---|---|---|
| Stucco | White haze in pores and hairline cracks | Low-pressure rinse, soft brush, mild detergent | Do not blast the texture or force water into cracks |
| Wood | Salt dust on trim, fascia, and railings | Gentle wash, careful hand scrubbing, full rinse | Avoid soaking aging boards or soft end grain |
| Masonry | Crust near joints, ledges, and cap blocks | Rinse first, then scrub with a non-abrasive brush | Do not use harsh pressure or strong acids without guidance |
| Previously painted surfaces | Chalky film, dull sheen, peeling edges | Wash, rinse, dry, then test for remaining chalk | Residue often hides under failing paint |
Stucco needs a light touch because the finish is porous. Wood can swell, split, or shed fibers if it stays wet too long. Masonry often holds salt in tiny openings and mortar joints, so the rinse has to reach those spots without tearing up the surface. Previously painted walls need extra inspection because old paint can look sound while still shedding chalk.
The takeaway is simple. Match the cleaning method to the surface, not the other way around. That keeps prep work from causing the damage you were trying to avoid.
A safe cleaning process before repainting
The best way to clean salt off an exterior is to work in stages. Rushing through it usually leaves residue behind.
- Start with a dry brush.
Sweep loose crystals, dirt, and cobwebs from ledges, trim, and textured areas. A soft-bristle brush works well. This keeps the first rinse from turning dry salt into streaks. - Rinse with low pressure.
Use a garden hose with a fan nozzle or a gentle rinse from top to bottom. The goal is to flush the salt off, not strip the surface. Pay attention to corners, soffits, and window ledges. - Wash with a mild cleaner.
Mix a simple detergent solution and scrub with a soft brush or sponge. Work in small sections so the cleaner does not dry on the wall. For many homes, this step removes the film that a rinse alone leaves behind. - Rinse again until the water runs clear.
Salt can hide in texture and joints. A second rinse removes what the wash loosens. If the runoff still looks cloudy, repeat the wash on that section. - Let the surface dry completely.
This step matters more than most people think. In coastal Florida, shaded walls, stucco, and wood trim can hold moisture longer than expected. Painting too early traps that moisture under the new coating. - Inspect before priming.
Once dry, wipe a dark cloth across the surface. If it picks up white powder, the wall still needs cleaning. If the surface feels clean and firm, it is ready for primer or paint.
Bleach is not a salt remover. It can help with mildew, but salt crystals need rinsing and washing. If mildew is also present, handle it as a separate issue before repainting.
Pressure washing mistakes that make the problem worse
Pressure washing gets used too aggressively on Florida exteriors. That is where damage starts.
High pressure can scar stucco, fuzz up wood, and drive water behind siding or into cracks. It can also push salt deeper into porous masonry instead of carrying it away. Once that happens, the wall may look clean while still holding residue inside.
A few habits can save you trouble:
- Keep the spray angle downward whenever possible.
- Stay off weak paint, soft wood, and cracked stucco with heavy pressure.
- Never spray upward under laps, trim, or roof edges.
- Do not paint after rain, heavy dew, or a fresh wash if the surface still feels cool and damp.
- Skip the idea that one strong blast solves everything, because it often creates more prep work later.
The safest approach is controlled cleaning, not brute force. On many homes, the hose and brush do a better job than a pressure washer set too high.
If the home has peeling paint, open cracks, or fragile trim, that is a strong sign the surface needs repair before repainting. A coating can only perform as well as the substrate underneath it.
When a professional painter is the better choice
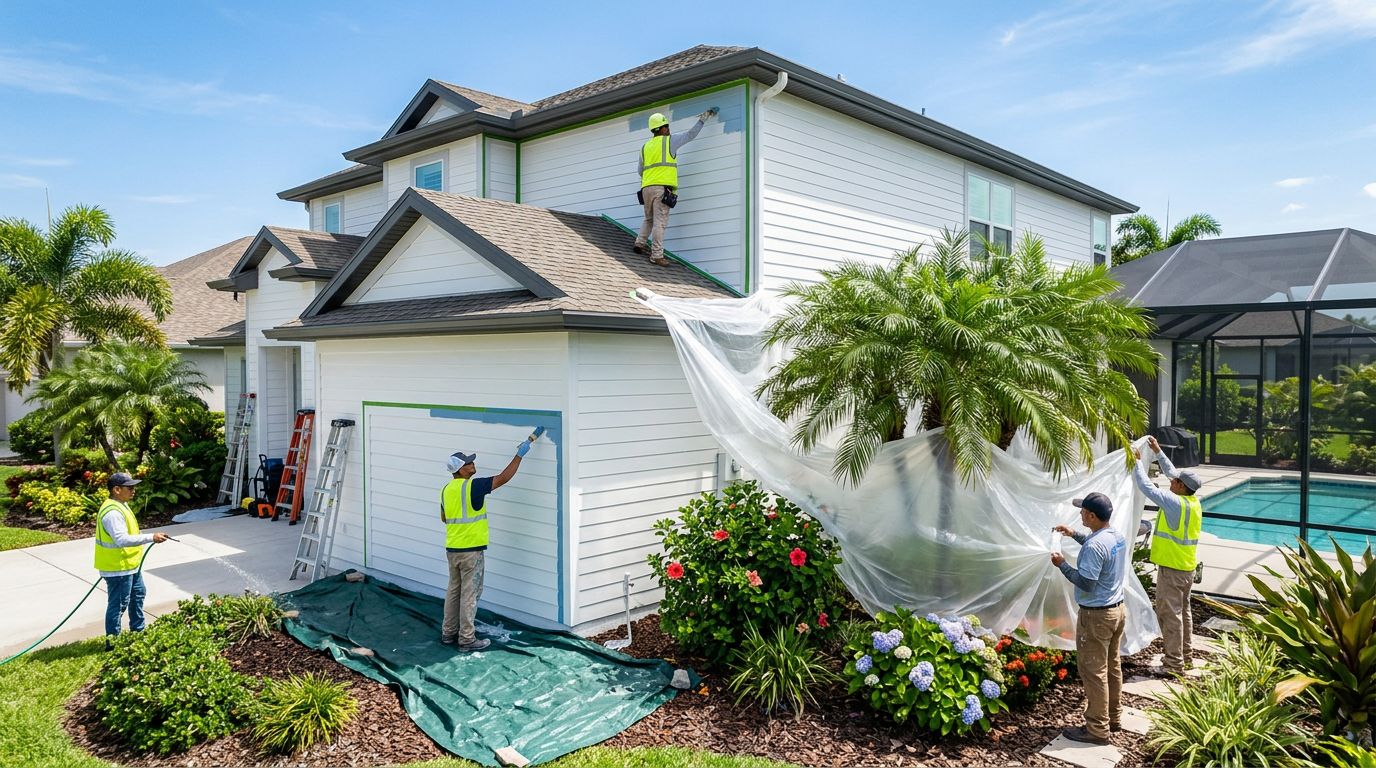
Some salt problems are larger than a homeowner prep job. Multi-story exteriors, heavily textured stucco, water-damaged wood, and paint that is already failing can take more time than expected.
This is where a contractor matters. A crew that handles residential house painting services can clean, repair, prime, and repaint with the right sequence in place. That matters on Florida homes, where salt, heat, and humidity work together against the coating.
When the project includes multiple surfaces, the prep plan has to change from one area to the next. For example, a stucco wall may need a gentle wash and crack repair, while trim may need sanding and spot priming. A good painter looks at those differences before opening a paint can.
If the job is larger than a single home exterior, or if the property needs broader finishing work, professional painting services can cover the full scope with one plan. That helps keep the prep consistent across walls, soffits, railings, and other exposed surfaces.
Keeping salt buildup down after repainting
A clean repaint still needs maintenance. Salt returns with every coastal breeze, and the first year after painting is when small habits matter most.
Rinse exterior walls and trim after major storms or periods of heavy spray. A quick hose-down keeps deposits from building into a crust. You do not need to scrub the whole house every time, but you should wash off visible film before it hardens.
Keep sprinklers aimed away from walls. Irrigation overspray leaves behind minerals that mix with salt and create even more residue. The same goes for planters and roof runoff that splash against lower walls.
Trim shrubs and trees back enough to let air move around the home. Better airflow helps surfaces dry faster after rain or morning dew. That matters on shaded sides of the house, where moisture hangs around longer.
Inspect caulk lines, window edges, and rail joints at least a few times a year. Small gaps let moisture in, and moisture makes salt damage worse. Fixing those spots early protects the paint film you just paid for.
Conclusion
Coastal Florida homes take a beating from salt, even when the weather looks calm. That white film on the exterior is more than a cosmetic issue. It can weaken adhesion, shorten paint life, and turn a fresh repaint into a quick repair job.
Clean the surface fully, match the method to the material, and let everything dry before priming. That simple sequence gives your new paint a clean start and helps it hold up in humid, salt-heavy air.
More featured articles...