How to Prime New Drywall Before Painting in Florida Humidity
Fresh drywall can look ready for paint while still holding moisture that can ruin a smooth finish. Florida's humid air slows evaporation, especially in bathrooms, garages, laundry rooms, and rooms with limited airflow.
If you plan to prime new drywall , wait until the board and joint compound are dry. Then apply a drywall primer-sealer suited to the room. Primer controls absorption, improves adhesion, and helps the finish coat dry with a consistent sheen.
Why You Need to Prime New Drywall in Florida
New drywall has a porous paper face. Joint compound is porous too, but it doesn't absorb paint at the same rate as the paper. When finish paint goes directly onto the wall, some areas soak up more coating than others.
That uneven absorption can create dull patches, visible seams, and inconsistent color. Primer seals the paper and compound, giving the finish paint a more uniform surface.
Primer and paint do different jobs
Paint provides color, sheen, and a washable surface. Primer prepares the substrate and seals porous materials. It doesn't replace the finish coat, and one coat of finish paint shouldn't be expected to seal raw drywall reliably.
Self-priming paint may work on some prepared surfaces. However, fresh drywall usually benefits from a dedicated drywall primer-sealer. Check both product labels when the primer and paint come from different manufacturers.
Joint compound needs even coverage
Sanded seams, screw heads, and corner repairs often have different textures and absorption rates. A wall can look smooth before painting, yet every repair may show once the finish coat dries.
For a new installation, prime the entire drywall surface. Spot-priming only the joints can leave visible halos because the surrounding paper and repaired areas absorb paint differently.
Check Dryness and Humidity Before You Prime
Florida conditions make this step easy to rush. A surface may feel dry while moisture remains below the outer layer of joint compound. Look for a uniform light color, a firm surface, and dust that powders cleanly during light sanding.
Soft spots, dark areas, smeared edges, or a cool, damp feel mean the wall needs more time. A drywall moisture meter can help you compare repaired areas with nearby board, although readings vary by tool and material.
For more detail about drywall mud drying time in Florida humidity, remember that thick repairs and poor airflow take longer than thin patches. Never prime compound that is dry only on the surface.
Control the room without causing condensation
Run the home's air conditioning or a dehumidifier to lower indoor moisture. Use a fan to circulate air, but don't aim a strong stream directly at wet compound. Fast surface drying can leave the material damp underneath.
Keep the room's conditions steady. Opening windows during a rainy or muggy afternoon may add moisture instead of removing it. Also avoid cooling a warm wall so quickly that humid air condenses on its surface.
A damp sheen, beads of water, or a wall that feels colder than nearby surfaces requires a pause. Your primer may list a maximum relative humidity, minimum temperature, or both. The product label controls the application, while these Florida humidity limits for painting indoors offer useful context.
Choose the Right Drywall Primer-Sealer
A PVA drywall primer is made for porous new board and joint compound. It is often a practical choice for bedrooms, living rooms, offices, and other standard interior spaces. Apply it only within the temperature and humidity range listed by the manufacturer.
An acrylic latex drywall primer-sealer may suit a coating system that needs more durability or moisture resistance. For bathrooms, kitchens, and laundry rooms, choose a primer and finish paint labeled for interior use in those conditions.
Stains require a different product. Water marks, smoke residue, and discoloration can bleed through a standard drywall primer. A compatible stain-blocking primer may help, but it won't solve an active leak, wet insulation, or mold inside the wall.
Repair the moisture source and replace damaged drywall before coating. Likewise, mildew-resistant paint can help protect the finished film in damp rooms, but it doesn't remove established mold or correct repeated condensation.
How to Prime New Drywall Step by Step
- Stabilize the room. Close exterior openings when outdoor air is damp. Run the air conditioning or dehumidifier, and stay within the primer label's temperature and humidity limits.
- Finish the surface. Sand ridges and rough edges, fill pinholes, and feather repairs until the wall feels even. Remove sanding dust with a vacuum and a clean, dry cloth.
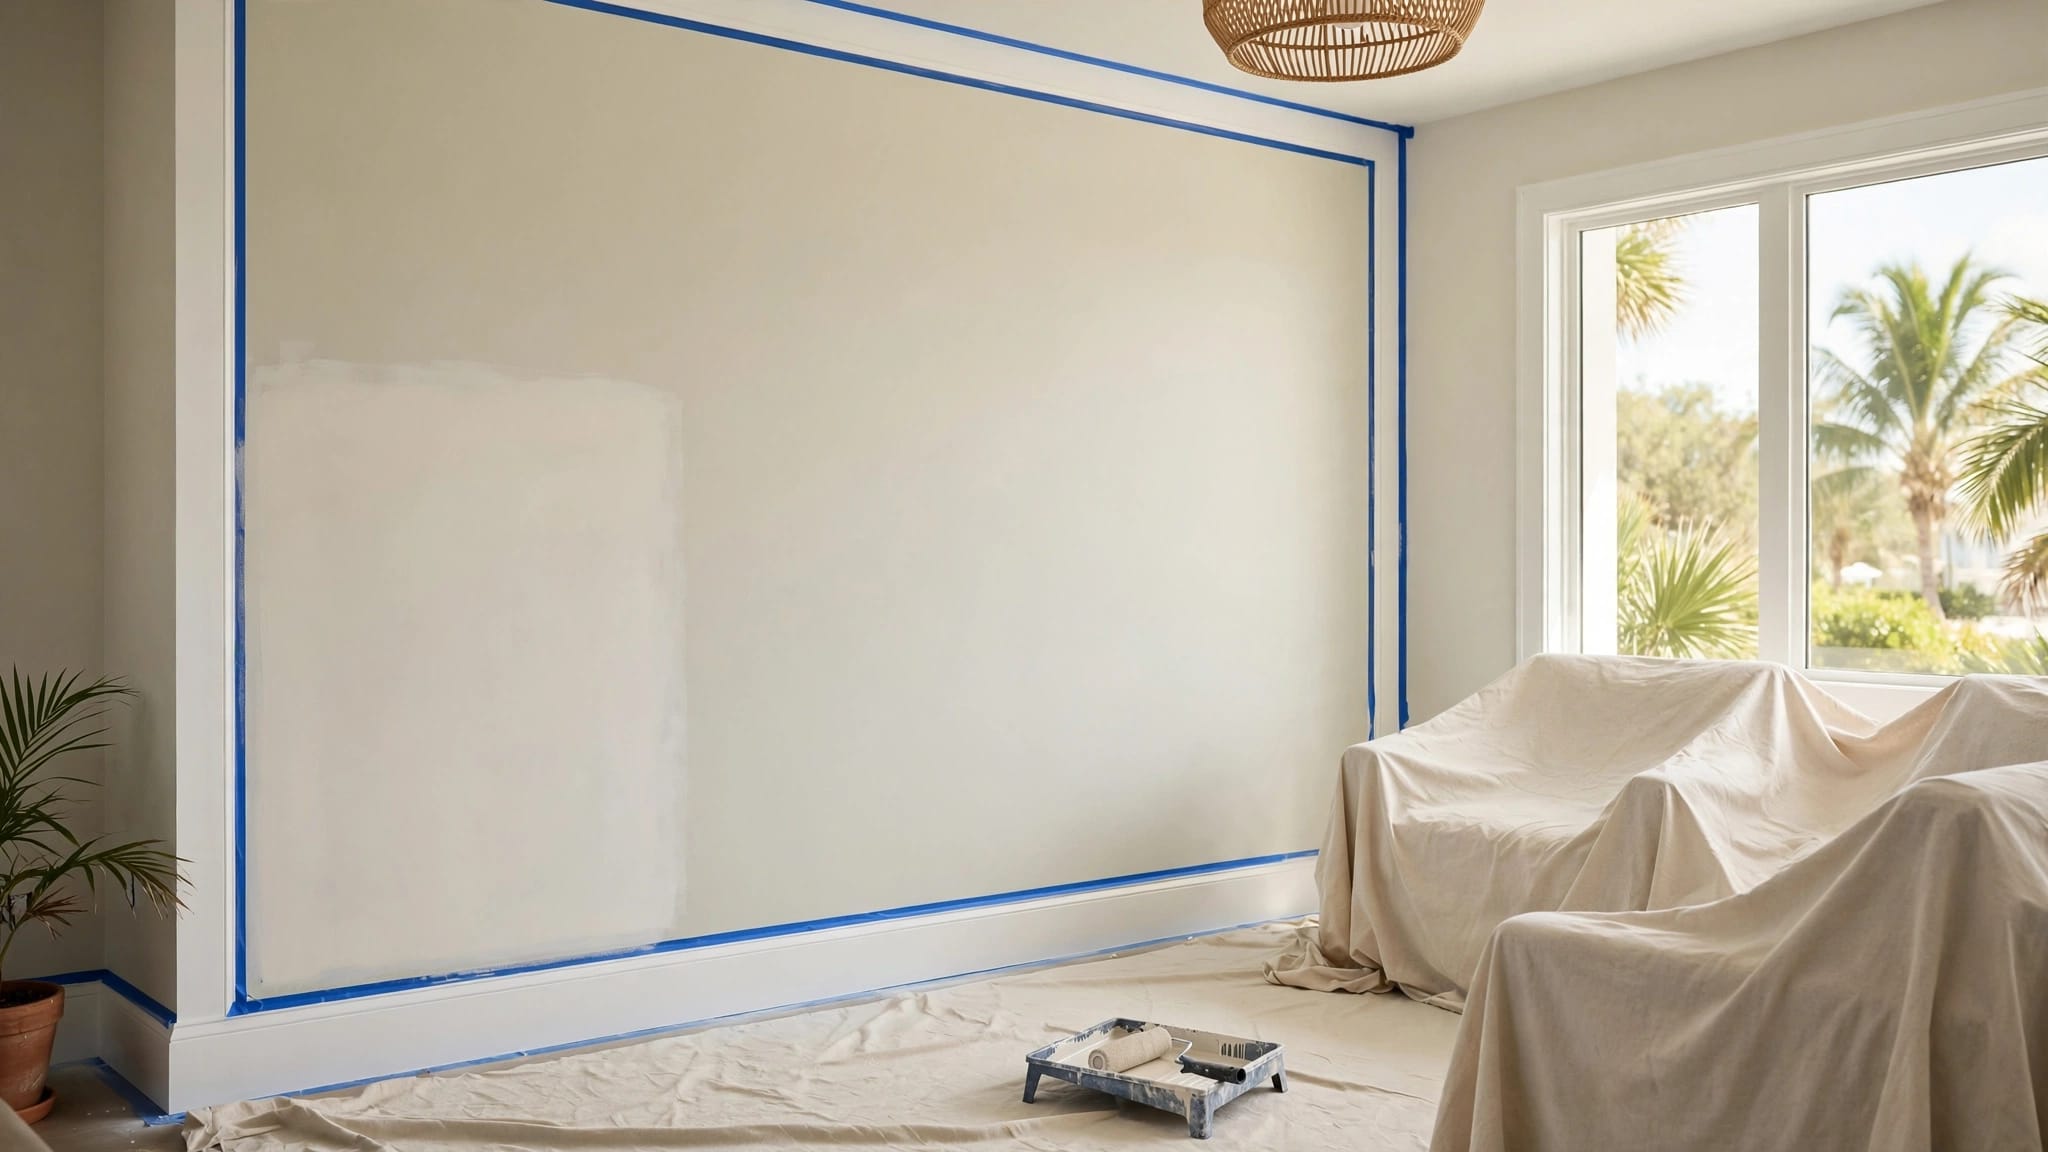
- Protect nearby surfaces. Cover floors, cabinets, fixtures, and trim. Mask edges carefully because primer can dry quickly on porous surfaces.
- Apply an even coat. Cut in edges with a brush, then roll the field with a roller suited to smooth drywall. Keep a wet edge and avoid repeatedly working areas as they begin to set.
- Follow the recoat instructions. Use the manufacturer's listed dry and recoat times rather than a universal schedule. Humidity, temperature, film thickness, and airflow all affect drying.
- Inspect before painting. If the primer feels soft or drags under light pressure, wait longer. Sand small raised fibers only after the primer dries, then remove dust before applying finish paint.
A proper primer coat should leave the wall evenly sealed. Finish paint can then provide the selected color and sheen.
Troubleshoot Common New Drywall Painting Problems
Most problems point to moisture, dust, uneven absorption, or coating applied outside the product's specified conditions.
Fix flashing and uneven sheen
Flashing appears as dull or shiny patches, often over seams and repairs. It usually comes from different absorption rates or inconsistent primer coverage.
Sand surface defects, remove dust, and prime the full wall instead of painting isolated patches. Use the same roller type and application method across each wall. If the primer coat is thin in places, apply another coat only when the product label permits it.
Uneven sheen can also develop when finish paint is applied over areas with different textures. A consistent primer layer helps reduce that contrast.
Address peeling and bubbling at the source
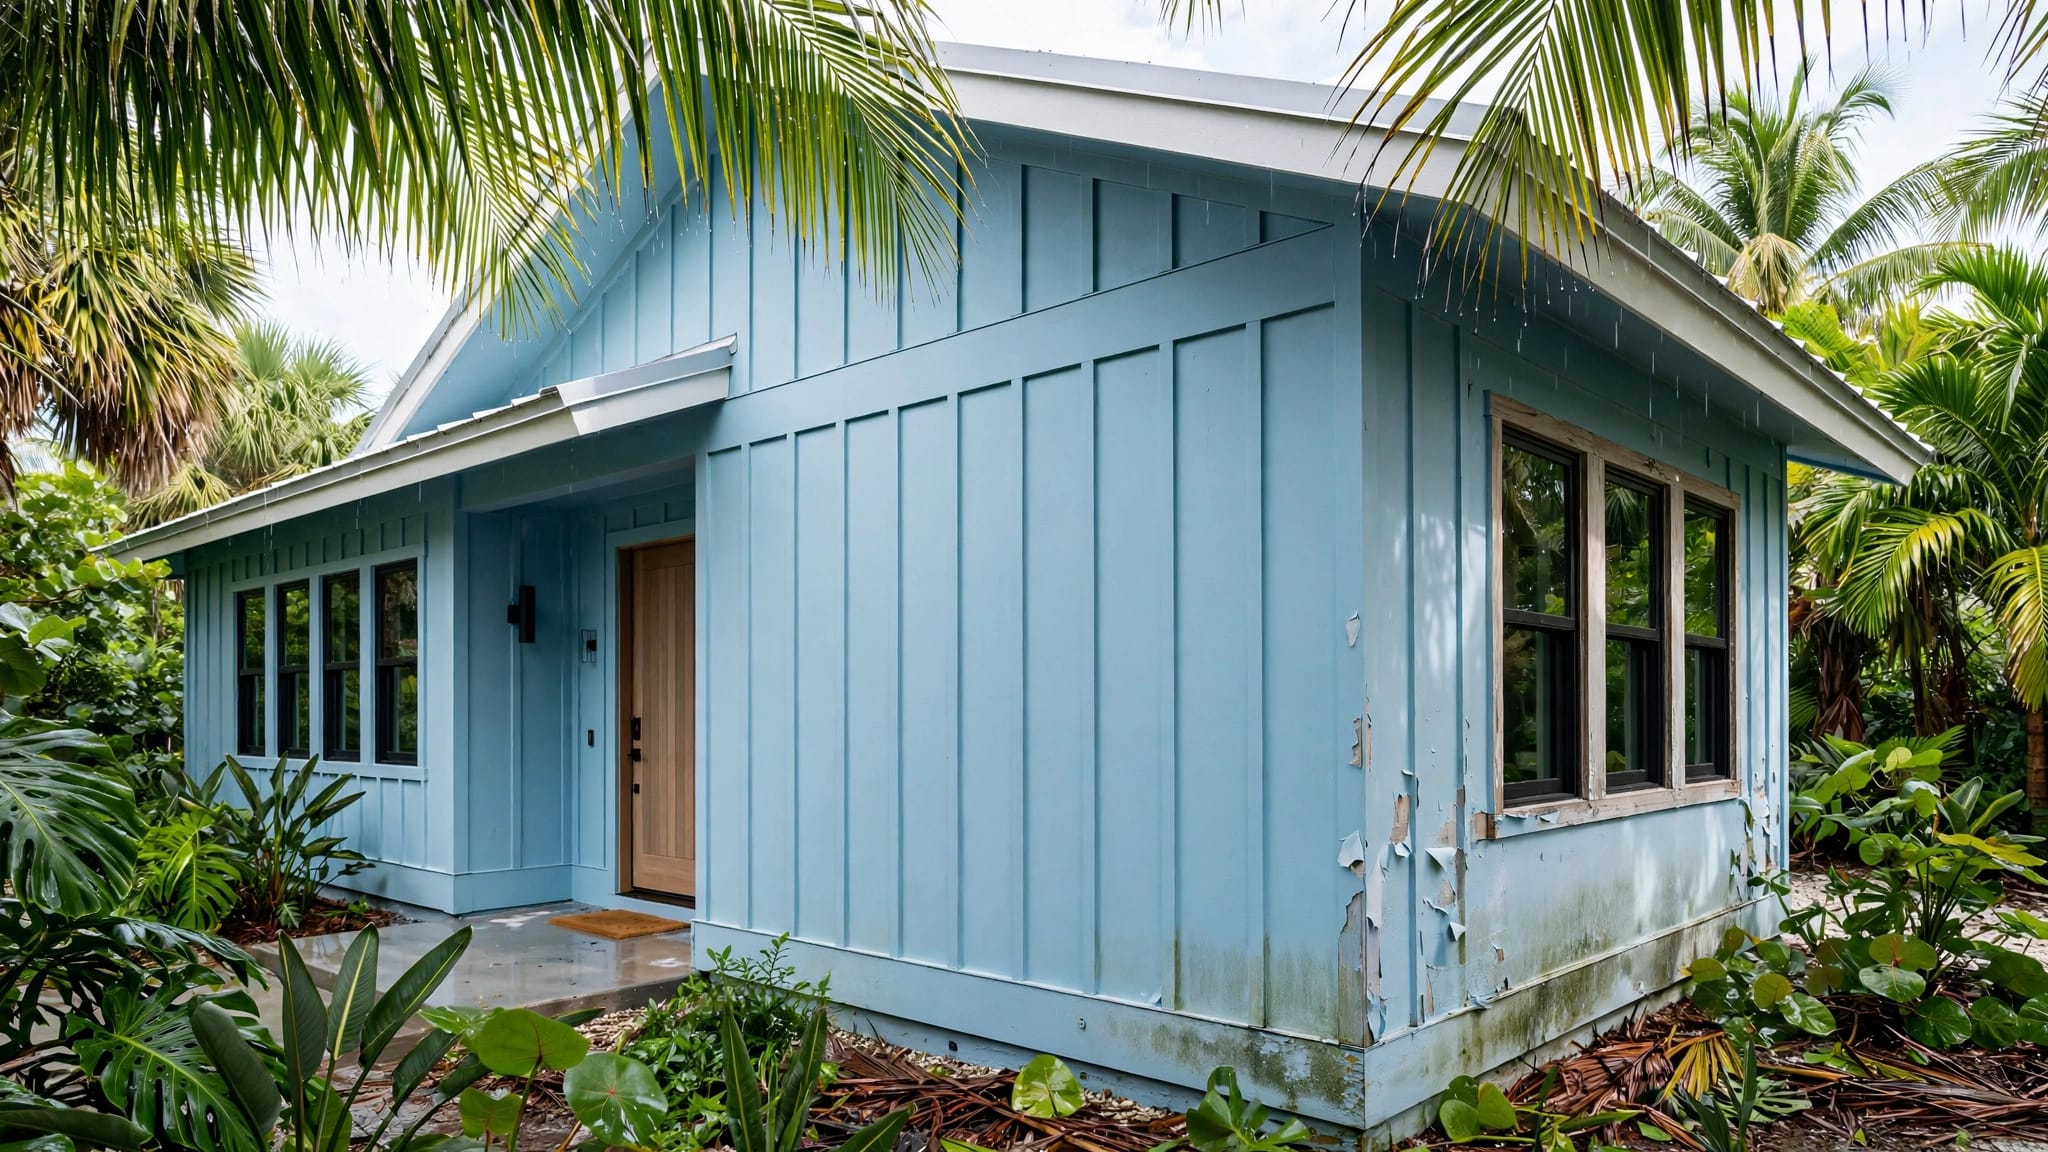
Peeling can follow poor adhesion, drywall dust, trapped moisture, or paint applied over uncured compound. Bubbling may indicate a leak or condensation behind the coating.
Don't seal the symptom beneath another coat. Scrape away loose material, correct the moisture source, and allow the substrate to dry. Repair damaged paper or compound, sand the area, remove dust, and apply the correct primer.
For additional guidance, see how to fix bubbling paint on drywall.
A wall that keeps bubbling is a moisture warning, not a request for another coat of paint.
A Smooth Finish Starts Before the First Coat
To prime new drywall successfully in Florida, confirm that the compound is dry, measure indoor humidity, and choose a primer-sealer made for fresh drywall. Air conditioning and dehumidification help, but cold surfaces can still collect condensation when humid air reaches them.
Follow the manufacturer's temperature, humidity, application, and recoat instructions every time. For a large residential or commercial project, a qualified painting contractor can test the substrate and choose a coating system suited to the property's conditions.
More featured articles...