Interior Painting Cleanup Checklist for Florida Homes
Fresh paint can make a room feel brand-new, but cleanup decides whether the project ends neatly or leaves behind stubborn spots and damaged tools. A practical interior painting cleanup checklist helps Florida homeowners protect floors, trim, fixtures, and the paint left for future touch-ups.
Humidity also affects the timing. Paint that feels dry may still scuff or pull when tape comes off, especially during a damp Southwest Florida afternoon. Start with safe timing, then work through each surface before moving furniture back.
Start Cleanup Only After the Paint Can Handle It
Cleanup begins before the room looks finished. Give paint enough time to set, keep air conditioning running, and avoid crowding freshly painted walls with furniture or supplies.
Check dry time before removing protection
Read the paint can for dry-to-touch and recoat times. Dry-to-touch paint can still mark easily, so don't drag drop cloths, ladders, or furniture against it.
In Florida, indoor humidity can slow drying even with the AC on. Bathrooms, laundry rooms, and kitchens often need extra patience. Review how humidity affects paint drying if the room feels sticky or paint remains tacky longer than expected.
Keep ceiling fans on a low setting if they don't blow dust onto wet surfaces. Open windows only when outdoor air is dry enough that it won't raise indoor moisture.
Work from the cleanest area outward
Start with sealed paint cans, then collect clean tools, remove masking, and handle floor protection last. This order prevents shoes or ladder feet from tracking paint across a room you already cleaned.
Use a small trash bag or bucket as you go. Remove used tape, plastic, and loose paper in manageable bundles. Large sheets can smear wet paint if they fold over onto walls or trim.
Pull painter's tape back slowly at a 45-degree angle. If paint bridges across the tape, score the edge lightly with a utility knife before continuing.
Interior Painting Cleanup Checklist for Each Room
A consistent room-by-room pass catches the small details that become frustrating after furniture returns. Complete one room before spreading supplies into the next.
Inspect walls, ceilings, trim, and fixtures
Stand near the doorway, then look across the painted surface in natural and artificial light. Watch for roller lint, drips below trim edges, paint on outlet covers, and missed spots near corners.
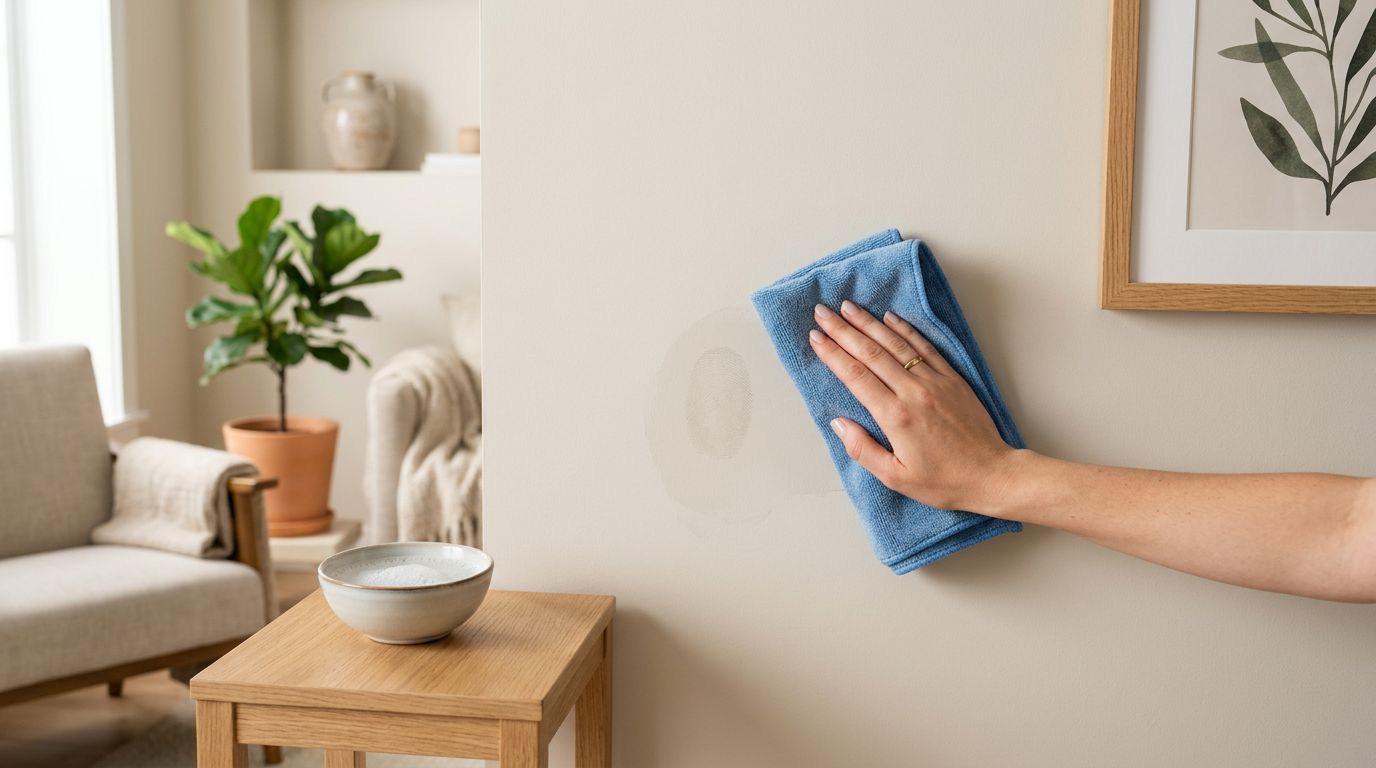
Use a clean, slightly damp microfiber cloth for a small water-based paint smudge on a hard surface. Don't scrub a newly painted wall. If a touch-up is needed, wait until the coating has dried as directed on the label.
Check window glass, door hardware, switch plates, cabinet pulls, vents, and baseboards. Remove paint from these areas before it fully cures, using the appropriate method for the coating and surface.
Follow this final room pass
- Gather brushes, roller frames, trays, extension poles, stir sticks, and unopened supplies.
- Close and label leftover paint before carrying it through the home.
- Remove painter's tape with steady pressure, then bag it with other disposable coverings.
- Inspect drop cloths for wet paint before folding them.
- Vacuum dry sanding dust with a HEPA-equipped vacuum if possible, rather than sweeping it into the air.
- Wipe doorknobs, switch plates, and nearby floors where hands or shoes may have transferred paint.
A contractor should keep the home orderly throughout the project, not only at the end. Knowing what to expect during an interior paint project makes it easier to discuss daily cleanup, room access, pets, and furniture protection before work begins.
Clean Brushes, Rollers, and Painting Tools Promptly
Paint dries faster on tool fibers than most people expect. Cleaning tools right away saves money and gives you a better finish on later touch-ups.
Wash water-based paint from brushes and rollers
For latex or acrylic paint, scrape excess paint into the original can first. A brush comb works well for pulling paint from the heel of the brush, where bristles meet the metal ferrule.
Rinse the brush in a container of water, not directly under a running faucet. Work a small amount of mild dish soap through the bristles, rinse again, and repeat until the water runs mostly clear. Reshape the brush, then hang it or lay it flat to dry.
Roller covers usually aren't worth saving after a small project if they have dried paint or heavy lint. However, quality covers can be washed in a bucket, spun or squeezed dry, and stored upright after they dry fully. Never twist a roller cover aggressively, because it can separate from the core.
Handle oil-based products with the right solvent
Oil-based paint, alkyd coatings, shellac primer, and some specialty finishes need the cleanup solvent listed on the label, often mineral spirits or paint thinner. Keep the container closed when you're not using it, and work in a ventilated area away from flames, pilot lights, and cigarettes.
Wear chemical-resistant gloves and avoid skin contact. Pour used solvent into a labeled, sealed container rather than down a sink or toilet. Solvent-soaked rags need careful handling because they can release fumes and may create a fire risk.
If your project includes detailed doors, cabinets, or trim, the choice of brush, roller, or sprayer changes both the finish and cleanup plan. Florida interior painting techniques can help when comparing methods with a painting contractor.
Remove Paint Spills Without Damaging Surfaces
Fast action helps, but forceful scraping often creates a bigger repair. Match the cleanup method to the paint type and the material beneath it.
Lift wet spills from floors and carpet
Blot wet paint with paper towels or a clean rag. Don't rub, because rubbing pushes paint into carpet fibers, grout lines, and wood grain. For water-based paint on hard flooring, use a damp cloth and mild soap, changing the water often.
On carpet, blot with a damp cloth from the outside of the spot toward the center. Use only enough water to lift the paint. Over-soaking carpet padding can create moisture problems in Florida's humid conditions.
Dried paint on tile or glass may lift with a plastic putty knife held at a shallow angle. Test a hidden area first. Avoid metal blades on vinyl, laminate, finished wood, and delicate stone.
Protect trim, hardware, and glass
A damp microfiber cloth can remove small latex marks from finished trim if you catch them early. For stubborn spots, soften the paint cautiously with warm, soapy water before using a plastic scraper.
Keep solvents away from painted trim, stained wood, vinyl flooring, and acrylic fixtures unless the manufacturer approves them. Solvents can dull finishes or soften caulk. On glass, a razor scraper may work, but use it only on flat, uncoated glass and keep the blade wet.
Don't use abrasive pads on satin or semi-gloss trim. They can leave a dull patch that stands out under indoor lighting.
Store Leftover Paint for Touch-Ups
A partly filled can can save a future repair, provided the paint remains sealed and usable. The label also gives you the sheen, color name, base, and product line needed for a proper match.
Seal, label, and store paint correctly
Wipe paint from the can rim, place the lid on top, and tap it closed with a rubber mallet or hammer through a wood block. Hitting the lid directly can bend the edge and prevent a tight seal.
Write the room name, surface, date, and sheen on the lid with a permanent marker. For example, "Guest room, walls, eggshell, September 2026" is far more helpful than a vague color name.
Store paint upright in a conditioned indoor area where it won't freeze, overheat, or sit in direct sun. A garage can become too hot for reliable long-term storage. Keep every can away from children, pets, food, and ignition sources.
Know when old paint has gone bad
Don't use paint with a sour odor, thick rubbery lumps, a skin that won't mix back in, or visible mold. Stir usable paint thoroughly before a touch-up. A small test patch confirms the color still blends with the existing wall.
Paint can change appearance as it ages, and walls fade or collect residue over time. When touch-ups remain visible across broad areas, compare the cost and appearance of a larger repaint. Choosing between touch-ups and repainting can help you decide when a patch is no longer the cleanest solution.
Dispose of Paint and Contaminated Materials Safely
Paint disposal isn't a one-size-fits-all task. Florida county and city rules can differ, so verify local requirements before putting paint or cleanup materials at the curb.
Never send paint into drains or storm systems
Don't pour leftover paint, rinse water, mineral spirits, or paint sludge into sinks, toilets, gutters, storm drains, canals, or onto the ground. These materials can contaminate water and create expensive plumbing or environmental problems.
For water-based paint, let small amounts of residue dry in a container when local rules allow it. Once fully hardened, some counties permit disposal with regular trash. Others direct residents to household hazardous waste collection sites.
Oil-based paints, stains, solvents, aerosols, and many primers usually need household hazardous waste handling. Keep them in their original labeled containers whenever possible. Never mix chemicals together to reduce the number of containers.
Separate contaminated rags and coverings
Let water-based paint rags dry flat in a safe, ventilated place before bagging them, if local rules permit. Avoid piling wet rags in a hot garage, especially near electrical equipment or stored fuel.
Place solvent-soaked rags in a metal container with a tight lid until you can follow local disposal instructions. Don't toss them loosely into household trash. Used trays, plastic liners, gloves, and tape should also be checked for wet paint before disposal.
This part of the interior painting cleanup checklist protects more than your floors. It keeps leftover materials out of plumbing, waterways, and places where children or pets might reach them.
Common Cleanup Mistakes to Avoid
Small shortcuts often create the mess that homeowners remember most. Avoiding these mistakes keeps the finish intact and reduces unnecessary waste.
Don't rush tape removal or furniture placement
Tape left on too long can tear or pull cured paint. Yet pulling it when paint is still soft can smear the edge. Follow the paint manufacturer's timing and use a sharp blade only when needed.
Wait until paint has reached its stated cure period before pushing furniture against walls, hanging heavy art, or washing the surface. Florida humidity can extend that timeline. A wall that feels dry isn't always ready for pressure or cleaning.
Avoid diluting, dumping, or mixing leftovers
Adding water to paint doesn't make disposal safe. Mixing paint types can also create a container that local facilities won't accept. Keep each product labeled and separate.
Don't leave open cans, dirty brushes, or paint-filled trays overnight in a living area. Besides the mess, they create odors, attract curious pets, and make the next day's cleanup harder. A complete interior painting cleanup checklist is most useful when you follow it before the tools dry.
A Clean Finish Includes a Clean Exit
Good cleanup protects the time and money you put into an interior repaint. Dry paint at the right pace, inspect every surface, wash reusable tools properly, and store leftover paint with a clear label.
Florida homeowners also need to treat rinse water, solvents, and used rags with care. A clean paint job should leave behind fresh walls, usable touch-up paint, and no hidden mess for later.
More featured articles...