How to Paint Outdoor Kitchen Cabinets in Southwest Florida
An outdoor kitchen can look worn long before the grill or countertop does. Sun, rain, grease, mildew, salt air, and humid afternoons all work on cabinet finishes every day.
To paint outdoor kitchen cabinets successfully in Southwest Florida, you need more than a new color. The surface material, cleaning process, primer, coating, and weather window all matter. A well-prepped finish can refresh solid cabinets, while a rushed coat may peel after one wet season.
Start by identifying what you have, then build the paint system around it.
Southwest Florida Weather Is Hard on Cabinet Finishes
Outdoor cabinetry faces more punishment than indoor kitchen cabinets. A shaded lanai may stay damp for hours after rain. Meanwhile, a Naples waterfront home can collect salt residue even when cabinets never get directly splashed.
Heat expands materials, humidity slows drying, and ultraviolet light fades darker colors. Grease from grilling adds another layer that paint cannot stick to. These conditions make surface preparation and product selection the foundation of the job.
Humidity and rain affect dry time
Humidity does not automatically prevent painting, but it changes the schedule. Paint may feel dry to the touch while moisture still slows the deeper curing process. Afternoon showers can also arrive before a fresh coating has developed enough resistance.
Check the product label and technical data sheet before every coat. Follow the manufacturer's temperature, humidity, recoat, and cure guidance rather than relying on a fixed number of hours. If rain is likely, postpone the work or move removable doors into a protected, ventilated area.
Sun, salt air, and heat change the coating choice
Direct Florida sunlight fades color and can make dark cabinet doors hot enough to stress the finish. White, light gray, sand, and muted blue-gray colors usually hide fading better than deep black or saturated navy.
Salt air creates a different problem. It leaves a film that attracts moisture and speeds corrosion on exposed steel. Exterior paint finishes for Southwest Florida should match both the cabinet material and the exposure level, especially near the Gulf.
A coating cannot compensate for moisture trapped in a cabinet box, loose veneer, or rust that has already spread beneath the surface.
Identify the Cabinet Material Before You Paint
The same paint system will not work on every outdoor cabinet. Look inside the doors, under the countertop edge, and around screw holes for clues. If you are unsure, remove a hinge or pull and inspect the exposed material.
Wood and previously painted wood
Solid wood cabinets often show grain on unfinished edges or the back of a door. Exterior-rated plywood may show layered edges. These materials can accept paint well when they are dry, structurally sound, and free of failing stain or clear sealer.
Previously painted wood needs a closer look. Rub a hidden area with denatured alcohol on a clean rag. If color softens or comes off, the existing coating may be latex or another water-sensitive finish. If it does not react, it could be an oil-based, alkyd, urethane, or factory coating. A light scuff sand and a bonding primer improve compatibility when the old finish is glossy or unknown.
Watch for soft spots, swollen edges, and separating joints. Paint can improve appearance, but it cannot repair water-damaged cabinet boxes.
Metal, aluminum, and powder-coated cabinets
Metal cabinets may be steel, stainless steel, aluminum, or galvanized metal. A magnet will stick to steel but not aluminum. Stainless steel requires different prep than ordinary steel, while aluminum needs a primer rated for nonferrous metal.
Powder-coated cabinets have a smooth, tough factory finish. If that coating is intact, clean and scuff it before applying a compatible adhesion primer and exterior-rated topcoat. Rusting steel needs more work. Remove loose corrosion down to a firm edge, clean the metal, and use a rust-inhibitive primer approved for the chosen finish.
Never paint over active rust or blistered powder coating. The new paint will fail with it.
Laminate, PVC, polymer, and other surfaces
Laminate and high-pressure laminate usually look smooth and uniform, often with a patterned face over a core. PVC and polymer cabinets feel more plastic-like, while HDPE cabinets are often thick, solid-color plastic with a waxy surface.
Many plastic-based outdoor cabinets resist ordinary paint. Even an adhesion primer may not provide a dependable long-term finish on some polymers. Check the cabinet manufacturer's care instructions and the coating manufacturer's approved substrates first. When the material is not paintable, replacement panels or new doors are often smarter than repeated repainting.
Gather Materials That Match the Job
Having the right supplies on hand prevents you from rushing through a wet, dirty, or partially prepped surface. Choose brushes and rollers made for the coating type, not the cheapest tools on the shelf.
You will usually need:
- A degreasing cleaner, mildew remover, clean water, buckets, and lint-free rags.
- Drop cloths, painter's tape, plastic sheeting, gloves, eye protection, and a respirator suited to the products you use.
- Screwdrivers, labeled bags for hardware, a camera or phone for hinge photos, and a work surface for doors and drawers.
- Sanding sponges or sandpaper in medium and fine grits, plus a vacuum with a brush attachment.
- Wood filler or exterior-rated repair epoxy for sound wood repairs, along with a putty knife.
- An adhesion primer, stain-blocking primer, or rust-inhibitive primer that fits the cabinet material.
- Exterior-rated cabinet enamel, urethane-acrylic coating, direct-to-metal coating, or another finish approved for the substrate.
- High-quality angled brushes, small microfiber rollers, paint trays, and a wet-film gauge if the coating calls for a target film thickness.
For a durable finish on wood cabinets, review options for cabinet paint in humid Florida kitchens. Outdoor cabinets need the same resistance to wiping and grease, plus stronger protection from sun and rain.
Prepare Outdoor Cabinets for a Lasting Finish
Painting begins with removing what does not belong on the surface. Grease, sunscreen residue, mildew spores, salt, and chalky old paint all interfere with adhesion.
Clean, treat mildew, and dry completely
Turn off the grill gas supply if your workspace requires it, then remove doors, drawers, pulls, and hinges when possible. Label each door and hardware bag so reassembly stays simple. Cover countertops, appliances, pavers, and nearby plants before cleaning.
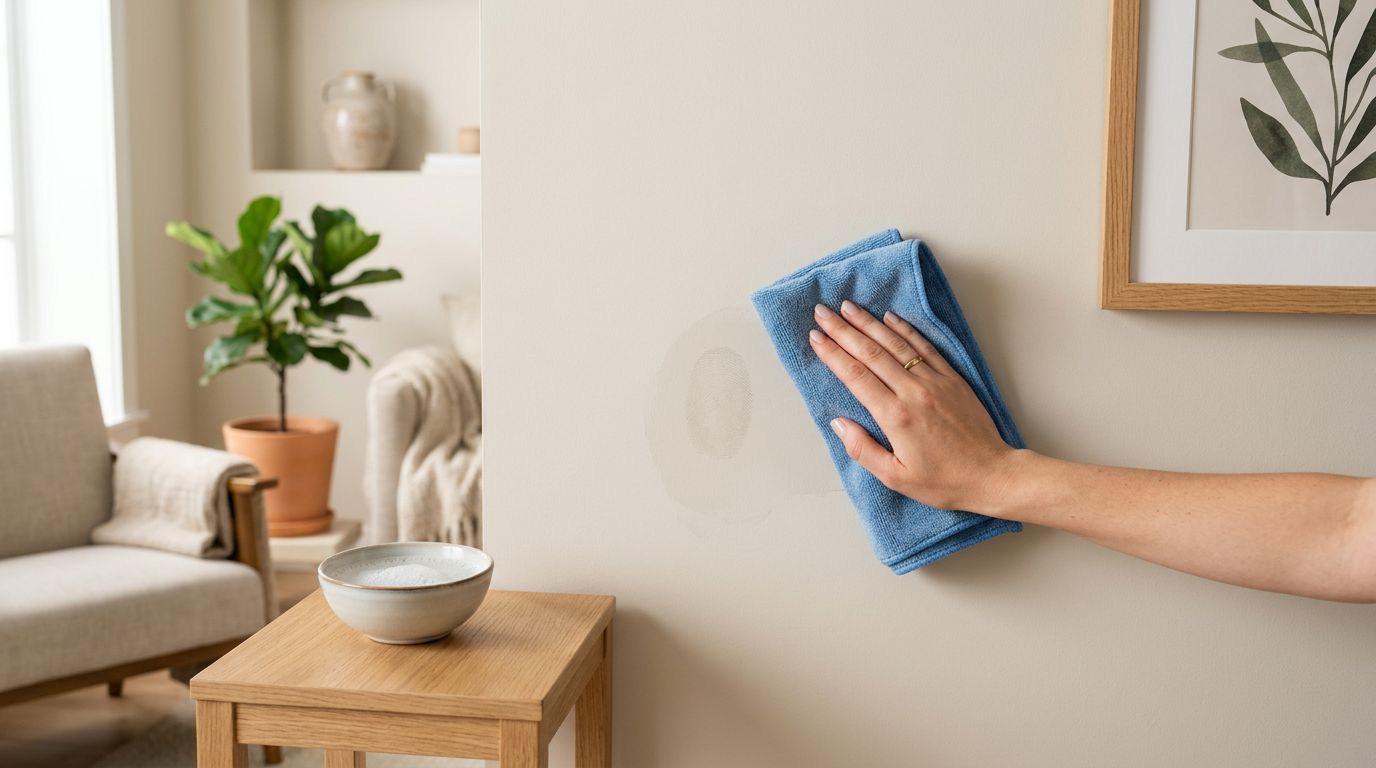
Wash the cabinets with a degreasing cleaner. Pay close attention to handles, door edges, vent openings, and the cabinet faces nearest the grill. Rinse away cleaner residue with fresh water because leftover detergent can also cause paint problems.
Treat visible mildew with a product labeled for mildew removal. Follow its instructions and wear proper protective equipment. Do not seal mildew beneath primer. After rinsing, allow the cabinets to dry fully, including joints, seams, and the underside of countertop overhangs.
Repair flaws, sand lightly, and remove dust
Once dry, scrape peeling paint and feather the edge where sound paint meets bare material. Fill small dents or open grain in wood with an appropriate exterior repair product. Let repairs harden as directed, then sand them smooth.
Use light sanding to dull glossy surfaces and give the primer a mechanical grip. You are not trying to grind through a stable factory coating. On wood, sand with the grain where practical. On metal or laminate, a fine sanding sponge can create a uniform scuff without deep scratches.
Vacuum the dust, then wipe the cabinets with a clean, compatible surface prep cloth. Dust under paint can create a rough finish and weaken adhesion.
Prime only where the surface calls for it
Bare wood needs a primer designed for exterior wood. Use a stain-blocking primer if knots, tannins, or water stains could bleed through. Previously painted wood often benefits from an adhesion primer after sanding, especially if the old paint is glossy.
Prime bare metal with the correct metal primer. Aluminum, galvanized metal, and rusted steel each need compatible products. Use a bonding primer on laminate or factory-coated surfaces only when both the primer and finish manufacturer approve that combination.
Apply primer in thin, even coats. Heavy primer may sag around routed edges and door profiles. Let it dry and recoat according to the label.
How to Paint Outdoor Kitchen Cabinets Smoothly
The best finish comes from thin coats, clean tools, and patience between steps. A brush-and-roller approach works well for many cabinet styles. Spraying can produce a smoother result, but overspray control and product setup require more skill.
Select an exterior-rated cabinet coating
To paint outdoor kitchen cabinets , select a topcoat rated for the material and outdoor exposure. An exterior-grade waterborne urethane-acrylic enamel can work well for properly primed wood. Direct-to-metal coatings are made for approved metal surfaces, while specialty coatings may be needed for factory-finished or laminate doors.
Avoid wall paint. It is usually too soft for cabinet doors that get opened, wiped, and splattered with cooking grease. Choose a sheen that fits the look and maintenance level. Satin hides minor surface flaws better, while semi-gloss is easier to wipe but shows brush marks and dents more readily.
Buy enough product from the same batch when possible. This reduces the chance of small color differences between doors and cabinet frames.
Apply thin coats in favorable conditions
Paint early in the day after dew has dried, but before the hottest sun hits the cabinets. Avoid coating a surface that feels hot to the touch. Direct sun can make paint set too fast, leaving lap marks and poor flow.
Brush detailed edges first, then roll broad panels with a small microfiber roller. Keep a wet edge and avoid going back over paint that has started to tack up. Two or more thin finish coats usually look better and hold up better than one heavy coat.
Check the label before recoating. Temperature, airflow, and humidity can change the schedule. Keep doors off until the coating has reached the manufacturer's recommended handling stage, then wait for full cure before exposing the cabinets to routine use, cleaning, or grill smoke.
Fix Peeling, Brush Marks, and Other Common Problems
A fresh finish can reveal issues quickly. Address them before applying another coat, because piling paint over a problem rarely solves it.
Peeling points to a prep or moisture issue
Peeling near door edges, around handles, or close to the grill usually means contamination, poor sanding, incompatible coatings, or moisture movement. Scrape back to sound material and inspect what lies beneath. If bare wood is damp, swollen, or soft, pause the painting work and correct the source of water.
Corroded metal needs more than a spot coat. Remove loose paint and rust, clean thoroughly, prime exposed metal, and repaint the repaired area with compatible products. Repeated failure along seams may indicate water entering behind the cabinet or countertop.
Brush marks and sagging need a lighter touch
Brush marks often come from a coating that is too thick, a low-quality brush, hot conditions, or overworking the paint. Sand the dried ridges lightly, remove dust, and apply the next coat with fewer passes. A small microfiber roller can level flat door faces after careful brushwork on edges.
Sags happen when paint is applied too heavily. Let them dry, sand them flat, and repaint in thin coats. Do not try to brush out a sag after the coating starts setting.
Know When Replacement or Professional Help Makes More Sense
Painting is a strong option when cabinet boxes are stable, doors close properly, and the substrate can accept a coating. However, replacement is often wiser when wood is swollen, particleboard has broken down, panels are delaminating, or polymer surfaces reject paint.
Outdoor kitchens with extensive rust, complicated ventilation, built-in appliances, or high-end factory finishes can also justify professional help. A contractor can assess adhesion, moisture exposure, substrate condition, and coating compatibility before expensive materials go on the cabinets.
Homeowners weighing the larger decision can compare painting or replacing kitchen cabinets. The structure of the cabinets matters more than their current color.
A Finish That Holds Up Outside
Outdoor cabinet paint lasts when the coating matches the material and the prep work removes every barrier between paint and surface. In Southwest Florida, that means giving cabinets time to dry, respecting rain forecasts, and cleaning away salt, grease, and mildew before priming.
A painted outdoor kitchen cabinet should look good after more than its first weekend. Careful prep, exterior-rated products, and regular washing give the finish its best chance against Florida's heat and moisture.
More featured articles...