How to Paint Dark Walls White in Florida Homes
A dark accent wall can make a room feel smaller, warmer, and harder to update. If you want to paint dark walls white, the right preparation matters more than the final roller pass.
Florida adds another concern: warm, humid air can slow drying, soften fresh paint, and create adhesion problems when moisture sits behind the coating. The reliable process includes surface repairs, humidity control, the right primer, and enough time between coats.
Why Dark Walls Need Careful Coverage
White paint has less visual weight than navy, charcoal, burgundy, or deep green. That contrast makes thin spots, roller marks, and missed edges easy to see. A dark color can also affect how the first white coat looks, even when the wall feels evenly covered.
Two finish coats may be enough for some walls, but coverage depends on the original color, the paint quality, the wall texture, and the primer underneath. Deep red and blue often need more attention than a medium gray wall. A rushed job can leave a soft gray or tinted cast that appears under bright Florida sunlight.
Existing sheen also matters. Glossy or satin walls resist new paint more than clean, dull surfaces. If the old finish feels slick, the new coating may fail to bond unless you clean, lightly abrade, and use a compatible bonding primer.
A professional painter will also check whether the wall has stains, patched areas, water marks, or mildew. White paint can hide color for a while, but it won't solve moisture damage.
Prepare the Walls Before Painting
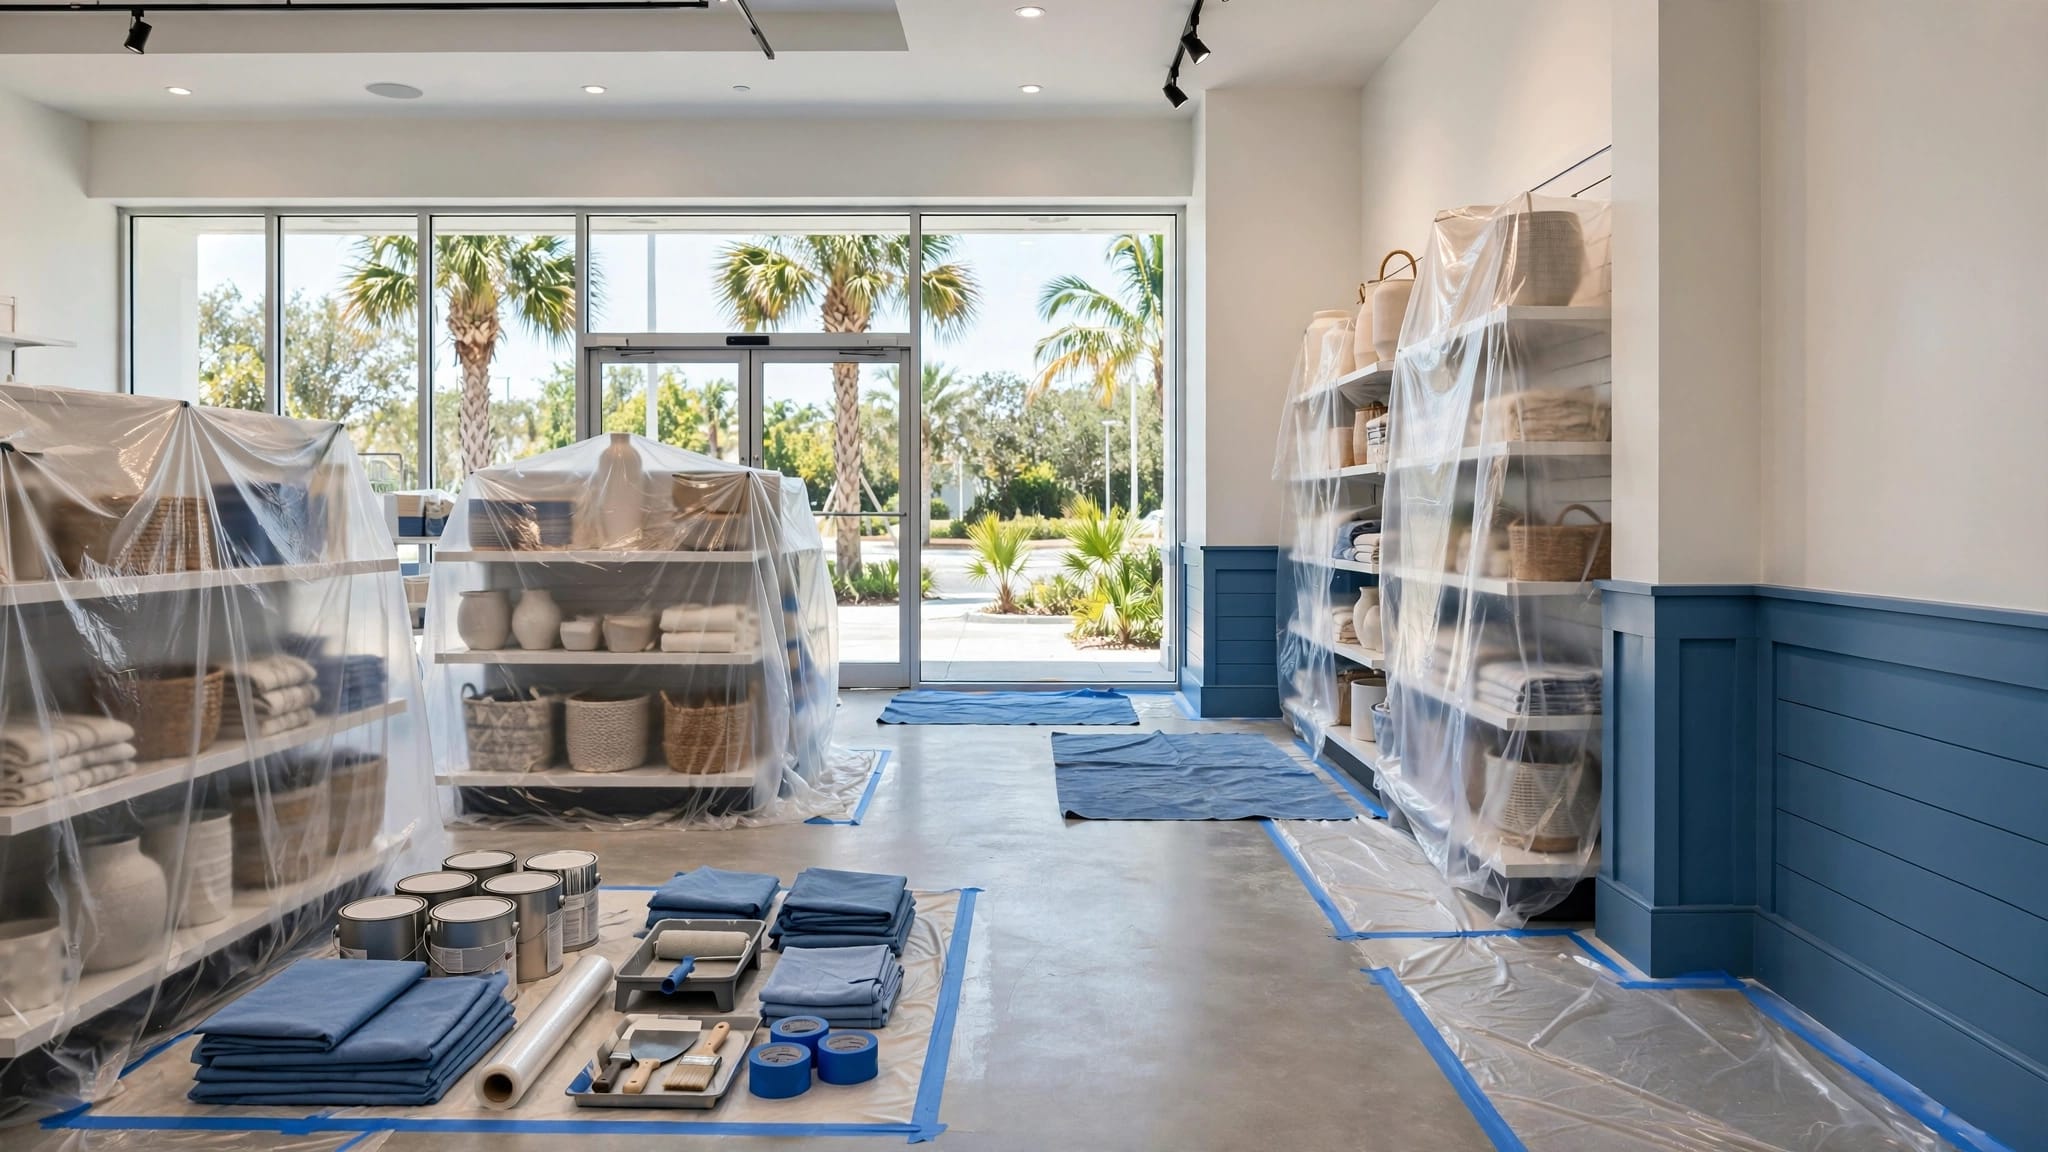
Remove wall art, shelves, switch plates, outlet covers, and small hardware before work begins. Cover floors and furniture with drop cloths, then give yourself enough room to move a roller without brushing against nearby surfaces.
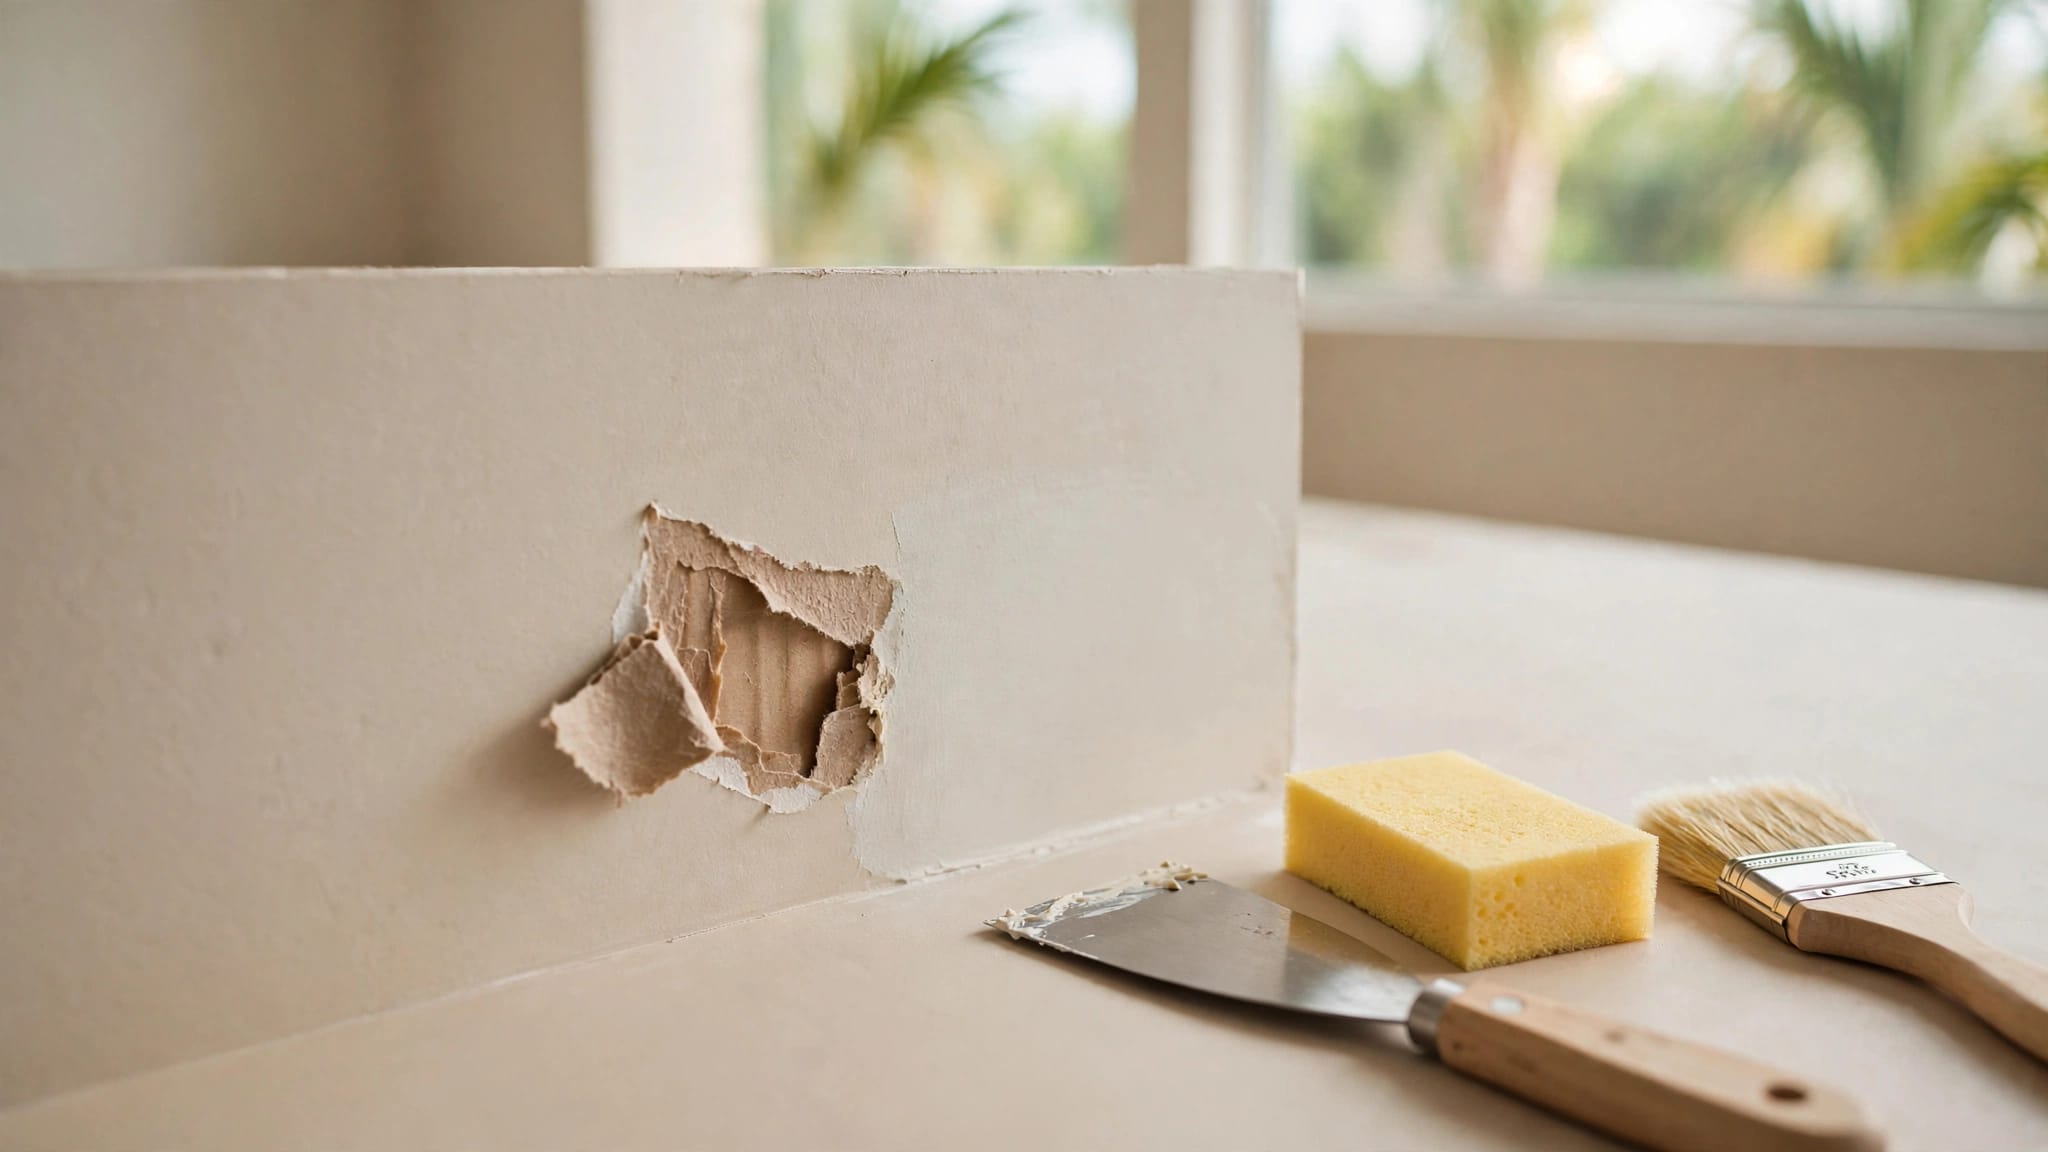
Fill nail holes and small dents with patching compound. After it dries, sand the repairs smooth and remove the dust with a clean, slightly damp cloth. If the wall has many patches, skim coating or a dedicated drywall primer may produce a more even finish than spot repairs alone.
Clean cooking residue, fingerprints, pet marks, and dust before sanding or priming. Kitchens and hallways often need more cleaning than bedrooms. Use a suitable household cleaner, follow the product instructions, and allow the surface to dry fully.
Mildew requires extra care in Florida. Don't seal active mildew beneath primer. Clean the affected area with an appropriate mildew cleaner, correct the moisture source, and let the wall dry before applying any coating. Never mix bleach with ammonia or other cleaners.
Homes built before 1978 may contain lead-based paint. If sanding could disturb older layers, stop and arrange proper testing or hire a qualified professional. For a room-by-room preparation plan, use this interior painting prep guide.
Control Florida Humidity During the Project
Humidity affects preparation, priming, drying, and curing. A wall can feel dry while moisture remains in a patch, joint compound, or previous coating. That moisture can delay adhesion and leave the new white finish uneven.
Use a small hygrometer to check indoor relative humidity. Keep the air within the temperature and humidity range listed on the paint and primer labels. Many homes feel more comfortable around 40% to 60% relative humidity, but the product instructions should control your decision.
Run the home's air conditioning during the project because it removes moisture as it cools the air. A portable dehumidifier can help when the room stays damp or the HVAC system cycles off quickly. Keep doors positioned so air can move through the space without forcing humid outdoor air inside.
Florida windows need careful handling. Opening them may help with odor in dry weather, but summer air can add moisture instead. Ventilate with the HVAC system, bathroom exhaust fans, or a dehumidifier when outdoor humidity is high.
In a Florida home, fresh air isn't always dry air. Check indoor humidity before opening windows to speed up a paint job.
Avoid pointing a strong fan directly at a wet wall. Direct airflow can dry the surface unevenly and leave lap marks, while a low fan setting that circulates room air is usually gentler.
Select a Primer and White Paint That Work Together
A high-hide white interior primer gives the finish coats a consistent base. Use a bonding primer when the existing wall is glossy, slick, or difficult to sand. If the wall has water stains, smoke marks, or other discoloration, choose a stain-blocking product suited to the problem.
Apply primer over repairs as well as the original dark paint. Spot priming can leave visible dull or bright areas beneath the white finish. A full, even primer coat gives the topcoat a more uniform surface.
Read the recoat instructions on both products. Some primers need a longer wait before finish paint, especially when indoor humidity is high. If the primer remains soft or tacky, more ventilation and drying time are needed.
Choose the finish based on the room, not only the color. Eggshell often fits living rooms and dining areas, while satin handles hallways, kitchens, bathrooms, and busy commercial spaces more easily. Flat paint hides minor wall flaws but doesn't clean as readily. This interior paint sheen guide can help match the finish to each room.
Buy enough paint from the same product line to keep the color and sheen consistent. Mix separate cans together in a clean bucket before rolling if the project requires multiple gallons. This process, called boxing paint, can reduce slight color differences between cans.
How to paint dark walls white without bleed-through
Once the wall is clean, repaired, primed, and dry, use a controlled application process. The goal is an even film thickness, not a thick layer that hides every mark immediately.
- Start by cutting in around ceilings, corners, trim, windows, and outlets with an angled brush. Keep the edges wet while you roll so the brushed areas blend into the main wall.
- Pour paint into a tray and load the roller evenly. A 3/8-inch nap usually works well on smooth walls, while a 1/2-inch nap can suit lightly textured surfaces. Avoid soaking the roller, which creates drips and heavy edges.
- Work in sections about three to four feet wide. Roll in overlapping passes, then finish each section with light strokes in one direction. Keep moving while the paint is wet to prevent lap marks.
- Apply the first finish coat at a steady thickness. Don't keep rolling an area after the paint starts to tack up. Overworking can pull paint from the wall and create uneven texture.
- Let the first coat dry for the full time listed on the label. High humidity can extend that period. A patchy first coat doesn't automatically indicate failure, because the second coat provides the final color and coverage.
- Apply the second coat after the first one has dried and passed the recoat time. Change the direction of your final roller passes only if the product instructions allow it, and keep pressure light.
After the second coat dries, inspect the wall in both daylight and room lighting. Check corners, areas behind doors, the lower wall near baseboards, and sections beside windows. Touch up with the same roller or brush used for the surrounding area so the texture matches.
When you paint dark walls white, patience prevents most visible problems. Adding extra paint to a damp or partially cured section usually creates more texture instead of better coverage.
Allow the Paint to Dry and Cure
Drying and curing are different stages. Dry paint can be touched without leaving a mark, but the film may still be soft underneath. Curing takes longer and allows the coating to reach its expected hardness and washability.
Keep the air conditioner or dehumidifier running at a steady setting after each coat. Gentle air circulation helps moisture leave the room, but direct heat or forceful airflow can affect the finish. Follow the label rather than relying on a fixed number of hours.
Avoid washing the wall, placing furniture tightly against it, or applying painter's tape until the product has cured enough for those activities. Bathrooms need extra care because showers add steam. Use the exhaust fan and limit heavy moisture near freshly painted surfaces.
Don't judge the final color while the wall is still damp. White paint often looks uneven until it dries, and changing light throughout the day can make the finish appear warmer or cooler.
Avoid These Common Dark-to-White Painting Problems
Several mistakes create a finish that looks acceptable at night but uneven in daylight:
- Painting over dust, grease, or mildew can cause adhesion failure and visible texture.
- Skipping primer can leave the dark color showing through and make the finish coats look dull.
- Recoating too soon can lift the first coat, create roller marks, or trap moisture.
- Opening windows during a muggy afternoon can slow drying instead of helping it.
- Using a different sheen for touch-ups can leave shiny patches on an otherwise uniform wall.
- Applying thick paint to hide the old color can produce sagging, ridges, and long cure times.
Also check the wall after the room reaches its normal temperature and humidity. A finish that appears smooth in an air-conditioned room may reveal flaws after moisture levels change.
When to Hire a Florida Painting Contractor
Hiring a contractor makes sense when the project includes tall walls, multiple rooms, extensive repairs, occupied commercial space, or suspected lead paint. Professional equipment and crew coordination can also reduce the time that rooms remain out of service.
Ask for a written scope that identifies surface repairs, primer, number of finish coats, paint brand and sheen, trim work, protection, cleanup, and drying expectations. Clarify who moves furniture and how the crew will manage access to bedrooms, kitchens, bathrooms, or customer areas.
Pricing depends on wall condition and project size. A 2026 interior painting cost guide places many full interior projects in Fort Myers and Naples around $2 to $6 per square foot. Standard homes often fall closer to the lower part of that range, while taller ceilings, detailed trim, premium products, and extensive preparation can increase the estimate.
For a Southwest Florida home or business, request an onsite consultation when the walls need more than a basic color change. A contractor can identify moisture concerns, test difficult surfaces, and provide a scope based on the actual condition of the property.
A Clean White Finish Starts Before the First Coat
Dark walls can become bright, clean white walls, but the change depends on preparation and conditions. Repair the surface, remove contaminants, control indoor humidity, use a compatible primer, and allow each coat to dry and cure according to the label.
The best results don't come from forcing the paint to cover in one pass. They come from giving every layer the time and surface it needs to bond, dry, and stay even in Florida's humid climate.
More featured articles...