How to Paint Concrete Roof Tiles in Florida Without Peeling
If you want to paint concrete roof tiles in Florida, the finish must handle heat, intense UV rays, heavy rain, humidity, and frequent temperature changes. A standard exterior paint may look good at first, but it can blister, chalk, or peel when it cannot move with the roof or release trapped moisture.
The lasting result comes from three choices: inspect the roof, prepare the tile correctly, and use a breathable coating made for concrete or clay tile. The steps below will help you understand what a professional contractor should do before applying a single coat.
Why Florida Roof Tile Paint Peels
Concrete tile is porous and constantly exposed to changing weather. Paint failure usually starts before the coating goes on, often because the tile holds moisture, dirt, algae, or residue from an old finish.
Heat and UV exposure weaken the coating
Florida's sun heats roof surfaces for hours each day. The tile expands in the heat, then contracts after sunset or during a storm. Over time, that movement puts stress on a rigid coating.
Ultraviolet rays also break down binders in ordinary paint. The surface may fade, chalk, or lose adhesion. On a southwest-facing roof, the finish often takes more punishment than paint on a shaded wall.
Humidity, rain, salt, and cold weather add stress
High humidity slows drying, especially during Florida's rainy season. If the surface or first coat stays damp, the next coat may trap moisture underneath. That can lead to bubbles and peeling.
Heavy rain also finds weak points around cracked tiles, seams, flashing, and old repairs. Near the Gulf Coast, salt deposits can collect on the roof and interfere with adhesion. Salt also holds moisture against the surface.
Northern Florida has another concern. Freeze-thaw cycles are less common than in most states, but occasional freezes can affect porous tile when water enters the surface, freezes, and expands. A coating must go over dry, sound tile, not over moisture that has nowhere to escape.
How to Paint Concrete Roof Tiles Without Trapping Moisture
The coating needs to match the roof, not only the color you want. Look for a breathable acrylic or elastomeric roof coating labeled for concrete tile . These products are designed to bond to masonry, tolerate thermal movement, and resist water and UV exposure.
Choose acrylic or elastomeric tile coating
Acrylic coatings are common for concrete tile because they offer good UV resistance and allow some vapor transmission. They can work well on a clean, stable roof with normal surface weathering.
Elastomeric coatings have more flexibility than standard paint. They can expand and contract as the roof changes temperature. Some systems combine an acrylic elastomeric basecoat with multiple finish coats for additional waterproofing.
A coating may also use acrylic urethane chemistry or ceramic additives. The label matters more than the marketing name. Confirm that the product is approved for concrete or cement roof tile and that the manufacturer lists the required primer, coverage, number of coats, and dry-film thickness.
| Coating type | Best use | Important limitation |
|---|---|---|
| Breathable acrylic | Sound tile with surface fading or weathering | Needs thorough cleaning and a dry surface |
| Acrylic elastomeric | Tile exposed to strong sun, rain, and thermal movement | Requires correct film thickness and curing time |
| Acrylic urethane system | Porous tile needing a protective, water-resistant finish | Must follow the complete system instructions |
| Ordinary exterior wall paint | Vertical walls, siding, and trim | Usually lacks roof-rated flexibility and moisture performance |
Why ordinary exterior paint fails
Exterior wall paint is not automatically suitable for a roof. Walls shed water differently, experience less direct heat, and don't face the same thermal movement or pooling risks.
Many ordinary paints also form a film that is too rigid for a tile roof. If moisture rises through the porous concrete, the film can lose its bond. Painting over chalky residue, algae, or a failing coating makes the problem worse.
A roof coating is not a substitute for roof repairs. It won't correct a leaking underlayment, rotten decking, loose tile, damaged flashing, or structural movement.
Inspect the Roof Before You Paint Concrete Roof Tiles
A contractor should inspect the roof before giving you a coating price. The inspection should include the tile field, ridges, valleys, hips, flashing, penetrations, gutters, and visible underlayment conditions.
Repair roof defects first
Replace cracked or loose tiles before coating. Repair leaks and damaged flashing, then correct areas where water remains for more than 48 hours after rainfall. Persistent ponding can shorten the life of almost any coating.
The roof must also be structurally sound. Rot, termite damage, sagging decking, and unstable areas need attention before workers walk on the roof. A coating can hide defects without fixing them.
If you are considering a new roof, coordinate the timing of both projects. This guide to roof replacement and exterior painting in Southwest Florida explains why roof work usually comes before painting nearby fascia, stucco, soffits, and trim.
Florida tile work also needs to follow the tile manufacturer's instructions and applicable high-wind installation guidance. Painting should never interfere with fasteners, underlayment, flashing, or other roof components.
Treat roof access as a safety issue
Concrete tiles can crack under concentrated foot pressure. A wet tile is also slippery, and a pressure washer can make footing worse. Homeowners shouldn't climb onto the roof to clean or paint it.
A trained crew should plan safe access, fall protection, ladder placement, and methods that limit tile damage. Workers should avoid stepping on unsupported tile edges, skylights, fragile repairs, and areas with unknown structural conditions.
Prepare the Tile for a Lasting Coating
Preparation takes more time than rolling on the finish, but it has the greatest effect on adhesion. The roof should be cleaned, repaired, dry, and free of anything that separates the coating from the concrete.
A reliable preparation sequence includes:
- Inspect the roof and mark cracked, loose, stained, or damaged areas.
- Replace failed tile and repair leaks, flashing, seams, and mortar.
- Remove algae, mildew, dirt, salt film, chalking, and loose coating.
- Rinse away cleaning residue and allow the roof to dry completely.
- Apply the required primer or basecoat to porous areas, cracks, gaps, and seams.
- Complete a test patch before coating the full roof.
Clean without damaging the tile
The cleaning method should match the tile's age and condition. Some coating systems call for pressure washing, while other roofs need low-pressure washing or a soft-wash treatment. High pressure can break old tile, force water under laps, or damage flashing.
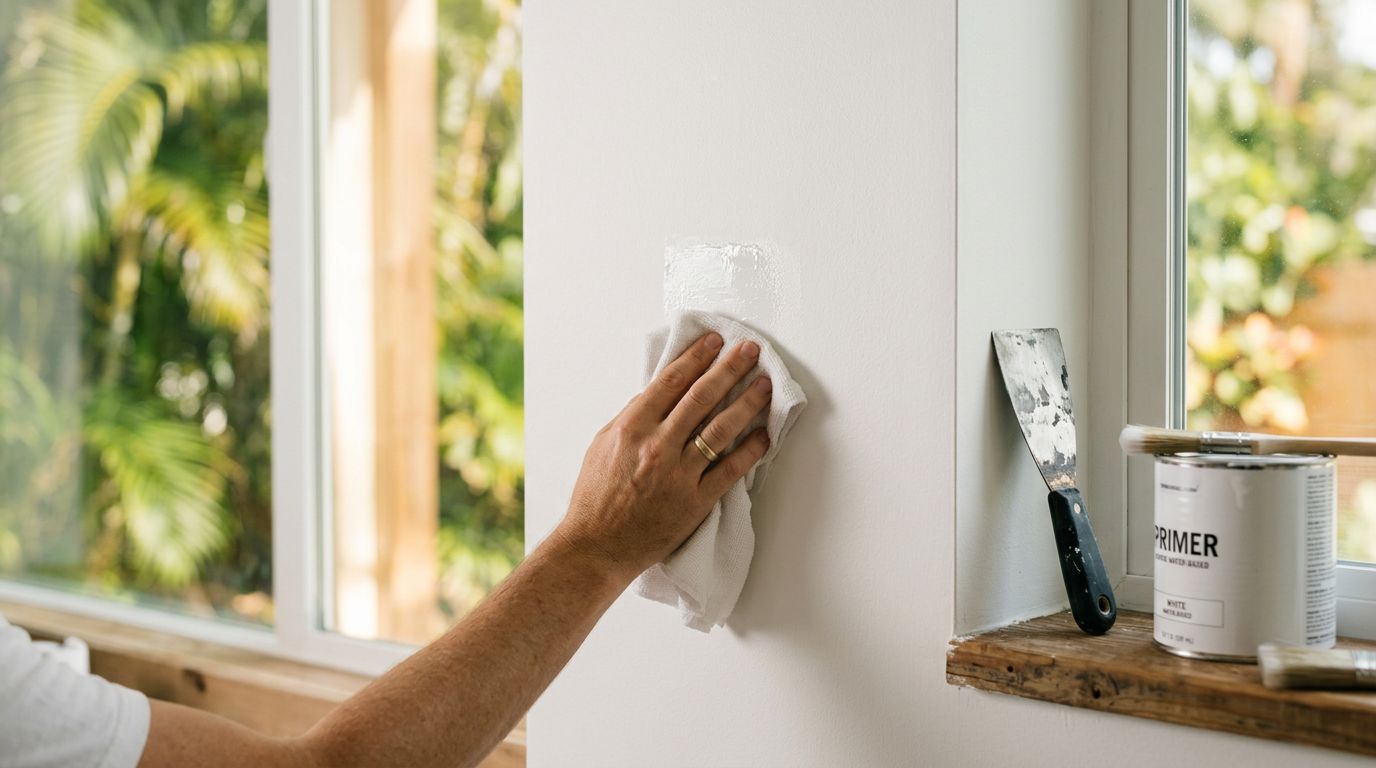
Mildew and algae need a treatment that kills the growth rather than only rinsing away its surface color. A contractor should also remove loose paint by scraping, sanding, wire brushing, or controlled washing.
After cleaning, check the roof for chalking and powdery residue. If you can rub the tile and collect heavy dust on your hand, the surface needs more preparation before priming.
For adjacent stucco, block, and other masonry surfaces, selecting the right primer for Florida exterior surfaces can help prevent a separate adhesion problem around the roofline.
Use a test patch
Apply the proposed primer and coating to a small, less visible section. Let it cure for the time stated on the product label, then check the color, sheen, coverage, texture, and adhesion.
The test patch can reveal problems that a visual inspection misses. Watch for bubbling, soft areas, tackiness, pinholes, uneven absorption, or coating that lifts easily at an edge. If the patch fails, the full roof will fail faster.
A test patch also helps you judge the final appearance. Concrete tile absorbs coating differently across flat faces, barrel curves, repaired areas, and shaded sections. The color may look different after the coating fully dries.
Apply the Coating During the Right Weather Window
Florida weather can change faster than a roof coating can dry. Schedule the work when the surface will stay dry through cleaning, priming, and each finish coat.
Plan around rain, dew, and humidity
The tile must be dry before application. High humidity extends drying time, so a coating applied in the morning may still be soft when evening dew arrives. Rain before the coating develops a stable film can cause streaks, wash-off, blistering, or weak adhesion.
A professional should check the hourly forecast, surface temperature, humidity, and rain chance. Many roof products shouldn't be applied below 50 degrees Fahrenheit. That limit matters during winter work in northern Florida.
Do not coat a roof simply because the sky looks clear. Moisture can remain inside porous tile after rain or washing. The contractor should confirm that the surface has dried and that each coat has reached the required recoat condition.
Follow the specified film thickness
Many tile coating systems use a basecoat followed by two heavy finish coats. One manufacturer guide calls for roughly 20 dry mils of elastomeric protection after the full system cures. That thickness is an example, not a universal rule. The product label controls.
Coverage also changes with tile shape and porosity. Barrel tile may require up to 33 percent more material than flat tile because of its curves and greater surface area. Applying too little product can leave thin spots that fail early.
Contractors should avoid these common mistakes:
- Painting over damp tile, algae, salt, or chalky residue.
- Using wall paint instead of a tile-rated roof coating.
- Applying one heavy coat when the system requires several coats.
- Thinning the product without written manufacturer instructions.
- Coating cracks or loose tiles without repairing them first.
- Working before afternoon rain or evening dew.
- Walking on freshly coated tile.
- Spraying near open windows, cars, pools, landscaping, or neighboring properties without proper protection.
Maintain the Roof After Painting
A finished roof still needs inspections. Look for cracked tiles, lifted flashing, blocked gutters, algae growth, stains, blisters, and areas where the coating has worn thin.
Have the roof checked after major storms and consider a professional inspection at least once a year. Ground-level observations can spot staining, but they won't reveal every problem around valleys, penetrations, and tile laps.
Avoid aggressive pressure washing unless the coating manufacturer allows it. Use approved cleaning methods and address mildew before it spreads. Gutters and downspouts should also remain clear so water doesn't back up onto coated areas.
Professional tile coating systems in Florida are often marketed with service lives of 10 to 15 years, while some systems claim longer periods. Actual performance depends on preparation, coat thickness, roof exposure, drainage, salt air, and maintenance. A contractor should explain the expected interval and warranty terms for the exact system used.
Conclusion
To paint concrete roof tiles without peeling, start with the roof condition rather than the color. Repair leaks and damaged tile, remove contamination and failed coatings, allow the surface to dry, and apply a breathable acrylic or elastomeric system made for concrete tile.
Florida weather leaves little room for shortcuts. A safe inspection, careful test patch, proper film thickness, and dry forecast will give the coating a stronger chance to last through sun, rain, humidity, and seasonal temperature changes.
More featured articles...