How to Fix Nail Pops Before Repainting Florida Walls
A fresh coat of paint can make a room look new, until a nail pop shows up like a small bump under the surface. In Florida, that problem is common because humidity and seasonal movement make drywall shift more than many homeowners expect.
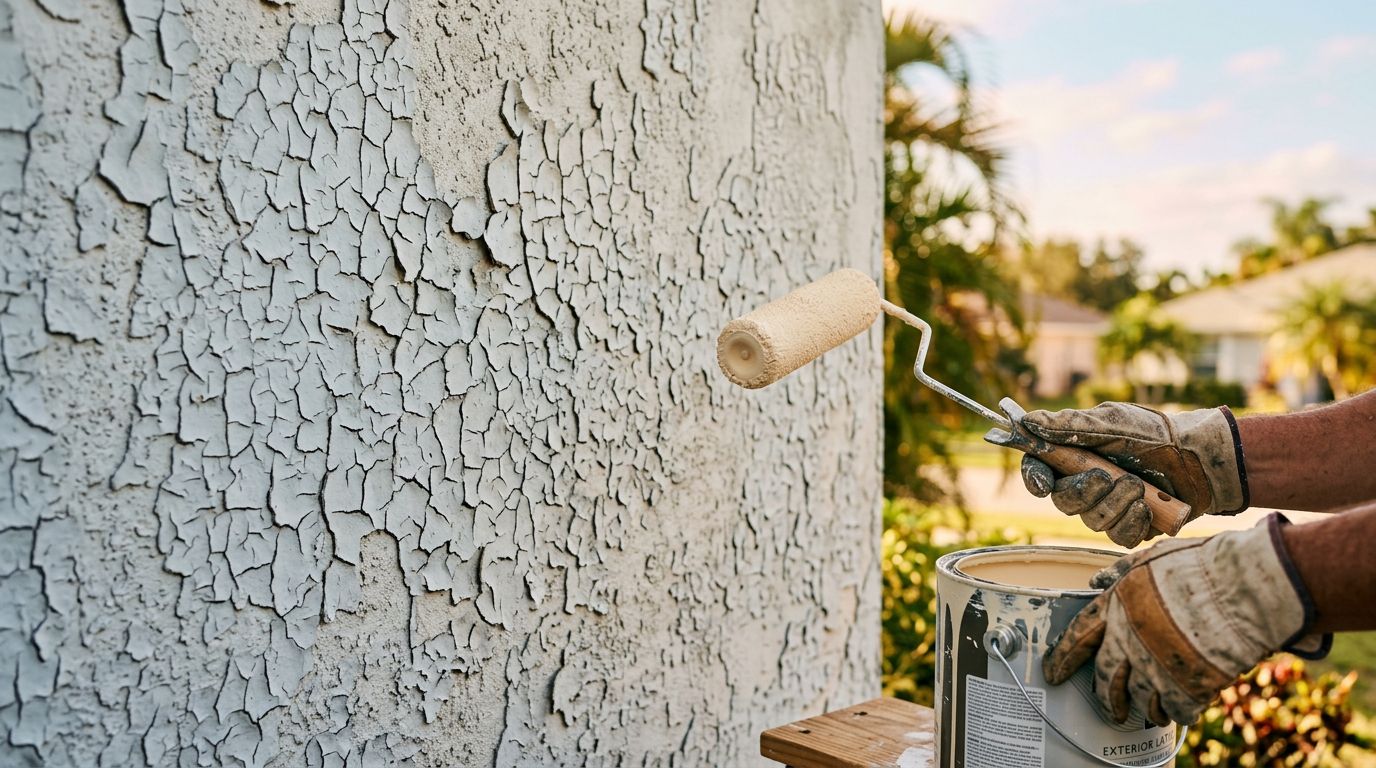
If you paint over the pop, it usually comes back. The better move is to fix the drywall first, then prime and paint the wall so the repair blends in cleanly.
Why nail pops happen in Florida homes
Nail pops happen when a fastener loosens and pushes through the drywall paper or paint film. In many homes, the framing moves a little as the house settles. In Florida, that movement can feel stronger because heat, humidity, and air conditioning cause materials to expand and contract.
That doesn't always mean something is wrong with the whole wall. Often, the pop is a small drywall issue, not a major structural one. Still, it needs a real repair before you repaint.
A few common causes stand out:
- Wood framing dries out and shifts over time.
- Drywall nails loosen more easily than screws.
- Seasonal moisture changes can make the wall move.
- Past repairs may have covered the pop without fixing the cause.
If the bump is in the same place more than once, or you see a crack nearby, the wall is telling you the fastener is no longer stable.
What you need before you start
Gather your tools before you open the wall repair kit. That keeps the job neat and avoids stopping halfway through.
You'll usually need:
- A utility knife
- A hammer and nail set
- A drill or driver with drywall screws
- Setting-type joint compound
- A putty knife
- Sandpaper, usually 120-grit and 220-grit
- Primer
- Matching wall paint
- A dust mask and safety glasses
For a simple pop, a setting compound works better than a soft filler. It hardens more firmly and shrinks less. If the drywall paper is torn, you may also need a small patch of mesh tape.
Fix nail pops the right way, step by step
- Cut away loose paint first.
Score the area lightly with a utility knife. Remove any peeling paint or raised drywall paper around the bump. Work slowly so you don't widen the damage. - Drive a drywall screw into the stud.
Place the screw about 1 to 2 inches from the nail pop. The goal is to pull the drywall tight to the framing again. Use a screw long enough to bite into the stud, not just the drywall. - Set or remove the old nail.
If the nail is still in place, tap it just below the surface. If it wobbles, pull it out carefully. A loose nail that stays in the wall can push through again later. - Fill the low spot with joint compound.
Use a putty knife to cover the screw head and the nail area. Keep the coat thin. A thick blob takes longer to dry and is harder to sand smooth. - Apply a second coat if needed.
After the first coat dries, add more compound to flatten the patch. Feather the edges farther out than the first coat. That helps the repair disappear under paint. - Sand the patch smooth.
Use light pressure and a sanding block. The goal is a flat transition, not a hollow spot. Run your hand over the area when you finish. If you can feel a ridge, you'll probably see it after painting. - Prime before paint.
Spot-prime the repair so the patched area doesn't flash through the finish coat. Primer also helps the paint grip evenly.
A nail pop that still moves under pressure will come back through fresh paint. The drywall has to be secured before the patch goes on.
When a small fix becomes a bigger drywall repair
Most nail pops are simple interior drywall wall repair jobs. Still, some signs point to a larger issue.
Watch for these red flags:
- The same pop returns after repair.
- Several pops line up along one wall or ceiling joint.
- The drywall feels soft or crumbles when you press it.
- You see water stains, bubbling paint, or a musty smell.
- A nearby crack keeps opening after each repaint.
Florida homes can have hidden moisture problems from roof leaks, window leaks, or HVAC condensation. If water has damaged the drywall, the surface may need more than a patch and paint. In that case, a painter or drywall pro can repair the damaged section, smooth it, and get the wall ready for a lasting finish.
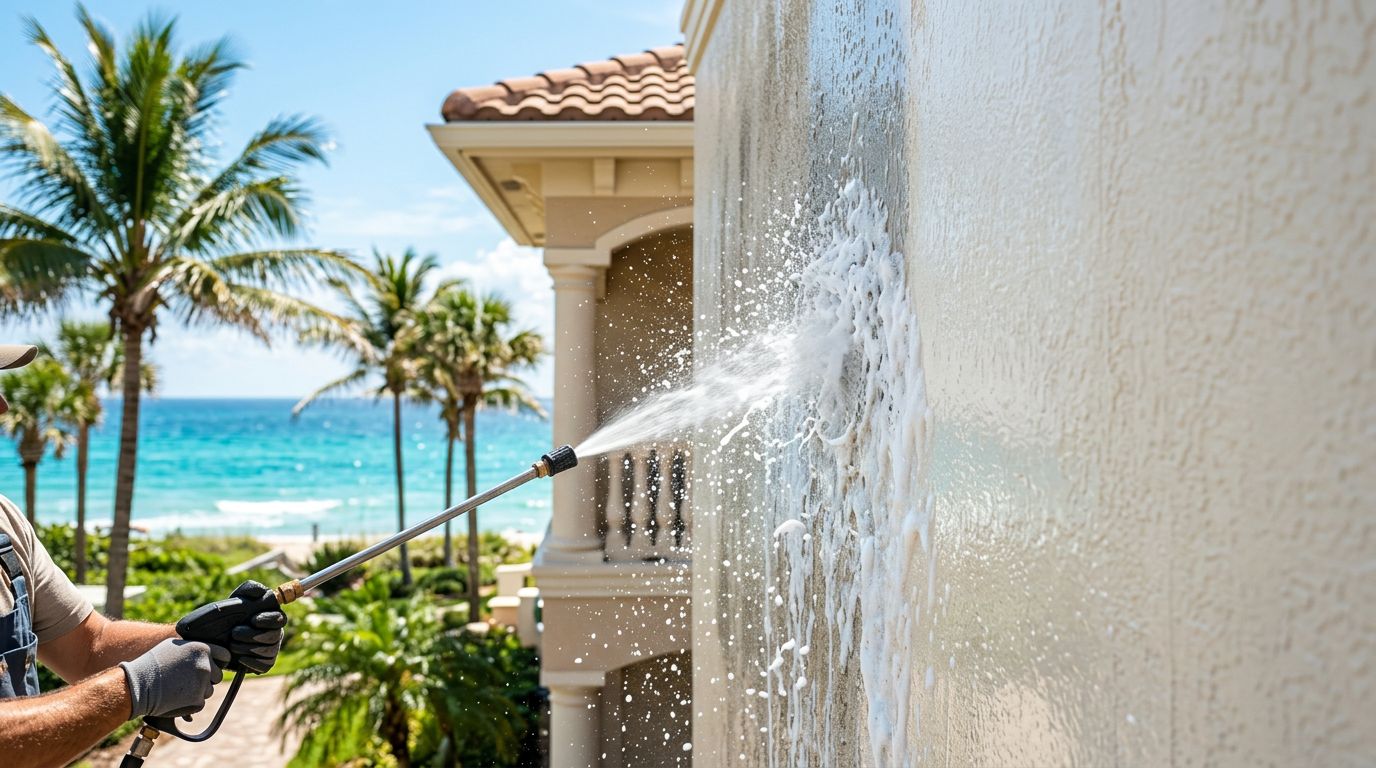
If you want a clean result without guesswork, professional residential house painters can handle the repair and repainting as one job. That matters when the wall already has a few bumps, cracks, or old patches.
Repainting tips that help the repair disappear
Once the patch is dry and sanded, the paint work matters just as much as the repair. Even a good fix can show through if the finish is rushed.
Match the existing sheen first. Flat, eggshell, satin, and semi-gloss all reflect light differently, so the wrong finish can make the spot stand out. If you only paint the repaired area on a wall with strong light, you may still see a difference. In many cases, repainting the full wall gives the cleanest result.
Also, let the repair dry fully before you paint. Florida humidity can slow drying time, especially during the wet season. If the patch still feels cool or soft, give it more time. A fan helps, but avoid trapping moisture with closed windows and no airflow.
For the best result, use the same roller nap and apply even coats. That keeps the texture consistent across the wall.
Conclusion
To fix nail pops before repainting, start with the drywall, not the paint. Secure the loose area, patch it smoothly, prime the repair, and then repaint with the right sheen.
That simple order makes a big difference in Florida homes, where heat and humidity can keep weak spots showing through. When the pop keeps returning, treat it as a drywall issue first, then finish the wall with paint that looks clean and stays that way.
More featured articles...