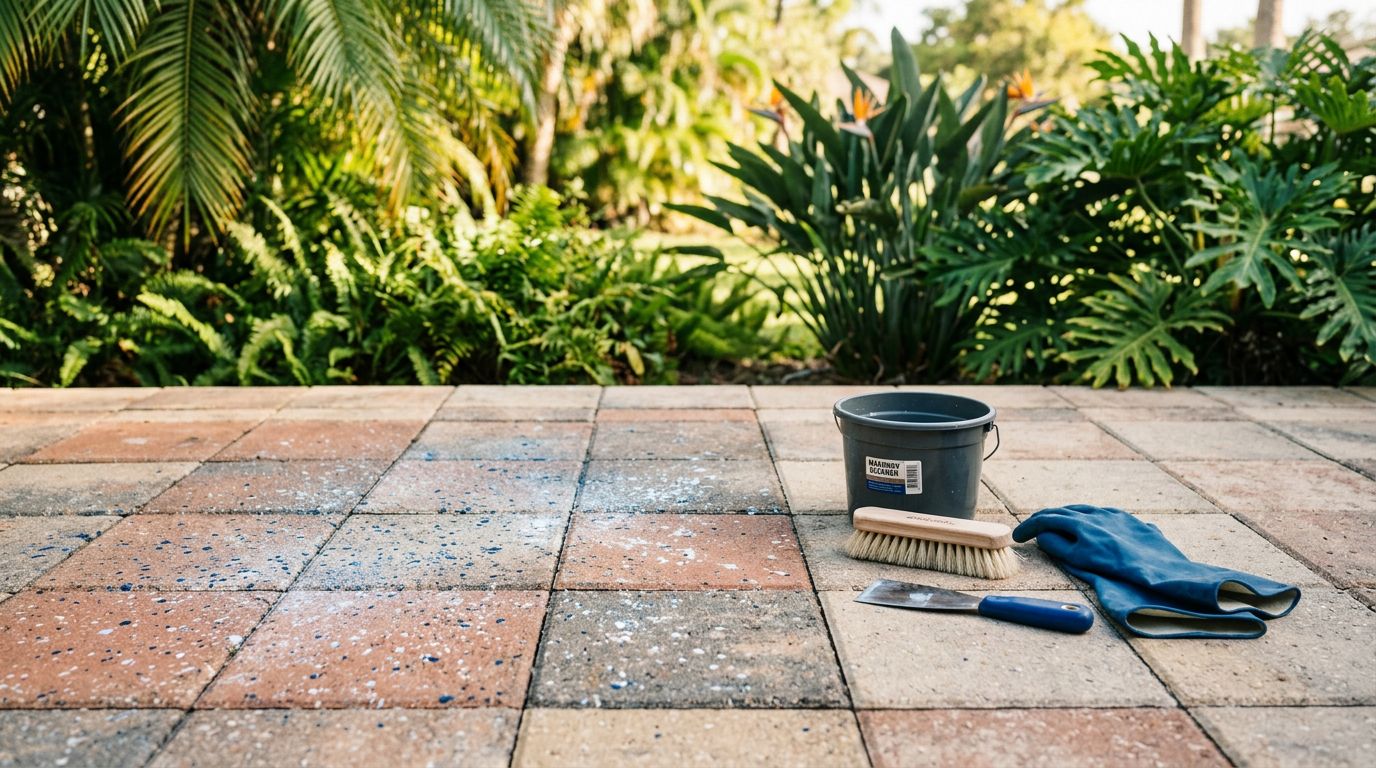
How to Fix Flashing and Lap Marks on Florida Walls
A wall can look perfect when the paint is wet, then show shiny patches or roller stripes once it dries. In Florida, that happens even more often because heat, humidity, and strong sunlight change how paint sets on the wall.
Flashing and lap marks are common paint problems, but they are not the same. Once you know which one you're seeing, the fix gets a lot easier.
Flashing vs. lap marks on painted walls
These two problems often get mixed up because both stand out after the paint dries. The cause is different, and so is the repair.
| Problem | What it looks like | Common cause | Best fix |
|---|---|---|---|
| Flashing | Patchy, uneven sheen, often over repaired spots | Primer mismatch, uneven surface, uneven absorption | Blend the surface, use the right primer, repaint the full wall or section |
| Lap marks | Visible roller lines or darker bands where paint overlaps | Paint drying too fast, stopping and starting, poor roller technique | Repaint with a wet edge and consistent overlap, often across the whole wall |
A flashing wall looks uneven in the light. A wall with lap marks looks striped, almost like a shadow ran across it. Sometimes both show up together, especially after a quick touch-up job.
If the wall only looks bad after it dries, the issue is usually sheen, timing, or both.
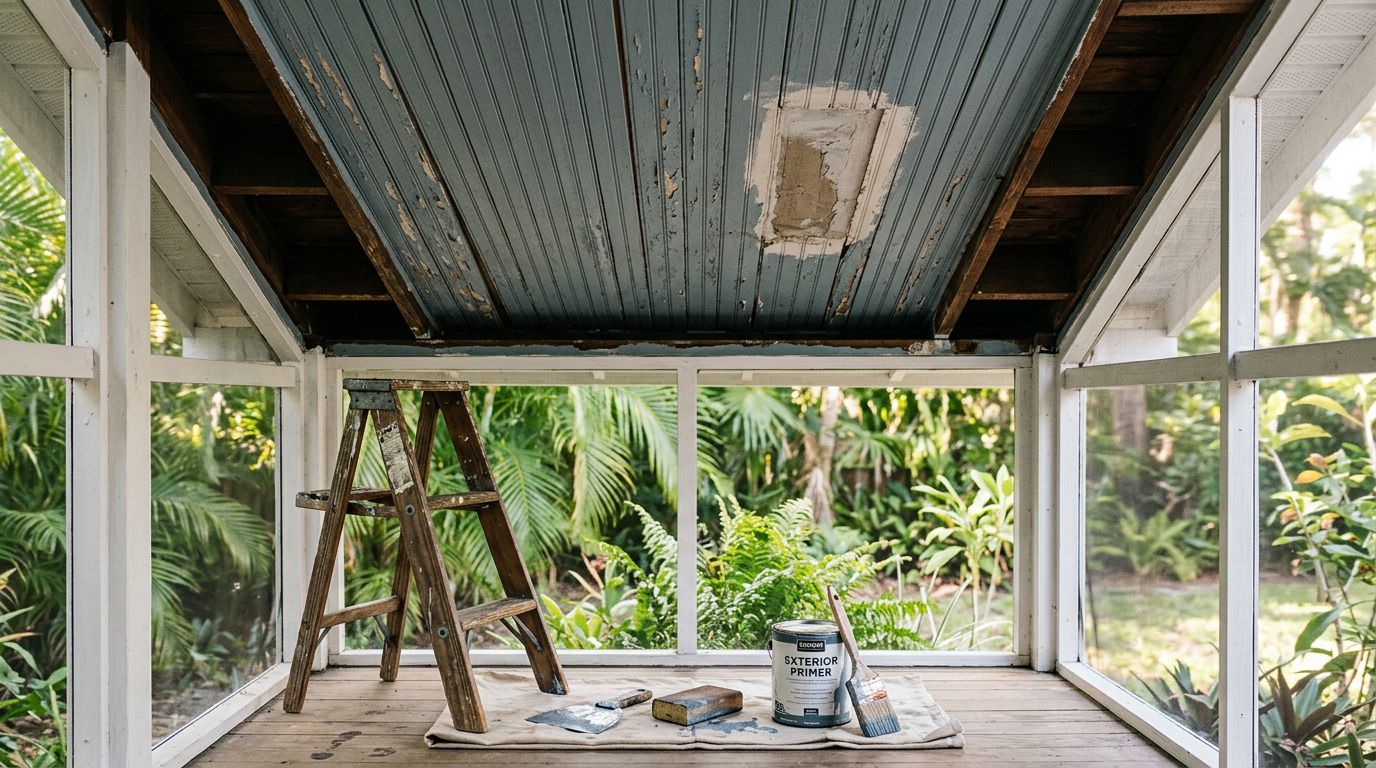
Why Florida walls show paint flaws so easily
Florida weather makes paint work harder. High humidity slows drying. Heat speeds up surface drying. Strong sunlight can hit one part of a wall and dry it faster than the rest.
That mix causes trouble in real homes. A patch on a drywall repair may soak up paint differently than the rest of the wall. A cut-in strip near the ceiling may dry before the roller reaches it. A touch-up on a hallway wall can look fine in the morning and different by afternoon.
Moisture-prone rooms also add stress. Bathrooms, laundry rooms, kitchens, and exterior walls near AC runs can all show uneven sheen faster. Even the same paint can look different if one spot got primer and another did not.
Here are the most common Florida trouble spots:
- Drywall patches that were never fully sealed
- Primer problems that leave one area flatter or glossier
- Cut-in edges that dry before the roller blends them
- Touch-ups done with leftover paint from a different batch
- Roller overlap that leaves a darker band in strong light
Once you know which of these caused the flaw, you can choose the right repair.
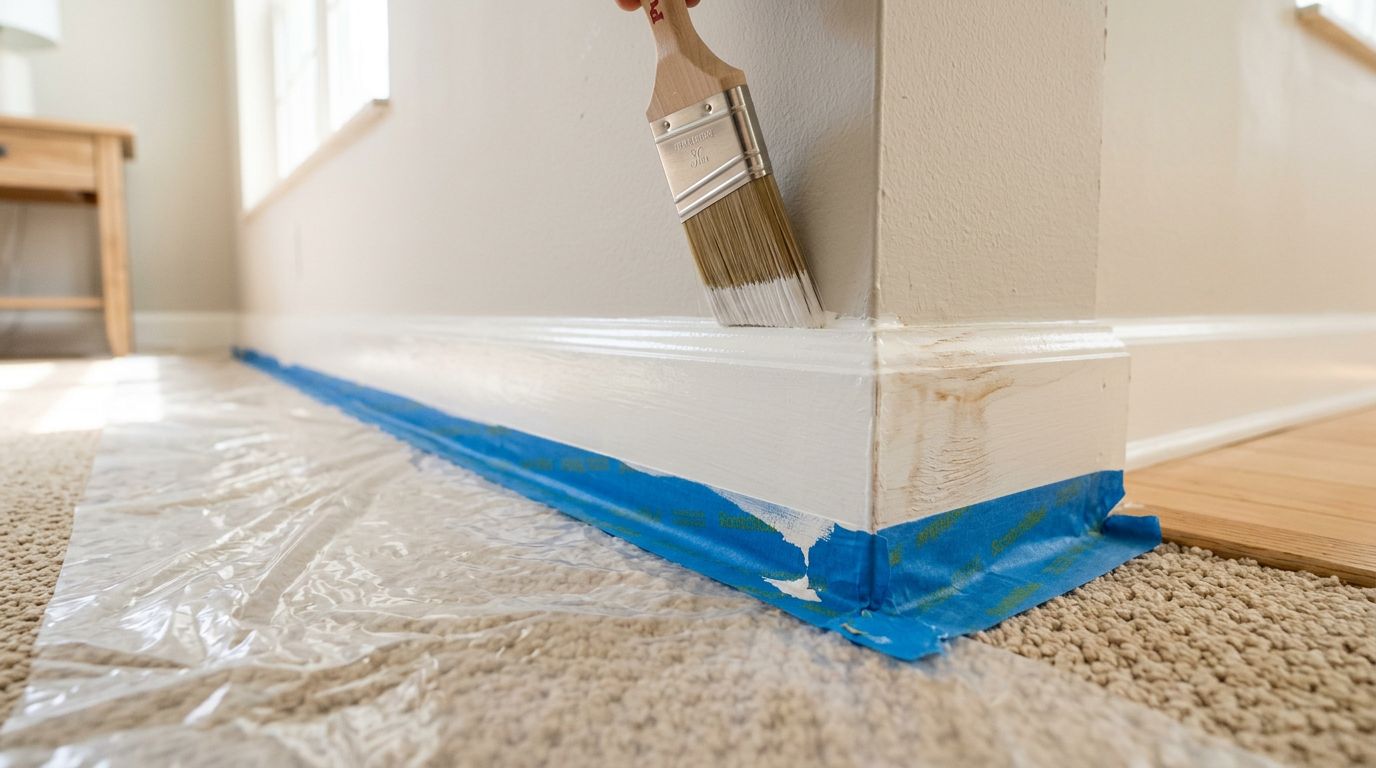
How to fix flashing on Florida walls
Flashing usually shows up around patches, repaired dents, or spots where the wall absorbed paint unevenly. The goal is to make the surface drink paint at the same rate, then coat it evenly.
1. Find the source of the sheen change
Look at the wall from the side with a lamp or daylight. If the shine changes around a patch, nail hole, or taped seam, you're dealing with flashing.
If the whole wall looks patchy, the problem may be a bad touch-up or mixed primer issue. In that case, a spot fix may not hold up for long.
2. Sand the repaired area smooth
Start with a fine sanding sponge. Feather the edges of the patch so it blends into the wall. You do not want a hard ridge, because it can show through the new paint.
Wipe off dust with a damp microfiber cloth. Dust can break the bond and make the repair look rough.
3. Prime the bare or patched spots
This step matters in Florida. Drywall mud, joint compound, and old patch material all absorb paint differently.
Use primer on repaired areas before painting. If the wall is flat paint and the patch is small, spot priming may work. If the wall has eggshell, satin, or semi-gloss finish, patch-only repairs often flash under light. In that case, prime the repair and plan to paint the full wall.
4. Use the same sheen and the same paint batch if possible
A flat wall hides small repairs better than a shiny one. Higher-sheen finishes show everything. If you have leftover paint from the original job, stir it well and check that it matches before you start.
If the original paint is old, the color may still match but the sheen may not. That's when flashing becomes obvious.
5. Repaint the wall corner to corner
For larger flashing issues, spot painting usually fails. Roll the whole wall from one corner to the other so the finish looks even. Keep a wet edge and do not stop in the middle of the wall.
Use a roller cover that fits the wall texture. On smoother drywall, a 3/8-inch nap often works well. On lightly textured walls, a 1/2-inch nap can spread paint more evenly.
How to fix lap marks and roller lines
Lap marks happen when paint starts to dry before the next pass blends into it. Florida heat makes that happen fast, especially near windows, doors, and bright rooms.
The fix is part technique and part timing.
1. Stop if the wall is still wet
If you catch lap marks while the paint is fresh, re-roll the wall right away. Start a few inches before the dry line and roll back into the wet area.
That gives the wall one continuous finish instead of separate bands.
2. Work in smaller sections
Do not try to cover a full wall in one long rush if the room is hot and dry. Work in manageable areas, then keep moving.
Paint one section from top to bottom, then overlap into the next while the edge is still wet. This matters even more on Florida walls, where a section can start drying before you finish the next pass.
3. Keep a wet edge
A wet edge is the line where fresh paint still blends. Once that line dries, overlap marks show up.
Load the roller often enough to keep the paint even. A dry roller leaves thin spots, and thin spots lap badly. Avoid pressing hard to stretch the paint. That only makes the finish patchy.
4. Repaint cut-in areas if they dried too fast
Cut-in errors are a big cause of lap marks. If the brushed edge dries before you roll next to it, you can get a visible frame around the wall.
If the paint is still wet, blend it with the roller immediately. If it has dried, lightly sand the edge, then repaint the full wall. Touching up only the border usually makes the line worse.
5. Recoat the whole wall if the marks are already set
Once lap marks dry into the finish, spot touch-ups rarely disappear. The safest fix is to repaint the wall from edge to edge with steady overlap and a consistent roller pattern.
That's the point where a cleaner repaint often saves time compared with chasing every line.
When a touch-up is enough, and when the whole wall needs repainting
Some problems are small and local. Others need a full repaint to look right. The trick is knowing which one you have.
Spot fixes may work when:
- The wall has a small flat-paint patch
- The sheen difference is slight
- The repair sits in a low-traffic area
- The original paint is fresh and still matches well
A full wall repaint is smarter when:
- The wall has eggshell, satin, or semi-gloss paint
- The repair is in bright sunlight or strong lamp light
- There are several patches or seams on the same wall
- Lap marks show across a wide area
- Previous touch-ups already left the wall uneven
If the room needs more than a small repair, residential painting services can help match the finish across the entire wall instead of leaving a patchy result behind.
A good rule is simple. If you can still spot the repair from across the room, the wall probably needs more than a touch-up.
Conclusion
Flashing and lap marks look similar at first, but the fix depends on the cause. Flashing usually comes from uneven absorption or sheen differences. Lap marks usually come from timing, roller overlap, or cut-in paint that dried too fast.
Florida heat, humidity, and strong sunlight make both problems more likely. That means careful prep, solid priming, and full-wall repainting are often the cleanest answers.
When the repair is small, a spot fix can work. When the wall already shows shiny patches or roller bands in daylight, a full repaint is usually the better move.
More featured articles...