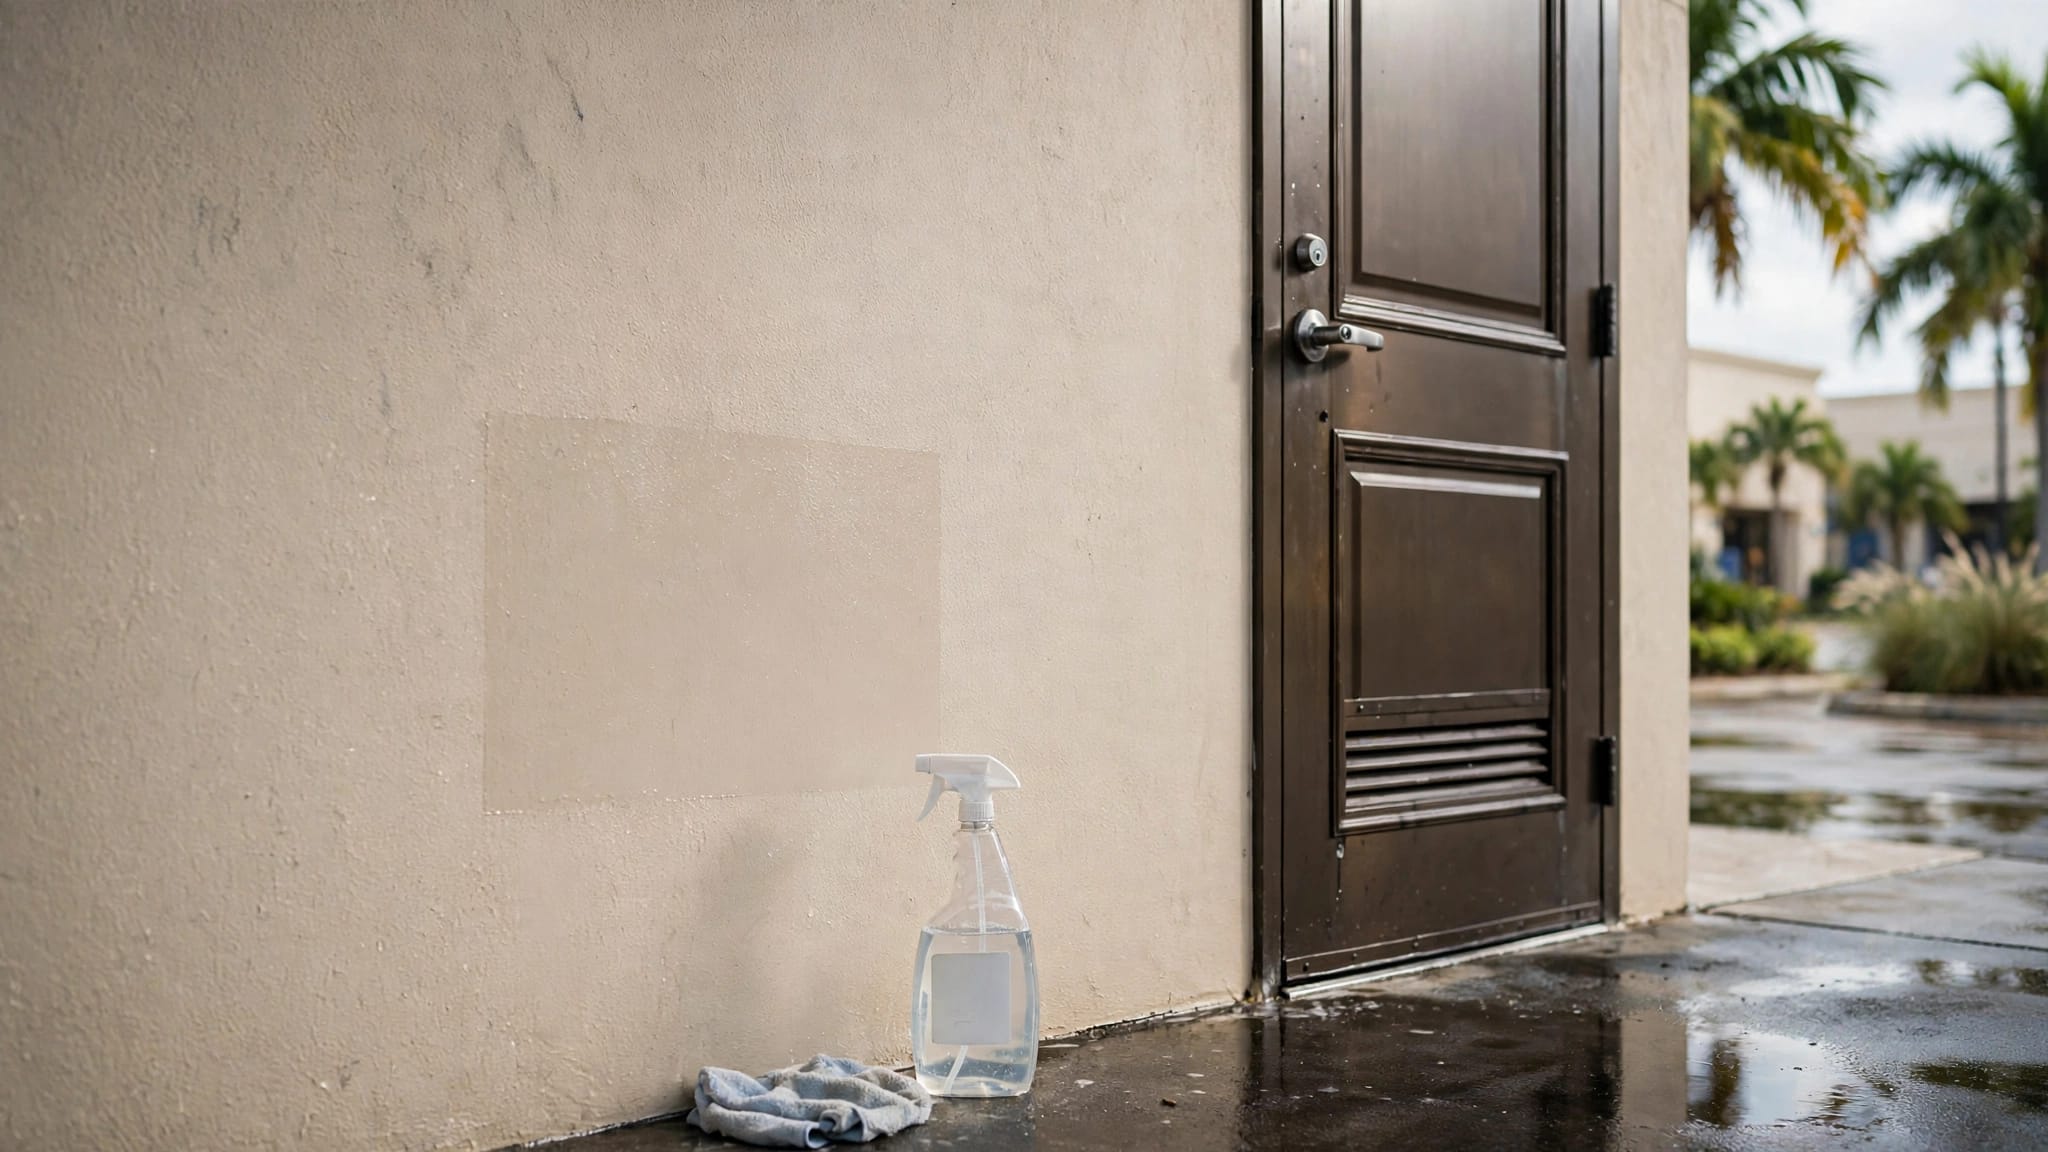
Repair Spalling Stucco Before Painting in Southwest Florida
Fresh paint can make a stucco wall look new, but it cannot repair loose material or stop water from entering. If the surface is flaking, bubbling, or breaking away, repair spalling stucco before applying primer or paint.
Southwest Florida homes and businesses face heavy rain, high humidity, strong sun, salt air, and wind-driven moisture. Those conditions can expose small stucco defects before they become larger wall problems. Start with a careful inspection, correct the moisture source, and rebuild the damaged area before painting.
Key Takeaways
- Spalling stucco often points to moisture, corrosion, poor bonding, or impact damage.
- Remove all loose material and inspect the substrate before applying a patch.
- Widespread cracking, bulging, exposed metal, or recurring dampness requires professional evaluation.
- New stucco repairs need proper curing, compatible primer, and exterior paint made for masonry.
- Good drainage, sealed joints, and regular inspections help prevent repeat damage.
Why Stucco Spalls in Southwest Florida
Spalling happens when the stucco surface flakes, chips, blisters, or separates from the wall beneath it. The damaged area may feel hollow when tapped, or it may shed small pieces when touched. Some failures affect only the finish coat, while others extend through the base coat and expose metal lath or the wall substrate.
Moisture is a common cause in Fort Myers, Naples, and nearby coastal areas. Rain can enter through cracks, window edges, roof connections, wall penetrations, and unsealed trim. Irrigation spray and pool splash can keep the lower wall wet. Humid air also slows drying, especially on shaded elevations.
Salt air adds another concern near the Gulf Coast. When moisture reaches metal lath, fasteners, or other embedded components, corrosion can expand and push the stucco outward. Poor bonding, an overly thin application, impact damage, and movement at joints can cause spalling without a visible leak.
Look closely at the damage before touching it. White powder, dark staining, or peeling paint may indicate moisture. Rust-colored marks can point to corroding metal. A horizontal or vertical crack may be minor, but a wide crack, bulge, or area that keeps returning needs more than cosmetic patching.
Painting over these signs traps the problem beneath a new coating. The paint may peel, blister, or crack again, and hidden damage can spread beyond the original spot.
Decide Whether the Stucco Needs Professional Repair
Small, isolated damage can sometimes receive a homeowner-level patch when the surrounding stucco is firm and the wall is dry. The repair should be limited to a stable area with no signs of movement or ongoing water intrusion.
Use a screwdriver handle or another blunt tool to tap around the damaged section. A solid sound suggests bonded stucco. A hollow sound can indicate separation that extends beyond what you can see. Press gently around the edges, but don't pry into intact material or create a larger break.
Professional evaluation is the right choice when you find:
- Loose or bulging stucco across a large section
- Cracks wider than a hairline, stepped cracks, or cracks around windows and doors
- Exposed, rusted, or displaced metal lath
- Damp insulation, damaged sheathing, or soft framing
- Repeated staining or spalling after earlier repairs
- Cracks that continue through the wall or appear with interior damage
- Possible damage around balconies, parapets, lintels, or structural joints
A painting contractor can identify surface problems, but concealed framing, concrete, or structural movement may require a qualified stucco repair professional, building contractor, or structural engineer. A coating cannot correct a shifting wall or weakened support.
If the wall is wet, swollen, or moving, pause the painting project until the cause is identified.
Check nearby details before removing stucco. Inspect roof drainage, window and door sealants, hose bibs, air-conditioning lines, exterior lights, vents, and sprinkler heads. In coastal neighborhoods, also look for failed sealant and corrosion around fasteners. Finding the entry point prevents a new patch from failing after the next rainy season.
How to Repair Spalling Stucco Before Painting
The repair method depends on the depth of the damage and the condition of the substrate. Follow the stucco or patch manufacturer's instructions, because products differ in mixing, thickness, curing, and reinforcement requirements.
-
Protect the work area and remove loose material.
Wear eye protection and a dust mask. Use a cold chisel, stiff scraper, or masonry tool to remove every loose or hollow section. Stop only when the remaining edges sound solid and firmly bonded. Cut clean boundaries instead of feathering a thin layer over unstable stucco. -
Expose and inspect the substrate.
Brush away dust and loose particles. Look for wet block, damaged sheathing, deteriorated wood, rusting lath, or corroded fasteners. If the substrate remains damp, repair the water entry problem and allow the area to dry before rebuilding the surface. -
Correct damaged metal or backing.
Surface rust may require careful cleaning and a compatible corrosion-control treatment. Severely rusted or loose lath needs replacement, not paint. Use replacement materials and fasteners approved for the stucco system and appropriate for a coastal environment. Hot-dipped galvanized or stainless components may be specified, depending on the location and system.Don't cover deteriorated framing, damaged sheathing, or exposed structural components with patch material. Those conditions require a qualified professional.
-
Clean the repair area.
Remove dirt, salts, dust, and loose cement. A brush and clean water may work for light residue, but avoid forcing water into an already wet wall. The surface should have the moisture condition required by the repair product. Some cement-based materials need a dampened substrate, while others require a dry surface. -
Rebuild the base in compatible layers.
Apply the specified base coat or stucco patch at the recommended thickness. Deep repairs often need more than one lift, with proper set time between applications. A thick layer applied all at once can shrink and crack.At transitions, corners, and repaired cracks, the system may call for alkali-resistant fiberglass mesh or other reinforcement. Embed it according to the product instructions. Keep drainage paths and control joints open, and don't bridge a joint with rigid patch material.
-
Match the finish texture.
The final coat should match the surrounding knockdown, lace, sand, or other texture. Texture matching takes practice, especially when the existing finish has weathered for years. For broad repairs, coating the entire wall plane may produce a more consistent appearance than creating one isolated textured spot. -
Allow the repair to cure.
Protect fresh stucco from rain, direct heat, and rapid drying when the product instructions require it. Cement-based repairs may need an extended cure period, sometimes up to 28 days. The label and stucco system requirements control the schedule. Painting too soon can cause poor adhesion, discoloration, cracking, or trapped moisture.
A repair that looks smooth while wet may reveal pinholes or texture differences after drying. Inspect it in daylight, then correct the surface before primer goes on.
Prepare the Repaired Stucco for Paint
Once the patch has cured, inspect the entire wall rather than looking only at the original damage. Scrape away peeling paint, remove chalking, and clean dirt or mildew with a method approved for the existing surface. Pressure washing can damage weak stucco or force water into cracks, so use controlled pressure and keep the nozzle moving.
The surface must be clean, sound, and dry enough for the coating system. A professional may check moisture levels or surface alkalinity when a repair is new or the wall has a history of blistering. Fresh cement-based material remains alkaline while it cures, and premature painting can damage the finish.
Prime exposed stucco and repaired areas with an alkali-resistant masonry primer that matches the topcoat. Spot priming can leave visible differences in sheen or color, so larger repairs may need primer across the full wall section.
For most exterior stucco, a quality 100% acrylic masonry coating is a practical choice when the surface and product system are compatible. Elastomeric coatings can bridge some hairline cracks, but they don't replace structural or stucco repairs. They also shouldn't go over a damp wall or an area with unresolved water intrusion.
Apply paint only within the product's temperature, humidity, and weather limits. Southwest Florida afternoons can bring sudden storms, so check the forecast and allow enough dry time before rain. Work in manageable sections, maintain a wet edge, and apply the number of coats listed by the manufacturer.
Prevent New Stucco Spalling After Painting
A new coating lasts longer when water has fewer ways to reach the wall. Keep sprinklers pointed away from stucco, repair leaking hose connections, and maintain roof drainage. Replace cracked sealant around windows, doors, penetrations, and trim with an exterior product suited to that joint.
Inspect the exterior at least once a year and after major storms. Pay close attention to lower walls, shaded elevations, roof edges, and areas near landscaping. Small cracks are easier to evaluate and repair before water reaches the substrate.
Don't fill expansion joints, weep paths, or drainage openings with paint or caulk. Those details allow the wall assembly to manage movement and moisture. If a repaired area stains or cracks again, treat the recurrence as a warning rather than applying another cosmetic patch.
Conclusion
Spalling stucco is a surface warning, not a paint problem alone. Remove unstable material, find the moisture source, inspect the backing and metal, and rebuild the area with compatible products before priming.
A small, dry patch may be manageable, but widespread cracking, loose stucco, corrosion, or structural concerns need professional evaluation. When the wall is sound and fully cured, careful preparation and the right masonry coating can give your Southwest Florida property a cleaner finish that holds up better through sun, rain, and humidity.
More featured articles...