How To Spot Paint Failure From Sun Salt And Humidity
If you live or work near the coast, exterior paint takes a daily beating. Sun bakes it, salt sticks to it, and humidity keeps surfaces damp longer than you'd think. The result is often early paint failure symptoms that look "minor" at first, then spread fast after a few storms.
This guide helps you spot the warning signs, confirm what's causing them, and choose practical next steps. That way, you can fix small problems before they turn into big prep bills.
Why coastal weather breaks paint faster than you expect
Paint isn't just color. It's a thin protective film, like a rain jacket for your building. Coastal conditions attack that film from three directions.
Sun (UV exposure) breaks down binders in many coatings. Over time, the finish loses flexibility, fades, and turns powdery (chalky). Once the surface gets brittle, it can't stretch with heat and cooling cycles, so cracks form.
Salt is sneaky. Salt particles ride in on wind, then cling to walls, soffits, railings, and doors. Even inland, salt can travel farther than most people assume. When humidity or morning dew wets that salt, it creates a salty solution that can pull moisture into tiny gaps. That trapped moisture weakens adhesion and can speed up corrosion on metal.
Humidity slows drying and keeps surfaces damp. Paint needs proper cure time, not just "dry to touch." When the air stays wet, you can get poor bonding, surfactant leaching (streaks), mildew growth, and blistering. In other words, the coating never gets its best chance.
If the wall stays salty and damp, paint can fail even when the color still looks fine from the street.
In Southwest Florida, these factors stack up, especially on sun-facing walls and areas hit by sprinkler mist, pool splash, or Gulf breezes. That's why smart inspections focus on "hot spots" first: south and west walls, trim edges, window sills, and porch ceilings.
Paint failure symptoms to look for (and what they usually mean)
A quick walk-around can tell you a lot. Use this field checklist and take photos, so you can compare changes over time.
Visual red flags on siding, stucco, and trim
- Chalking (powder on your hand) : Rub the surface with a dark cloth. If it picks up colored dust, UV breakdown is likely. Chalking also makes new paint stick poorly unless you clean it well.
- Fading or uneven color : Strong sun exposure, thin coverage, or earlier chalking can cause this. It's common on sun-facing walls.
- Blistering (bubbles) : Often comes from moisture trying to escape, or painting over a damp surface. Small blisters can pop and become peeling.
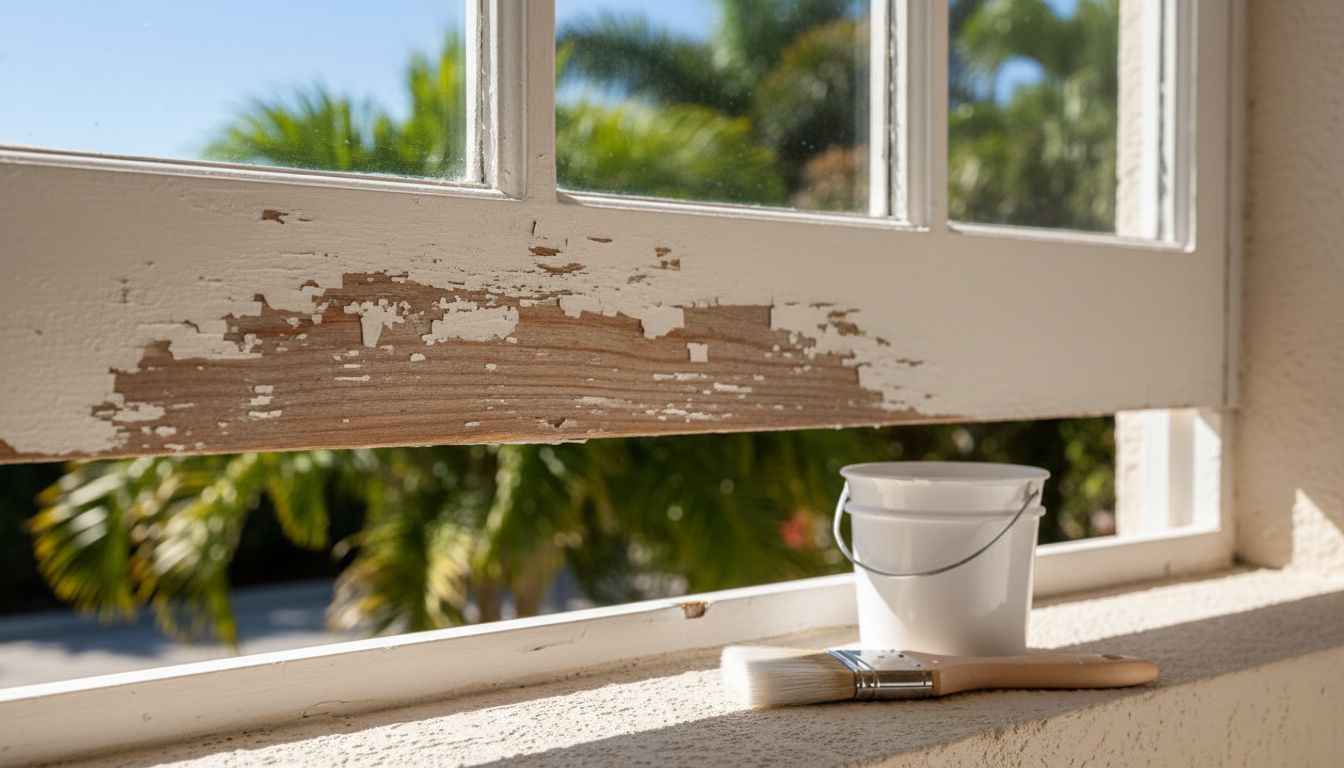
- Peeling or flaking : Usually a bond failure. Salt contamination, poor prep, and moisture intrusion are top suspects in coastal areas.
- Cracking (hairline to "alligator" pattern) : Can point to aged paint, too many layers, or movement in the substrate. Once cracks open, water gets in.
- White, crusty deposits : On masonry, this can be efflorescence (salts migrating through the wall). It's not the same as coastal salt on the surface, but both cause adhesion trouble.
Texture and stain clues you shouldn't ignore
- Sticky or glossy streaks after humidity : Sometimes surfactants rise to the surface in damp cure conditions. It can look like oily drips.
- Black or green spotting : Often mildew or algae in shaded, damp areas. It can grow on paint and also signal trapped moisture.
- Rust bleed on fasteners or metal edges : Salt plus humidity accelerates corrosion. If you see rust staining, paint is already losing the protection battle.
A simple, safer inspection routine
- Pick a dry day : Inspect after at least 24 hours without rain if possible.
- Check gutters and sprinklers : Overspray and leaks create repeat wetting.
- Touch-test carefully : Wear gloves, especially on older coatings.
Older homes (pre-1978) may have lead-based paint. Don't sand, grind, or dry scrape without lead-safe practices and the right PPE.
For professional help on exterior conditions common in Southwest Florida, see quality residential exterior coatings.
Quick troubleshooting table: symptom to fix, fast
Use this table to connect what you see with the most likely cause, plus a quick way to confirm it.
| Symptom you see | Likely cause in sun, salt, humidity | Quick confirmation | Recommended fix |
|---|---|---|---|
| Powdery residue (chalking) | UV breakdown, aged coating | Wipe with dark cloth, pigment transfers | Wash thoroughly, remove loose film, prime if needed, repaint |
| Small bubbles or blisters | Moisture trapped, painting over damp surface | Open a blister, check for dampness or water staining | Find moisture source, dry fully, scrape, prime, repaint |
| Peeling near edges and trim | Salt contamination, failed caulk, wind-driven rain | Peel test, check caulk joints and drip edges | Salt removal wash, re-caulk, prime bare areas, repaint |
| Black or green spots | Mildew or algae from humidity and shade | Light scrub test, growth smears | Treat with appropriate cleaner, rinse well, let dry, repaint if needed |
| Rust stains on metal | Salt-driven corrosion | Sand a small area, look for pitting | Remove rust, use corrosion-resistant primer, topcoat properly |
The big takeaway: confirm moisture and salt first , because repainting over either usually fails early.
Practical next steps (cleaning, drying, and choosing the right system)
Once you've identified paint failure symptoms, resist the urge to "spot paint" right away. Coastal prep is where jobs succeed or fail.
Step-by-step: what to do before repainting
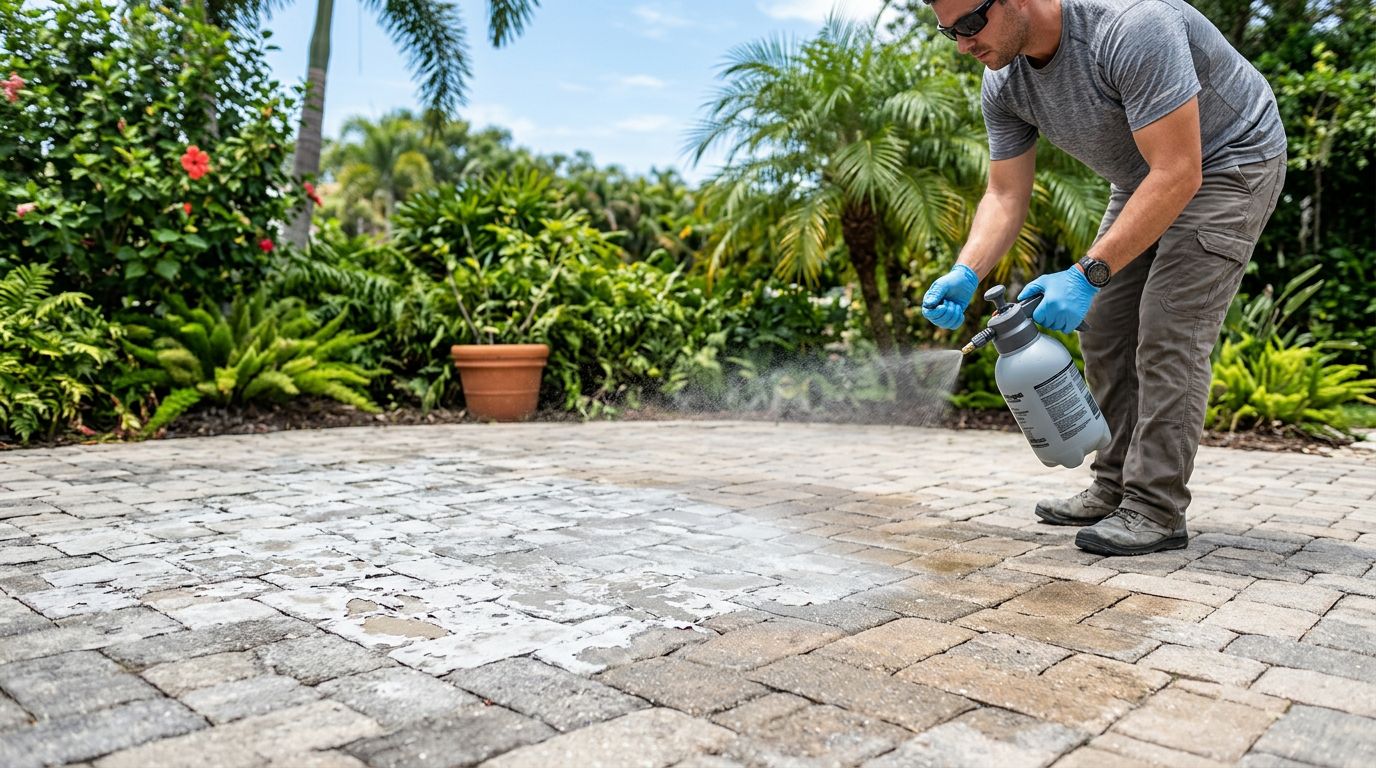
- Wash to remove salt and dirt : Use fresh water and a cleaner suited to exterior surfaces. Rinse thoroughly. Salt left behind can block adhesion.
- Treat mildew the right way : Use a mildew treatment designed for exterior coatings. Never mix cleaners, and protect plants and pets.
- Let surfaces dry long enough : Humidity slows drying. Give it time, often 24 to 48 hours or more, depending on shade and airflow. If you can, check surface moisture before coating.
- Repair entry points : Replace failed caulk, seal gaps, and address leaks. Paint can't fix water coming from behind.
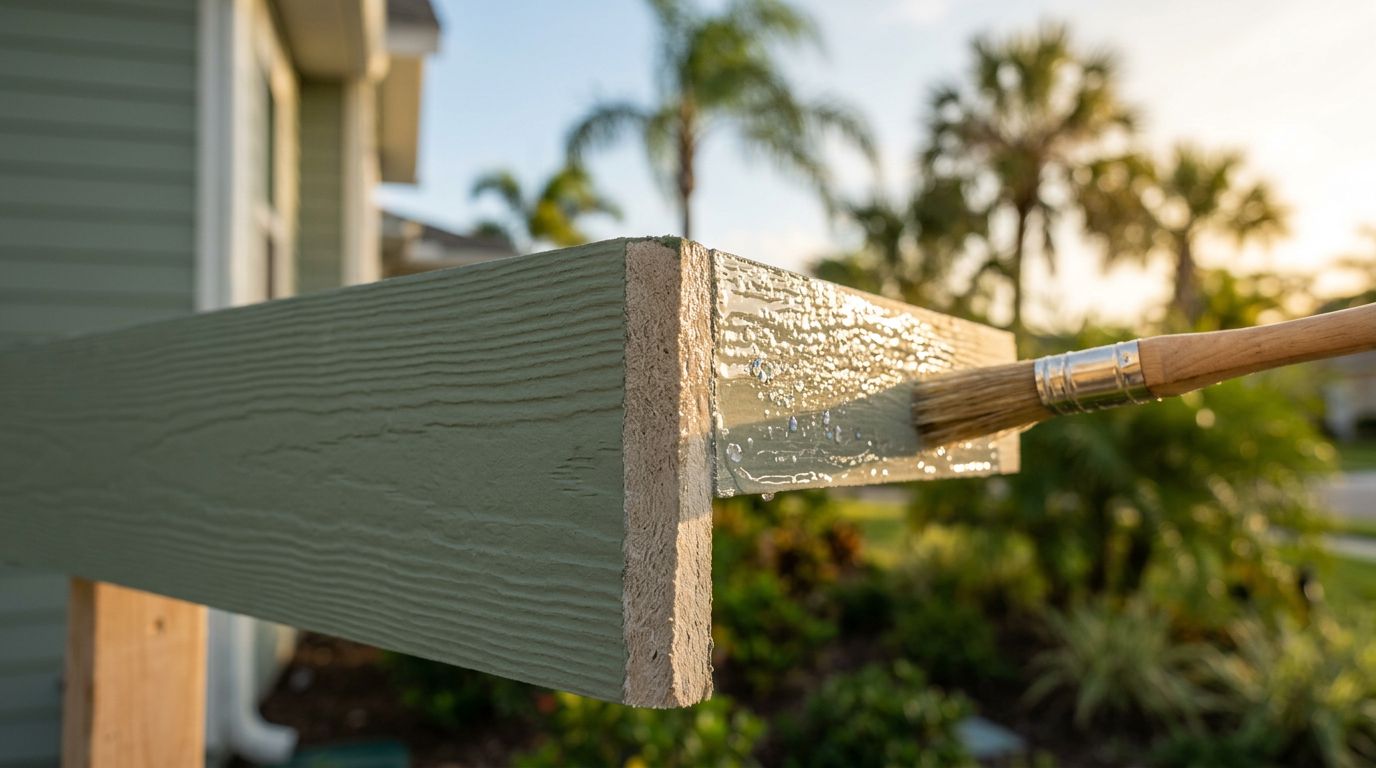
- Prime for coastal exposure : Use primers and topcoats rated for exterior humidity and salt air. Match the primer to the substrate (stucco, wood, metal), and avoid "one-size-fits-all" shortcuts.
Safety notes for DIY and property managers
- Lead paint risk : Pre-1978 buildings need lead-safe methods, containment, and proper cleanup.
- PPE matters : Gloves, eye protection, and a respirator suited to the task help reduce exposure.
- Working at height : Use stable ladders, proper angle, and fall protection when needed. Don't work alone.
If you want to learn more about who you're hiring and how they approach prep and coating selection, visit Fort Myers painting company experience. If you're comparing options, painter reviews Fort Myers Naples can also help you set expectations.
Conclusion
Sun, salt, and humidity don't always cause dramatic damage overnight, but they leave clues early. When you know which paint failure symptoms matter, you can clean, dry, and repair the right way before repainting. Start with salt removal and moisture control, then choose coastal-rated primers and topcoats that fit the surface. If the damage keeps spreading, it's time for a professional evaluation before small blisters become big peeling sheets.
More featured articles...